Why Is My Crochet Piece Turning Into a Triangle?
by Crochets Studio — Written by a Crochets.ca contributor who has frogged more triangles than she'd like to admit before finally learning to count her turning chains properly.
A crochet piece that leans into a triangle almost always means you're adding or dropping a stitch at the edge of your rows without noticing. It's rarely a pattern problem, it's a counting problem, and it's fixable in about two rows once you know where to look.
What's Actually Happening to Your Rows
You cast on a tidy rectangle. A few rows in, one side is creeping outward and the other is pulling in, and now you've basically got a wonky triangle instead of the scarf, dishcloth, or blanket panel you meant to make. This is one of the most common things crocheters ask about, and the good news is it's almost never a pattern issue. It's a stitch-count issue.
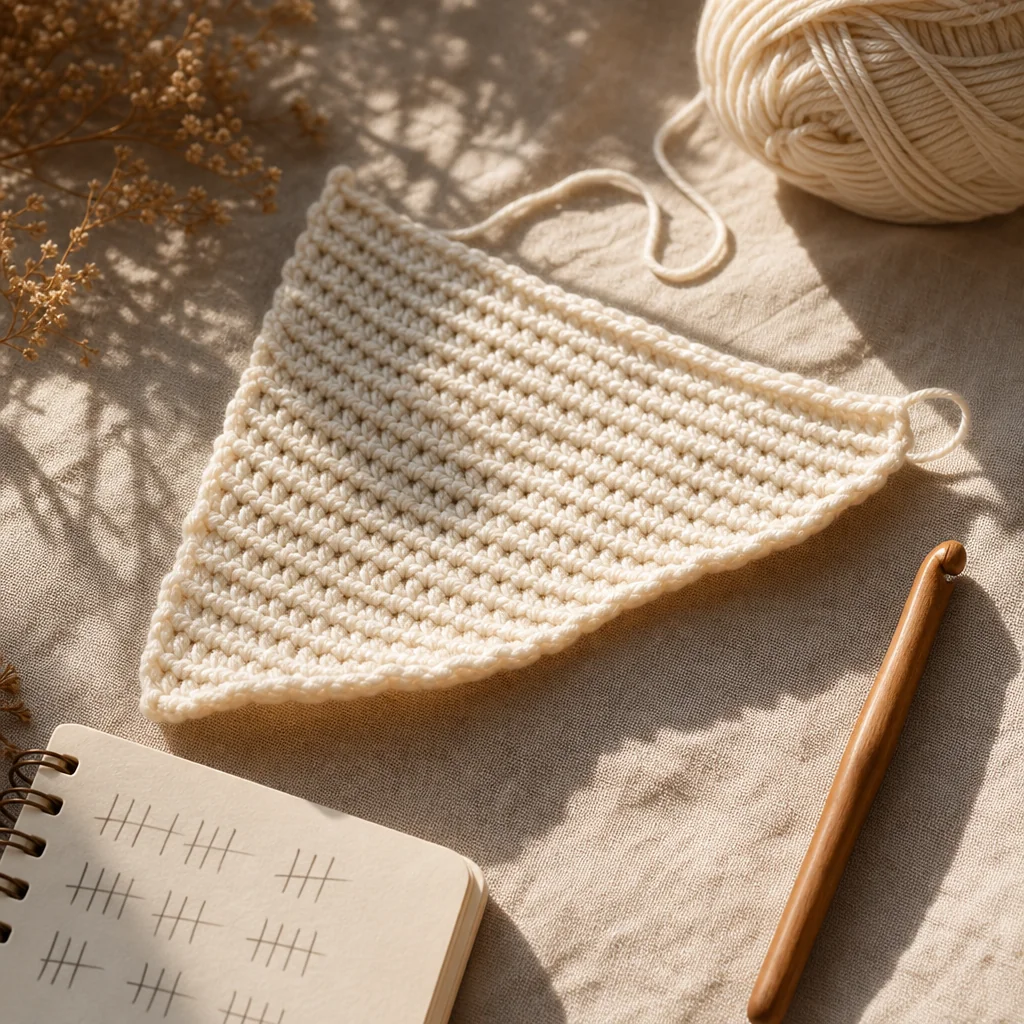
Here's the mechanic: every row should start and end with the same number of stitches as the row before it, unless your pattern specifically tells you to increase or decrease. When a row quietly gains a stitch, that row is a hair wider than the last one. When a row quietly loses a stitch, it's a hair narrower. Repeat that over ten or twenty rows in the same direction, and a straight edge turns into a diagonal one. One side of your work stays the same width while the other slowly grows or shrinks, and the whole piece leans into a triangle.
The Cause: You're Gaining or Losing a Stitch
The extra or missing stitch is almost always hiding at the very beginning or the very end of a row, since that's where it's easiest to lose track. A few usual suspects:
The Turning Chain Confusion
When you turn your work to start a new row, you chain one or more stitches to get your hook to the right height. Depending on the stitch and the pattern, that turning chain either counts as your first stitch of the new row, or it doesn't. If you're inconsistent about this decision from row to row, working into it sometimes and skipping it other times, you'll gain or lose a stitch every time you flip-flop.
The Skipped Last Stitch
The final stitch of a row is easy to miss, especially in single crochet, because it can look like it's already been used up by the turning chain or the previous stitch. If you skip it even occasionally, that side of your work is losing a stitch on those rows, and it'll get shorter and shorter while the other side stays put.
The Accidental Extra Stitch at the Start
The opposite problem shows up when you work into the base of the turning chain by mistake, or when you accidentally work the same stitch twice at the start of a row. That side gains a stitch, and it starts growing wider than the rest of the piece.
Any one of these on its own might just shift your edge by a stitch or two, which is barely noticeable. The triangle shape shows up when the same mistake happens over and over, always in the same direction, row after row.
The Fix: How to Straighten Your Rows Back Out
Step 1: Count Every Row for a While
At the end of each row, actually count your stitches. Do this for five or six rows in a row, even if it feels tedious. If the count climbs, you're gaining. If it drops, you're losing. This alone tells you which end of the row to watch more closely.
Step 2: Pick a Rule for Your Turning Chain and Stick to It
Check your pattern notes or the stitch you're using, and decide once whether your turning chain counts as a stitch. Write it on a sticky note if you have to. Then apply that rule the same way on every single row, no exceptions.
Step 3: Give the Last Stitch Some Attention
Slow down for just the last one or two stitches of each row. Look for the little V or bump that marks an unworked stitch before you turn your work. It takes a few extra seconds and it's usually where the missing stitch was hiding.
Step 4: Mark the Beginning of Each Row
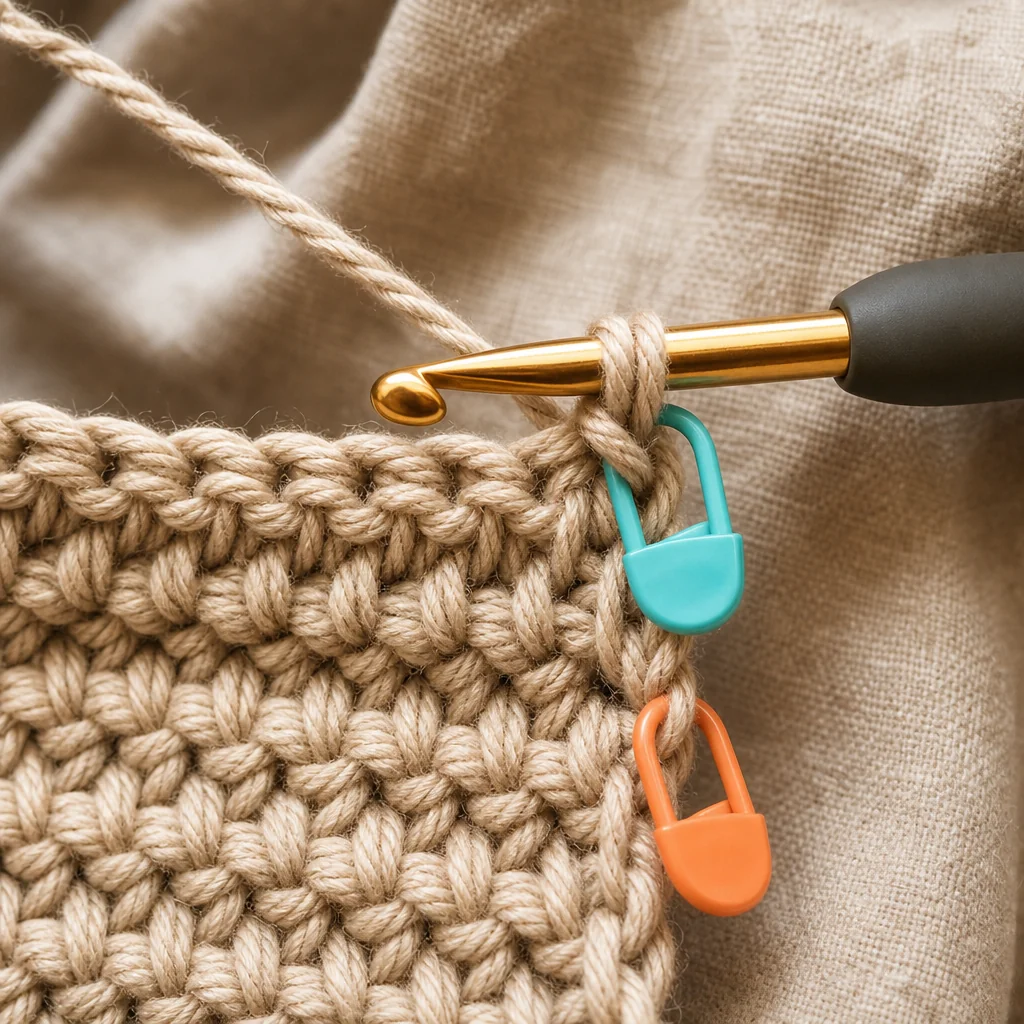
Clip a stitch marker into the first stitch of a row as soon as you make it. That way, when you get to the end of the row, you know exactly where to stop and count, instead of guessing.
Once you catch where the stitch is sneaking in or dropping out, your edge straightens back out within a row or two. You don't need to rip out the whole project, just fix the habit going forward and the shape corrects itself.
When a Triangle Is Actually on Purpose
Worth a quick sanity check: some patterns build in a deliberate increase or decrease on one side to shape a shawl, a granny-square-style panel worked corner to corner, or a garment piece. If your pattern includes rows that say things like "increase 1 at the beginning of the row" or "skip the first stitch," that slant is intentional and there's nothing to troubleshoot. The fix above is for when your pattern calls for a straight rectangle and your stitches just aren't cooperating.
Next Steps
If counting in your head isn't cutting it, practice tracking your stitches visually with a guided tool instead of trial and error.