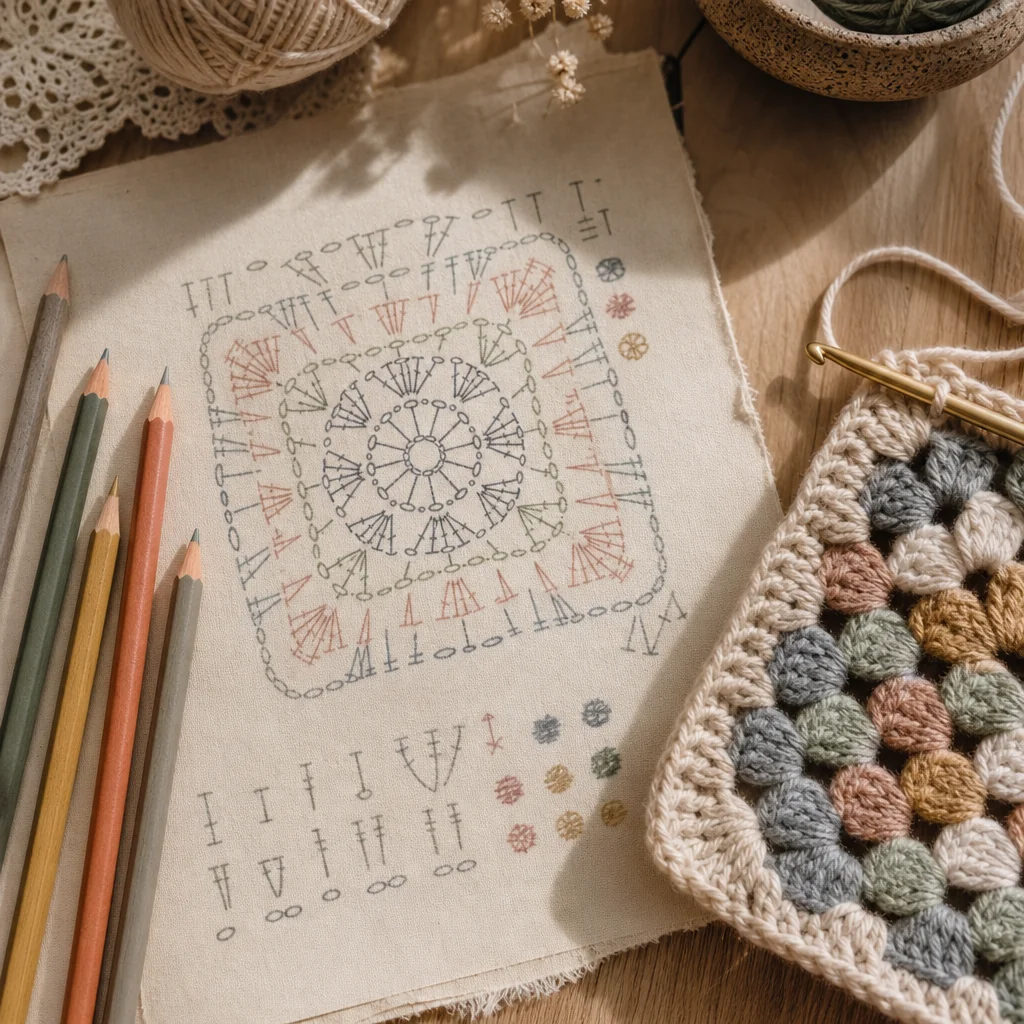
Reading Crochet Charts and Symbols: Your Complete Beginner's Guide
by Crochets Studio — A crochet instructor and pattern designer with over a decade of experience translating complex techniques into approachable guides for makers of all levels.
Crochet charts transform written instructions into visual maps of your stitches, making patterns accessible across languages and skill levels. Learning to read charts opens up a world of international patterns and designs that would otherwise be difficult to follow. This tutorial walks you through every symbol, reading direction, and strategy for decoding even complex diagrams.
Why Crochet Charts Matter
If you've ever felt overwhelmed by a pattern written entirely in abbreviations, you're not alone. This is where crochet charts become your best friend. Charts are visual representations of your stitches—think of them as a map showing exactly where each stitch goes and how they connect to one another. The beauty of charts is their universality: once you understand the symbol system, you can follow patterns from Japan, Europe, South America, or anywhere else in the world, regardless of the language used in the written instructions.
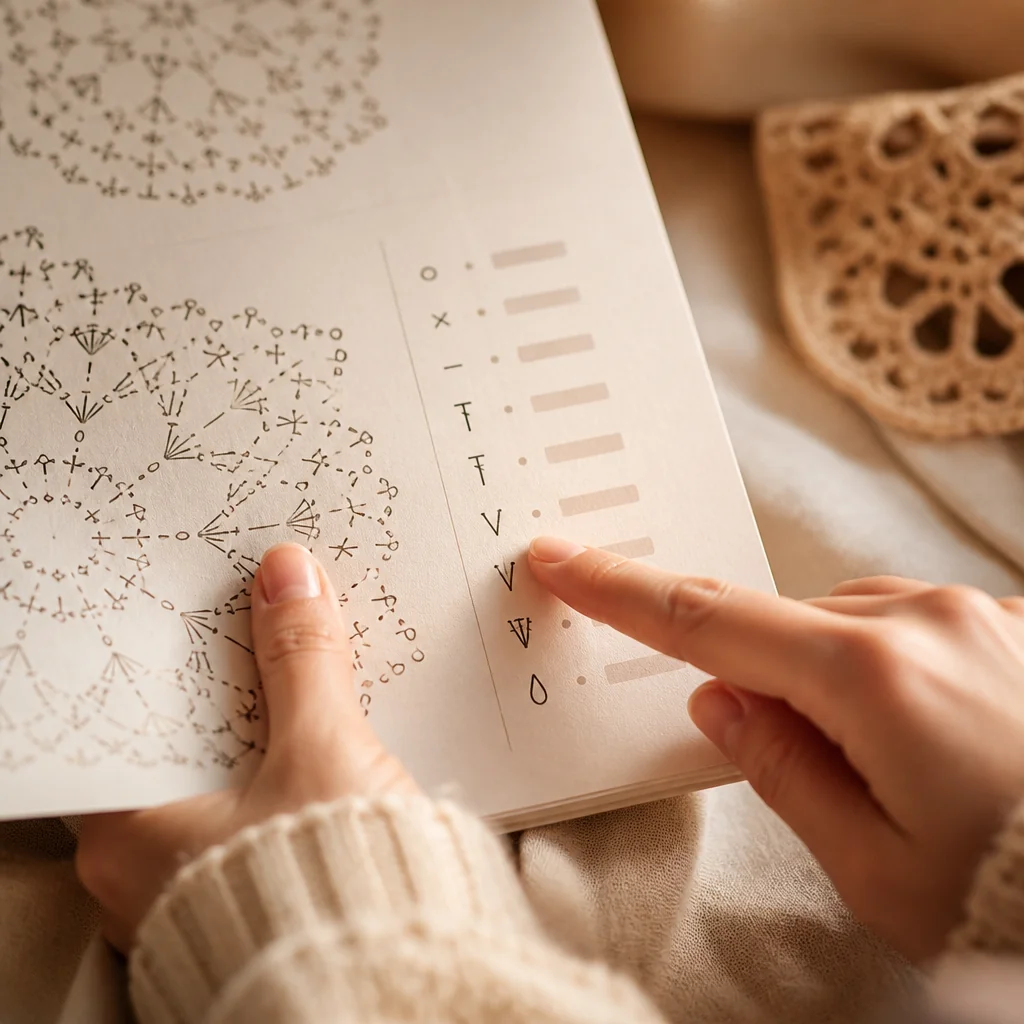
Charts also help you visualize the overall shape and structure of your project before you even pick up your hook. You'll see increases, decreases, color changes, and complex stitch combinations at a glance. For visual learners especially, this makes the difference between feeling lost and feeling confident.
The Universal Symbol Language
Every crochet stitch has a corresponding symbol. These symbols are fairly standardized across the crochet world, though you'll occasionally encounter slight variations depending on the designer or country of origin. This is why checking the legend or key at the bottom of every chart is non-negotiable—it's your personal translator.
Here are the most common symbols you'll encounter:
Basic Stitches and Their Symbols
Chain (ch): Usually shown as a small oval, circle, or sometimes just a dot. Chains form the foundation of most projects and create the base row you'll work into.
Single Crochet (sc): Represented by an X or a cross symbol. This is the shortest of the main stitches and creates a tight, dense fabric.
Half Double Crochet (hdc): Often shown as a T shape or a small vertical line with a dash. It's taller than single crochet but shorter than a double crochet.
Double Crochet (dc): Usually depicted as a tall T shape or a vertical line. This is one of the most frequently used stitches in crochet patterns.
Treble Crochet (tr): Shown as an even taller T shape, often with additional lines. It creates an open, airy fabric and is commonly used in lace patterns.
Slip Stitch (sl st): Represented by a small filled dot or circle. Slip stitches are used to join rounds or move yarn across stitches without adding height.
Understanding Symbol Height
One helpful rule: the height of the symbol on the chart roughly corresponds to the height of the actual stitch. A chain is tiny. A single crochet is slightly taller. A double crochet reaches higher. This visual relationship helps you understand at a glance what kind of fabric texture and drape to expect from your project.
Reading Direction: The Foundation
This is where many beginners stumble, so let's make it crystal clear.
For Flat Pieces (Back and Forth Rows)
Most charts read from bottom to top—just like building your project row by row. The bottom row is always your foundation chain.
Now here's the part that trips people up: the direction alternates with each row.
- Odd-numbered rows (1, 3, 5, etc.): Read from right to left. These are typically your right-side facing rows.
- Even-numbered rows (2, 4, 6, etc.): Read from left to right. These are your wrong-side facing rows.
Why does this matter? Because you're physically turning your work around after each row—just like you do when you crochet. The chart is showing you the actual path your hook travels.
Think of it this way: imagine yourself standing in front of your work. After you complete one row and turn your piece around, you're now facing the opposite direction. The chart accounts for this physical reality.
For Circular Pieces (Worked in Rounds)
When a pattern is worked in rounds, charts read counterclockwise (sometimes clockwise, depending on the designer—check the key). Rounds are typically numbered on the side of the chart, and you follow the numbers in sequence. Each completed round spirals outward from the center, creating circular shapes like granny squares, doilies, or mandalas.
Some charts use a spiral indicator or arrow to show you the exact starting point and direction for each round.
Step-by-Step: Decoding Your First Chart
Let's walk through the process of reading a chart from start to finish.
Step 1: Find the Legend
Before you do anything else, locate the symbol key or legend. This tells you what each symbol means in this particular pattern. Save time and frustration by spending two minutes understanding the designer's symbol system.
Step 2: Identify Your Foundation
Look at the very bottom of the chart. You'll see a row of chain symbols—this is your starting point. Count the chains; this tells you how many chains to make. Sometimes the chart will show a specific number on the side.
Step 3: Work Your Way Up
Starting from the bottom, identify the first row of stitches above the foundation chain. Notice which symbols are used and where they're positioned. Each symbol sits directly above the stitch or chain it should be worked into. Work each stitch exactly where the symbol shows it.
As you complete each stitch, move left to right (or right to left, depending on whether it's an odd or even row) across that row.
Step 4: Track Your Progress
Many crocheters check off each completed row on the chart with a pencil or highlighter. This prevents the mental fatigue of losing your place mid-pattern.
Step 5: Notice the Numbers
Row or round numbers on the side of the chart help you verify you're on track. If the pattern calls for 24 rows and you're at row 15, you know you're halfway through.
Common Confusion Points (And How to Solve Them)
"The symbols look different in my pattern than in the tutorial I watched."
Why it happens: Different crochet communities and countries use slightly different symbol systems. American patterns sometimes differ from European charts. Individual designers also create their own variations.
The fix: Always, always consult the legend provided with your specific pattern. The legend is your contract with the designer. What matters is consistency within that one pattern, not matching what you've seen elsewhere.
"Connected symbols—do I work them separately or together?"
Why it matters: When two symbols are touching or overlapping on a chart, it usually means you work both stitches in the same stitch or space. This creates increases and texture changes.
The fix: If symbols are clearly separated, they're separate stitches. If they're grouped together, they share a foundation. The legend sometimes clarifies this with special notation.
"I'm reading left to right on an even row, but it doesn't feel right."
Why it happens: You might be on an odd row and thinking it's even, or vice versa. Counting can get confusing mid-project.
The fix: Physically turn your work and observe the direction you're naturally crocheting. You should never fight your piece. If you're reading left to right, you should be pulling yarn from right to left as you work. Match the chart to your actual hand motion, not an arbitrary rule.
"This stitch symbol is huge compared to the others."
Why it matters: Stitch height varies dramatically. A treble crochet symbol takes up much more vertical space than a single crochet. This is intentional and helps you visualize the fabric.
The fix: Remember that symbol height = stitch height. A tall symbol means a tall stitch. This is actually a feature, not a bug—it helps you understand texture at a glance.
Building Your Chart-Reading Confidence
Start Small
Your first chart should feature only basic stitches: chains, single crochet, and maybe one double crochet. A simple dishcloth or washcloth is perfect. These small victories build momentum.
Practice Across Different Sources
Once you're comfortable, try charts from different designers or countries. You'll quickly realize that while symbols might vary slightly, the logic is always the same. This flexibility becomes your superpower.
Use Digital Tools
Many crocheters now use pattern apps that highlight rows as you complete them, reducing errors. If you're tech-savvy, these can accelerate your learning.
Combine Charts with Written Instructions
Most patterns include both. Use the written instructions as a safety net while you're learning to read charts. Once you gain confidence, you'll find charts actually faster than reading text.
When Things Go Wrong
If you're a few rows in and something feels off—stitches aren't lining up, your piece is wonky, or your stitch count is wrong—stop and check three things:
- Am I reading the right direction? Recount which row you're on. Verify odd or even.
- Did I misread a symbol? Check the legend again. Look at the chart very carefully.
- Did I miss an increase or decrease? Sometimes you need to work multiple stitches in one space or skip a space entirely. These create shaping.
Nine times out of ten, the issue is either reading direction or a missed symbol. Charts rarely lie—we just need to read them accurately.
Your Next Adventure
Once you've mastered basic charts, you're ready for colorwork, lace patterns, and complex stitch combinations. The skill you're building right now—the ability to translate symbols into stitches—is the foundation for every advanced technique in crochet. You're not just learning to read a chart; you're gaining access to the entire global library of crochet design.