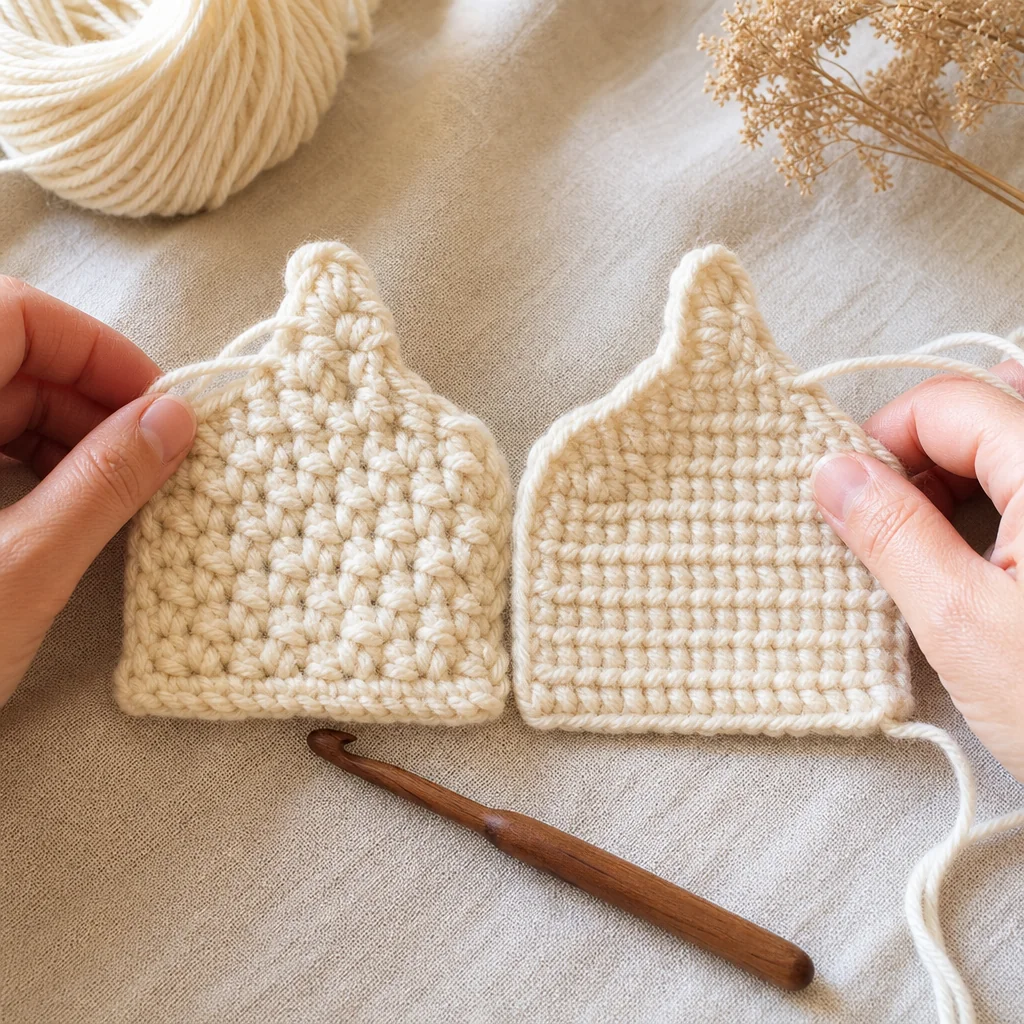
Invisible Decrease vs. Standard Decrease: Which to Use When
by Crochets Studio — Sarah crafts amigurumi and teaches crochet techniques from her studio in Nova Scotia, where she's been perfecting invisible decreases on countless stuffed creatures for over a decade. She believes that understanding when to use each technique makes all the difference between homemade and handmade.
The invisible decrease creates a smoother, flatter finish perfect for amigurumi and stuffed toys, while the standard decrease works faster for garments and blankets where small bumps won't show. Choosing the right technique depends on whether close-up appearance or speed matters most for your project. This tutorial will teach you both methods step-by-step and help you decide which one suits each situation.
What You'll Need
- Worsted weight yarn in a light colour (easier to see stitches)
- 5mm (H-8) crochet hook
- Scissors
- A practice swatch with at least 15-20 single crochet stitches worked in the round or in rows
Understanding the Standard Decrease (sc2tog)
The standard decrease, commonly abbreviated as sc2tog (single crochet two together), is the most straightforward method for reducing your stitch count. It's been the go-to technique for generations of crocheters working on everything from vintage doilies to modern garments.
This decrease creates a small visible bump where two stitches merge into one. While this texture is noticeable up close, it blends naturally into most flat projects like blankets, scarves, and sweaters, especially when worked in darker yarns or textured stitch patterns.
When to Use Standard Decreases
Standard decreases shine in several situations:
Garments and wearables: When shaping armholes, necklines, or sleeve caps, the small bump created by a standard decrease disappears into the drape and movement of the fabric. The speed advantage means you'll finish your cardigan or sweater faster.
Blankets and afghans: In larger flat projects, especially those with textured stitches or variegated yarn, the bump from a standard decrease becomes invisible. You're working with dozens or hundreds of stitches, and a few decreases blend right in.
Speed-priority projects: If you're crocheting against a deadline or making multiples of the same item, standard decreases let you work faster without constantly adjusting your hook placement.
Textured patterns: When you're already working with bobbles, popcorns, or other dimensional stitches, the texture of a standard decrease fits right into the overall design.
How to Work a Standard Decrease
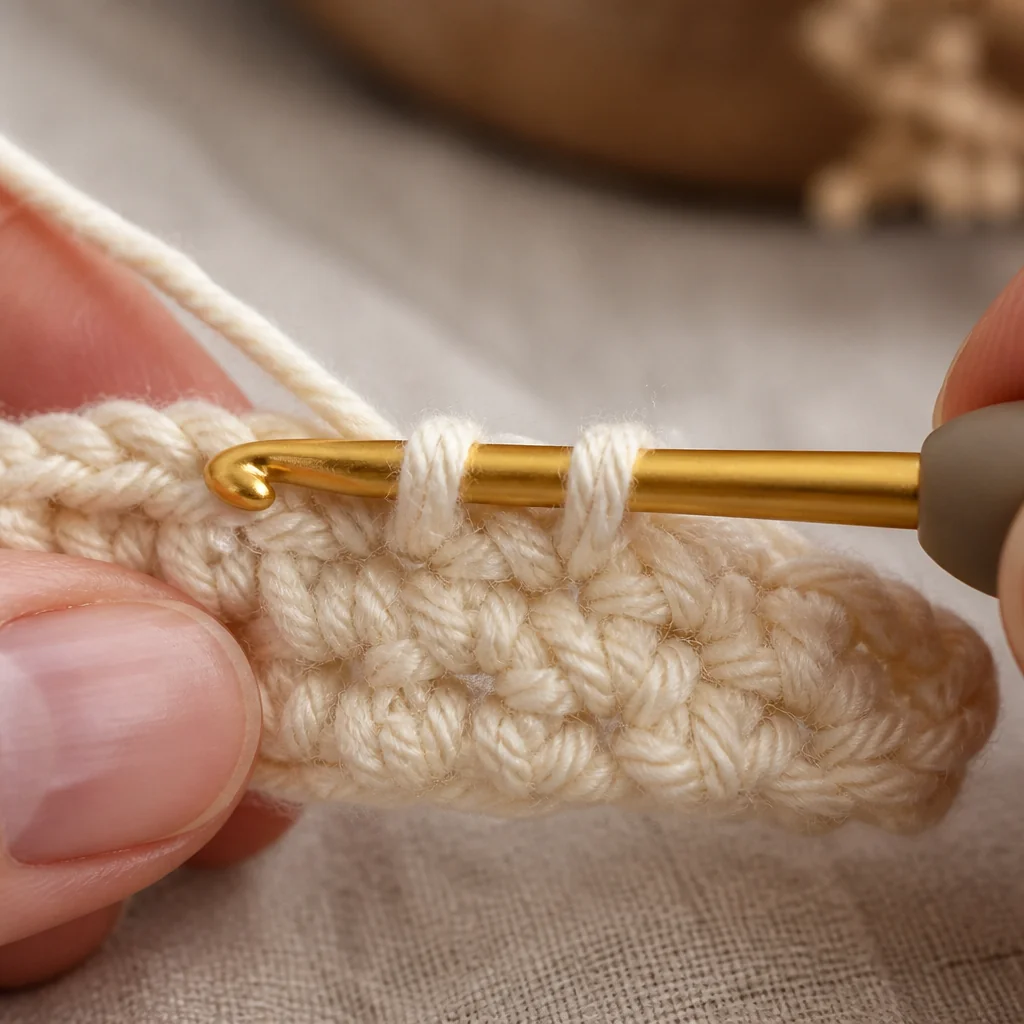
Step 1: Insert your hook under both loops of the next stitch, just as you would for a regular single crochet.
Step 2: Yarn over and pull up a loop. You now have two loops on your hook.
Step 3: Insert your hook under both loops of the following stitch.
Step 4: Yarn over and pull up a loop. You now have three loops on your hook.
Step 5: Yarn over one final time and pull through all three loops at once.
You've now combined two stitches into one, reducing your total stitch count by one.
Understanding the Invisible Decrease
The invisible decrease is a more refined technique that creates a nearly seamless reduction in stitch count. By working through only the front loops of each stitch, you eliminate the visible bump that appears with standard decreases.
This method gained popularity with the rise of amigurumi and stuffed toy crochet, where smooth, professional-looking surfaces make all the difference. When you're creating a character's face or a sculptural piece meant to be handled and admired up close, every detail matters.
When to Use Invisible Decreases
Amigurumi and stuffed toys: This is where invisible decreases truly shine. The smooth surface shows off your shaping skills and creates a polished, store-quality finish. Faces, heads, and bodies all benefit from this technique.
Sculptural crochet: Art pieces, decorative objects, and three-dimensional designs look more refined when decreases disappear into the fabric.
Light-coloured projects: In cream, white, or pastel yarns, every bump and texture shows clearly. Invisible decreases maintain a clean appearance.
Showcase pieces: Competition entries, gifts for special occasions, or portfolio pieces deserve the extra time invisible decreases require.
Tightly stuffed items: When you're working with firm stuffing, bumps from standard decreases can create lumps or distort the shape. Invisible decreases maintain smooth curves.
How to Work an Invisible Decrease
Step 1: Insert your hook under only the front loop of the next stitch (the loop closest to you). Don't go under the back loop.
Step 2: Without pulling up a loop yet, insert your hook under only the front loop of the following stitch as well. Your hook is now going through the front loops of two adjacent stitches.
Step 3: Yarn over and pull through both front loops. You now have two loops on your hook.
Step 4: Yarn over again and pull through both loops, completing the decrease exactly like you'd finish a single crochet.
The key difference is that first step—by catching only the front loops, you've eliminated the bulky bump that forms when you work through all four loops.
Comparing the Results Side-by-Side
The best way to understand the difference is to work a comparison swatch. Make a small tube or flat piece with about 20 single crochet stitches. Work one row with three standard decreases evenly spaced, then work the next row with three invisible decreases in the same positions.
With standard decreases, you'll see small horizontal bars or bumps where the stitches merged. These create a subtle texture across the surface. With invisible decreases, the fabric looks nearly continuous, with barely any indication that you reduced the stitch count.
Turn your swatch inside out and notice how the inside of invisible decreases looks slightly different—the back loops create a small ridge on the wrong side. This trade-off gives you the smooth right side that matters most for visible projects.
Troubleshooting Common Mistakes
Problem: Your invisible decreases still look bumpy.
Solution: Make sure you're only catching the front loops, not accidentally grabbing back loops as well. The hook should slide easily through just the two front loops.
Problem: You're losing track of your stitch count.
Solution: Both decreases reduce your count by one stitch. Use a stitch marker to mark your first stitch of the round and count carefully after each decrease row.
Problem: Your invisible decreases feel loose or sloppy.
Solution: Maintain consistent tension as you pull through those first two front loops. Don't pull too tight or too loose—match the tension of your regular single crochet stitches.
Problem: You can't find the front loops easily.
Solution: Work with good lighting and tilt your work toward you. The front loops are always the ones facing you as you crochet. Consider using a lighter yarn colour while you're learning.
Building Your Decrease Intuition
As you gain experience, you'll develop an instinct for which decrease to use. Here's a quick decision framework:
Ask yourself: Will anyone see this detail up close? If you're making a decorative item that will sit on a shelf or a toy that will be handled and examined, invisible decreases are worth the extra time.
Consider your yarn. Fuzzy yarns like mohair or boucle hide texture naturally, making standard decreases perfectly acceptable. Smooth cotton or acrylic with good stitch definition will show every detail, favouring invisible decreases.
Think about your deadline. If you're making a baby blanket as a last-minute gift, standard decreases let you finish faster without sacrificing quality in a context where bumps won't show.
Evaluate the overall design. A heavily textured pattern with lots of dimensional stitches doesn't need invisible decreases—the bumps blend into the existing texture.
Practice Makes Perfect
The truth is, both decreases belong in your skill toolkit. Many experienced crocheters switch between them within the same project—using invisible decreases on an amigurumi head but standard decreases on the body where they'll be covered by clothing or hair.
Make a few practice swatches using both techniques until your hands remember the motion without thinking. Muscle memory matters more than memorizing instructions. Soon you'll reach for the right decrease instinctively, creating professional-looking results no matter which method the project calls for.
Next step
Explore More Crochet Techniques