Front Post and Back Post Double Crochet Explained
by Crochets Studio — Written by a Crochets.ca contributor who learned to crochet at a kitchen table in Quebec and still can't resist a good ribbed cuff.
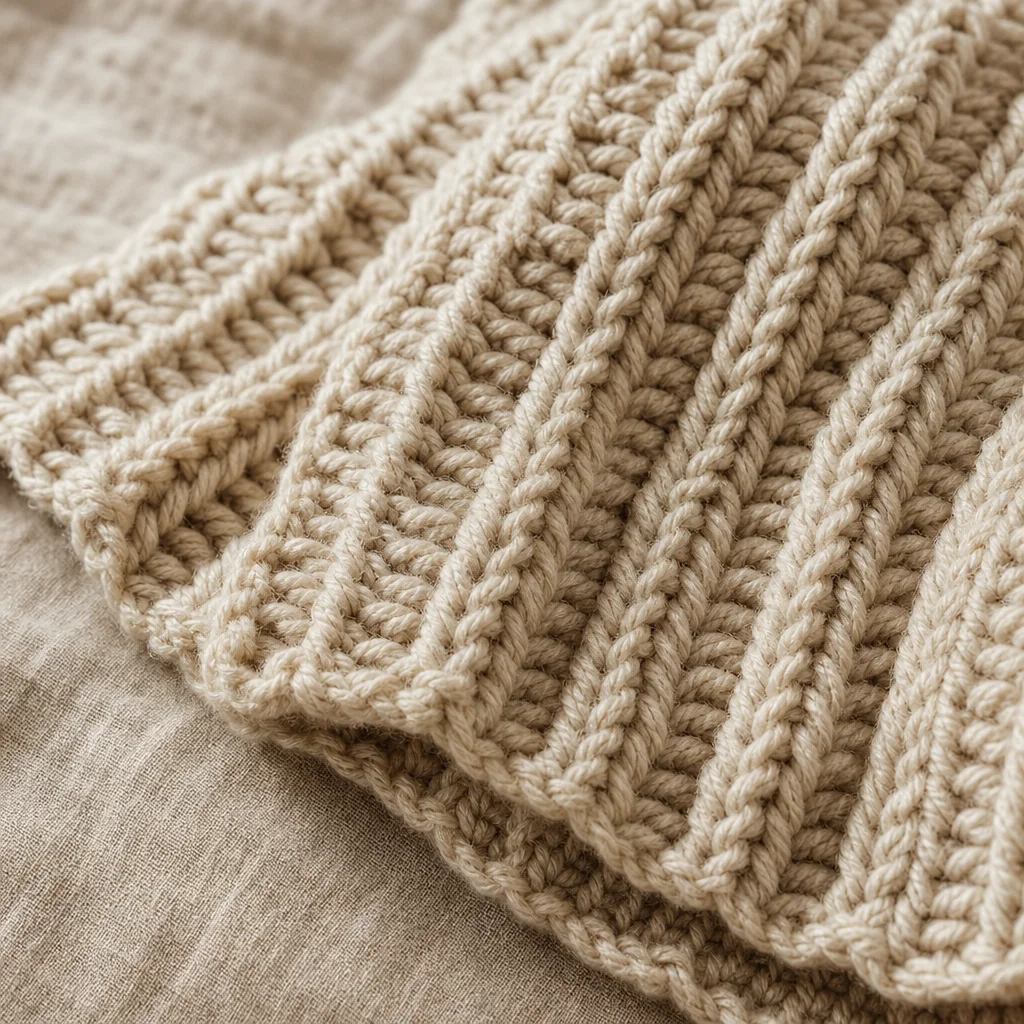
Front post double crochet (FPDC) and back post double crochet (BPDC) are worked around the post of a stitch instead of under its top loops, which is what creates raised ribbing, cables, and texture. FPDC pulls the stitch toward you, BPDC pushes it back, and alternating the two across a row mimics knit ribbing. This guide breaks down exactly where to insert your hook for each one, plus how to keep your stitch count and tension under control.
What You'll Need
- A crochet hook in the size recommended on your yarn label
- Worsted weight or DK weight yarn (easiest for practicing these stitches, since the post is easy to see)
- A swatch of at least 12 stitches worked in regular double crochet for practice
- Stitch markers (optional, but helpful while you're learning to track your stitches)
- Scissors and a yarn needle for weaving in ends
You don't need any special tools for FPDC or BPDC. The only thing that changes is where you insert your hook, not what you do once it's there.
Front Post vs Back Post: What's the Difference
A regular double crochet is worked by inserting your hook under the two top loops of the stitch below, the same way you'd work most basic stitches. Front post and back post double crochet skip those top loops entirely and target the post instead, which is the long vertical column that makes up the body of the stitch.
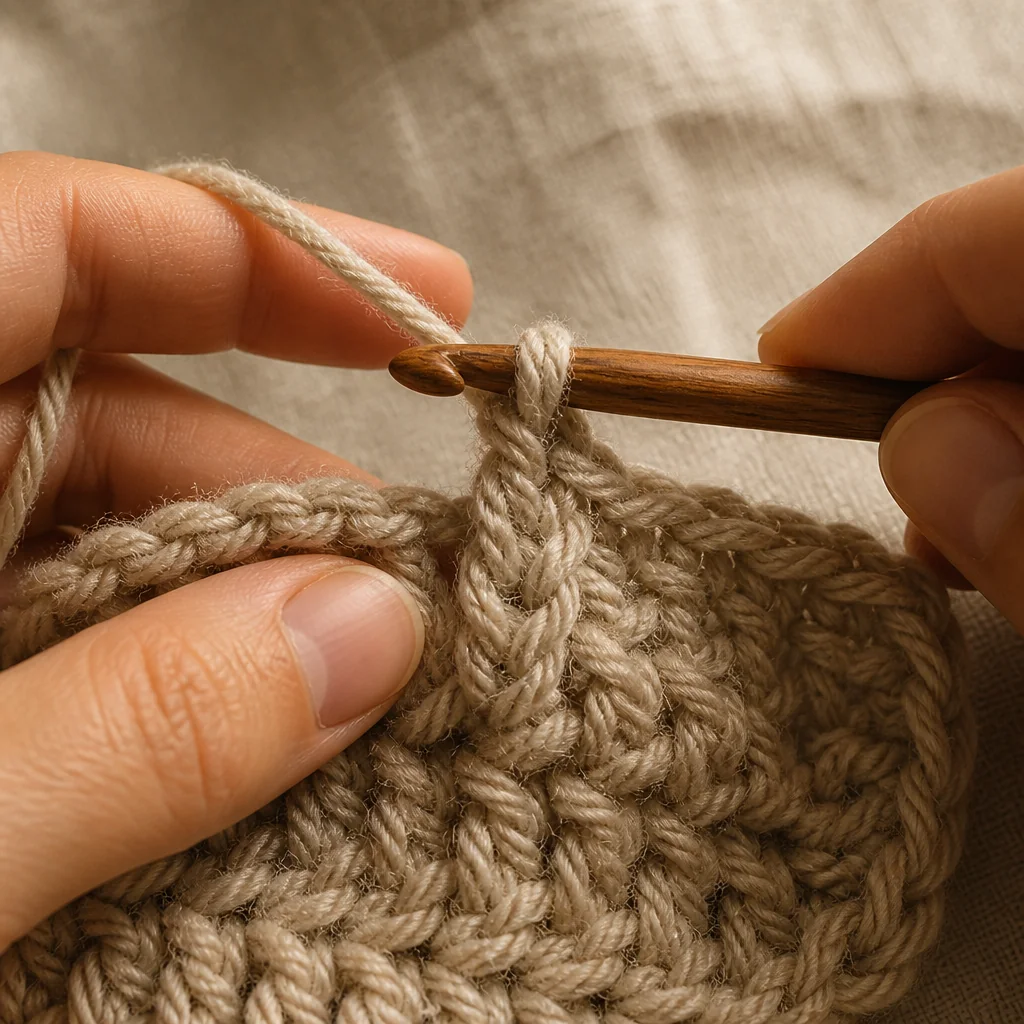
Front post double crochet (FPDC) is worked by inserting your hook from front to back around the post, then bringing it back to the front on the other side. Because your hook approaches from the front of the fabric, the resulting stitch gets pulled toward you and sits proud on the front of the work.
Back post double crochet (BPDC) is the mirror image. You insert your hook from back to front around the post, then bring it through to the back on the other side. This pulls the stitch away from you, so it recedes and sits on the back of the work.
When you alternate FPDC and BPDC across a row, the raised and recessed stitches sit side by side, which is exactly what creates that stretchy, knit-like ribbing you see on hats and cuffs.
How to Work Front Post Double Crochet (FPDC)
- Yarn over once, just like you would for a standard double crochet.
- Instead of inserting your hook into the top of the next stitch, insert it from front to back around the post of that stitch, entering to the right of the post and exiting to the left.
- Yarn over and pull up a loop, so you now have three loops on your hook.
- Yarn over and pull through two loops, leaving two loops on your hook.
- Yarn over and pull through the last two loops to complete the stitch.
- Move to the next stitch in the row and repeat.
How to Work Back Post Double Crochet (BPDC)
- Yarn over once.
- Insert your hook from back to front around the post of the next stitch, entering to the right of the post and exiting to the left on the back side of the fabric.
- Yarn over and pull up a loop, giving you three loops on the hook.
- Yarn over and pull through two loops.
- Yarn over and pull through the remaining two loops to finish the stitch.
- Continue to the next stitch.
Because your hook has to reach around the entire post rather than just the top two loops, BPDC can feel a little cramped at first, especially with thinner yarn. Slightly loosening your tension on the post stitches, without loosening it everywhere else, usually solves this.
Building Ribbing and Cables
Once both stitches feel comfortable on their own, try a simple ribbing swatch: chain a multiple of 2 plus 2, work a foundation row of regular double crochet, then on the next row alternate 1 FPDC, 1 BPDC across. Repeat that second row for every row after. You'll see distinct vertical ribs form almost immediately, and the fabric will have noticeably more stretch than a plain double crochet swatch.
Cables take this a step further by working front post stitches around posts from a row or two below, rather than the row directly beneath, and crossing groups of them over each other. That's a technique worth practicing on its own once post stitches feel automatic, but the wrap direction is identical to standard FPDC.
Troubleshooting Common Issues
Problem: My stitch count keeps drifting. Cause: Post stitches are easy to miscount because there's no obvious "top" to look for. Fix: Count the posts themselves at the end of every row, not the loops, and place a stitch marker in your first and last stitch of each row until counting becomes second nature.
Problem: My fabric is puckering or pulling tight. Cause: Post stitches naturally use more yarn than standard stitches, so pulling your tension the same as a normal double crochet row leaves too little slack. Fix: Loosen your grip slightly whenever you're wrapping around a post, and check your swatch periodically against a ruler to make sure it isn't shrinking in width.
Problem: I can't tell my front post stitches from my back post stitches once I've moved on. Cause: Both stitches use the same yarn overs and pull-throughs, so it's the direction of your hook, not the finished stitch, that differs. Fix: Look at which side of the fabric the stitch is bulging toward. Raised stitches facing you are front post; stitches pushed to the far side are back post.
Where to Use FPDC and BPDC
These stitches shine anywhere you want stretch paired with structure: hat brims, cowl edges, sweater cuffs, and waistbands all benefit from the extra give that ribbing provides. They're also a simple way to add visual interest to an otherwise plain project, since a single row of alternating FPDC and BPDC can turn a flat rectangle into something that reads as intentionally designed.
Once wrapping your hook around the post becomes automatic, you'll likely reach for these stitches often, they're one of the easiest ways to add professional-looking texture without learning an entirely new stitch pattern.