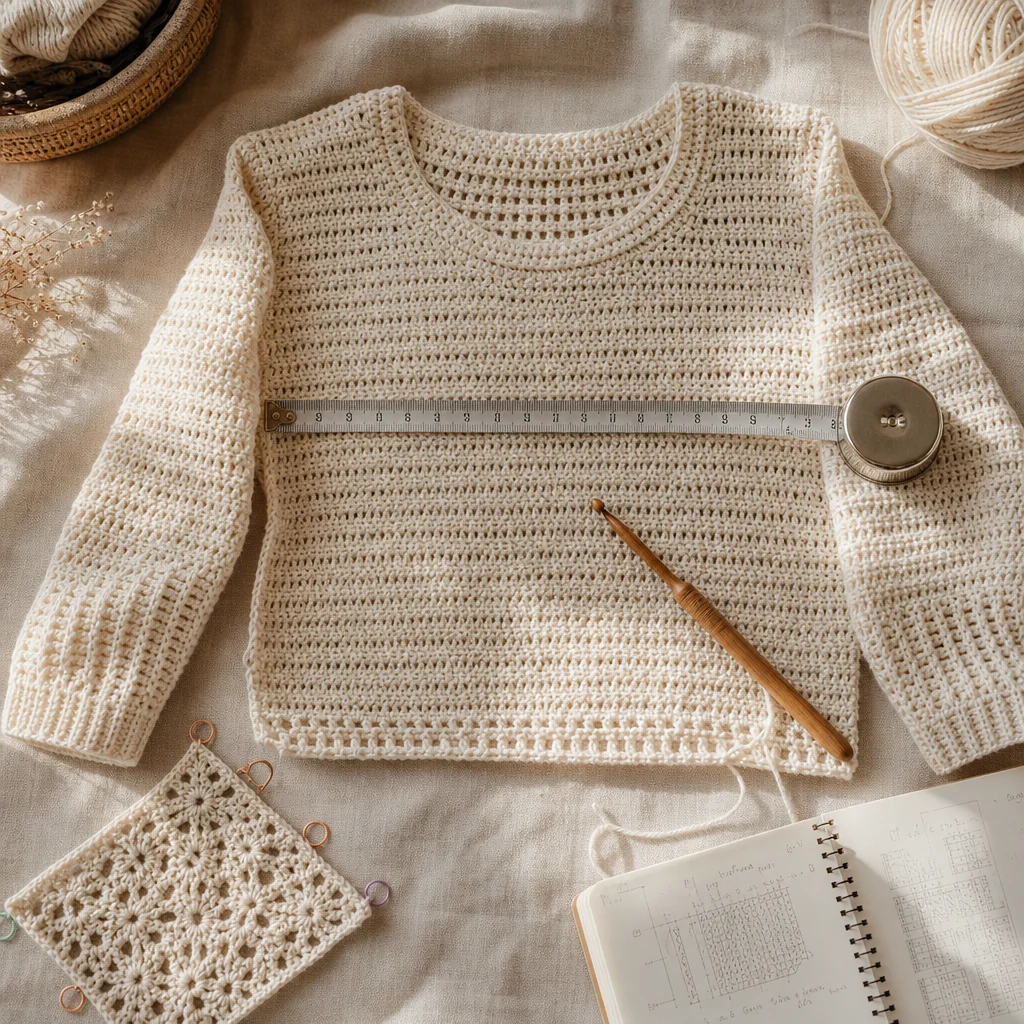
How to Resize Any Crochet Pattern to Fit You Perfectly
by Crochets Studio — A longtime crochet maker who learned pattern grading through years of adapting vintage patterns and fitting garments for friends and family. Now teaches others how to break free from standard sizing.
Resizing crochet patterns is all about gauge and proportional math—once you understand how to calculate stitch adjustments based on your measurements, you can customize any pattern to fit perfectly. This guide walks you through gauge swatching, calculating new stitch counts, adjusting pattern repeats, and modifying shaping elements. Whether you're adding inches to a sweater or scaling down a blanket, these techniques give you complete control over your finished dimensions.
Why Gauge Is Your Starting Point
Before you can resize anything, you need accurate gauge information. Gauge tells you exactly how many stitches and rows fit into a specific measurement with your chosen yarn and hook. Without it, you're guessing—and guessing leads to garments that don't fit.
Making a Proper Gauge Swatch
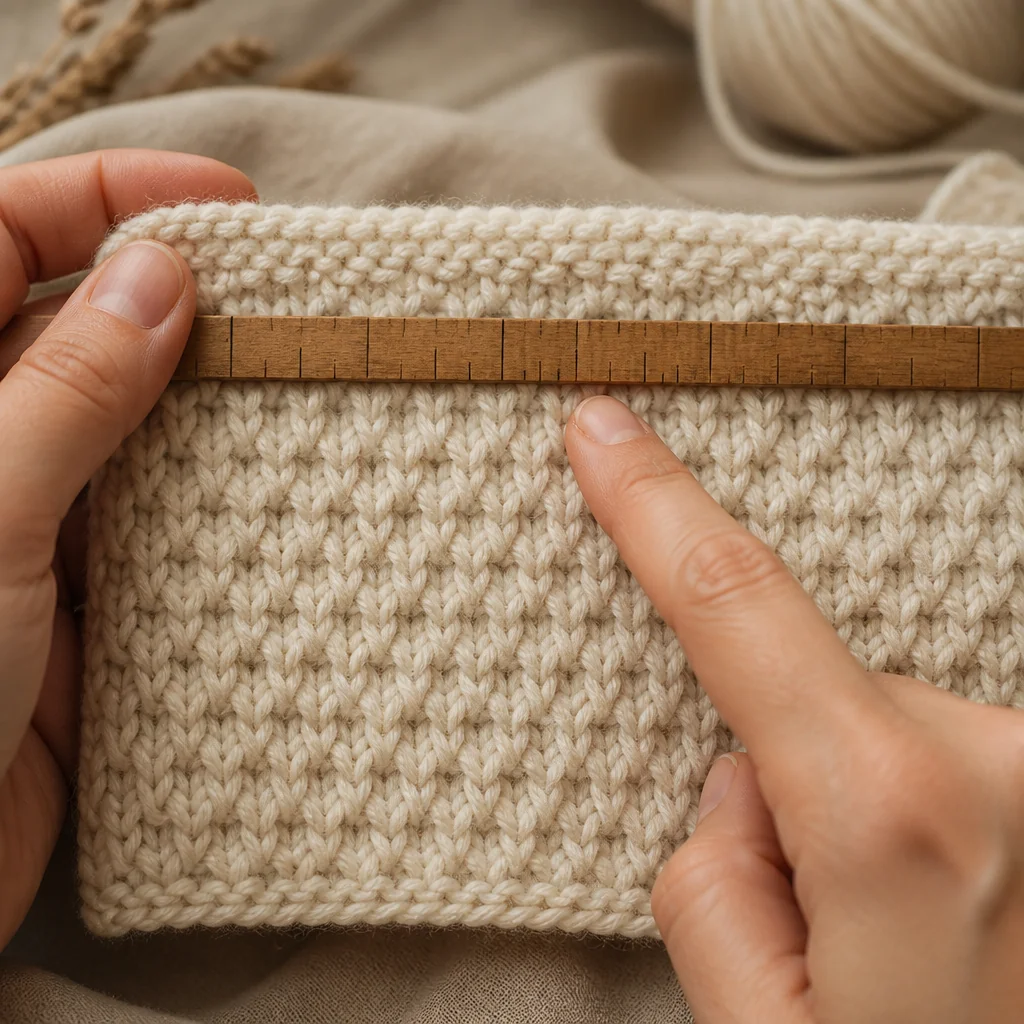
Crochet a square that's at least 5 inches by 5 inches using the exact yarn, hook size, and stitch pattern from your project. Work in the actual pattern stitch, not just single crochet, because different stitches have different densities. Once complete, block your swatch the same way you'll block the finished piece—wet blocking, steam blocking, or no blocking at all.
Lay your blocked swatch flat and measure a 4-inch section in the center, away from the edges where tension can be inconsistent. Count how many stitches fit across those 4 inches horizontally, and how many rows fit vertically. Write these numbers down—they're the foundation of every calculation you'll make.
The Core Resizing Formula
Resizing comes down to one essential calculation: desired measurement divided by original measurement, multiplied by original stitch count. This ratio tells you exactly how many stitches you need.
Let's say a pattern creates a 36-inch chest with 90 stitches, but you need 42 inches. Calculate: (42 ÷ 36) × 90 = 105 stitches. You'd need 105 stitches to achieve that 42-inch measurement, assuming you match the pattern's gauge exactly.
This formula works for any dimension—chest, hip, sleeve length, blanket width, hat circumference. The key is measuring accurately and using the pattern's stated gauge as your baseline.
When Your Gauge Doesn't Match
If your gauge swatch has more stitches per inch than the pattern, your work is tighter. If you have fewer stitches per inch, your work is looser. When your gauge differs from the pattern, you need to adjust your calculations accordingly.
Suppose the pattern gauge is 18 stitches per 4 inches, but your gauge is 20 stitches per 4 inches. For that same 42-inch chest, you'd calculate differently. First, find stitches per inch: 20 ÷ 4 = 5 stitches per inch. Then multiply by your target measurement: 42 × 5 = 210 stitches total.
Alternatively, you can change hook sizes to match the pattern gauge, which simplifies everything. Go up a hook size if your gauge is too tight, down a size if it's too loose, and swatch again.
Adjusting Width in Pattern Repeats
Most crochet patterns use stitch repeats—a sequence of stitches that repeats across the row to create texture or lace patterns. You can't just add random stitches; you must add or subtract in complete multiples of the repeat.
Finding the Pattern Repeat
Look for phrases like "multiple of 8 stitches" or "repeat between * and * across" in your pattern instructions. This tells you the repeat size. For a multiple of 8, you can have 80, 88, 96, or 104 stitches—but not 90 or 95.
If your calculation gives you 105 stitches but the pattern has an 8-stitch repeat, round to the nearest multiple. In this case, 104 stitches (13 repeats) or 112 stitches (14 repeats) would work. Choose based on whether you'd rather the garment be slightly smaller or larger.
Edge Stitches and Symmetry
Many patterns include edge stitches outside the main repeat for symmetry or seaming. A pattern might say "chain 83: 3 edge stitches, ten 8-stitch repeats, 3 edge stitches" (3 + 80 + 3 = 86 total). When resizing, keep those edge stitches constant and only adjust the number of repeats in the middle.
Length Adjustments: The Simple Fix
Length changes are straightforward—just work more or fewer rows. No complicated math required. If you want a longer sweater body, crochet additional rows before starting the armhole shaping. For a shorter sleeve, stop a few inches before the pattern indicates.
The trick is measuring consistently. Lay your work flat every few inches and measure from the foundation chain to your hook. Don't stretch or compress the fabric. Compare your measurement to the schematic dimensions, not just the row count, because your row gauge might differ slightly from the pattern.
Adjusting Striped or Colorwork Patterns
When working with stripes or color changes, add or subtract complete stripe sequences to maintain the design's visual balance. If the pattern has a 4-row stripe sequence, adjust by 4, 8, or 12 rows rather than odd numbers that would cut off mid-stripe.
Resizing Shaped Garments
Shaping—armholes, necklines, sleeve caps, waist increases—requires more thought than straight width or length adjustments. You're working with curves and angles that need to remain proportional.
Maintaining Shaping Ratios
When a pattern says "decrease 1 stitch at each edge every other row 6 times," that removes 12 stitches total over 12 rows. If you've added width to your garment, you might need to decrease more stitches, but spread them out to keep the curve gradual.
For example, if you added 16 stitches to the body width, you might decrease 1 stitch at each edge every other row 8 times instead of 6 times (16 stitches removed over 16 rows). This keeps the armhole curve proportional to the wider body.
Raglan and Set-In Sleeves
Raglan shaping is more forgiving—just work decreases over more rows to accommodate additional width. Set-in sleeves are trickier because the armhole depth and sleeve cap must match precisely. If you deepen the armhole, you need to add height to the sleeve cap accordingly. Measure both pieces frequently and adjust as needed.
Trying On During Construction
For garments, try on your work every few inches, especially before and after shaping sections. Pin pieces together temporarily to check fit. It's far easier to adjust five rows back than to finish an entire sweater and discover it doesn't fit.
Practical Resizing Tips
Keep detailed notes. Write down every modification you make—changed stitch counts, extra rows, adjusted shaping. You'll need this information if you make the pattern again or troubleshoot fit issues.
Calculate ease separately. Ease is the difference between your body measurement and the finished garment measurement. A 38-inch chest with 2 inches of positive ease needs a 40-inch garment. Factor ease into your target measurement before calculating stitches.
Consider fiber drape. Cotton stretches and drapes differently than acrylic or wool. A pattern designed for wool might need different ease allowances in cotton. Your gauge swatch helps predict this, especially after blocking.
Adjust one element at a time. If you're changing both width and length, complete the width adjustments first and verify they work before modifying length. This isolates problems if something goes wrong.
Reference garments help. Measure a similar item from your closet that fits well. Use those measurements as your target instead of body measurements. This accounts for your personal fit preferences.
When to Resize vs. Choose Another Pattern
Some patterns resize easily; others fight you. Simple construction with minimal shaping—rectangular blankets, basic beanies, straight scarves—adjust beautifully. Complex lace with intricate shaping might resist modification.
If you're adding or subtracting more than 20% of the original dimensions, consider finding a pattern closer to your target size. Extreme resizing can distort proportions—armholes too deep, necklines too wide, sleeves too narrow.
Similarly, if a pattern has elaborate colorwork or pictorial motifs sized to specific dimensions, resizing might compromise the design. Choose patterns with flexible stitch patterns that scale well.
Moving Forward With Confidence
Resizing crochet patterns transforms your crafting from following instructions to true garment construction. You're no longer limited to patterns in your exact size—you can adapt vintage patterns, customize designs for loved ones, and achieve professional-quality fit.
Start with simple projects: make a scarf wider, adjust a beanie's circumference, lengthen a simple sweater body. As you practice the calculations and see successful results, tackle more complex reshaping with armholes and necklines.
The math might feel awkward initially, but it becomes intuitive. Eventually, you'll glance at a pattern and immediately know what adjustments you need. That's when crochet becomes truly limitless.
Next step
Use Our Gauge Calculator