How to Fix a Twisted Foundation Chain in Crochet
by Crochets Studio — A lifelong fibre enthusiast based in Québec, our author learned to crochet from her grand-maman's kitchen table tutorials and has been untangling yarn problems ever since.
A twisted foundation chain is one of the most common and frustrating beginner mistakes in crochet, but it's entirely fixable. The key is learning to identify the twist before you work your first row, using simple prevention habits, and knowing when to unravel and restart. This guide walks you through the problem, its causes, and reliable fixes so your projects always begin on solid footing.
The Problem: What Is a Twisted Foundation Chain?
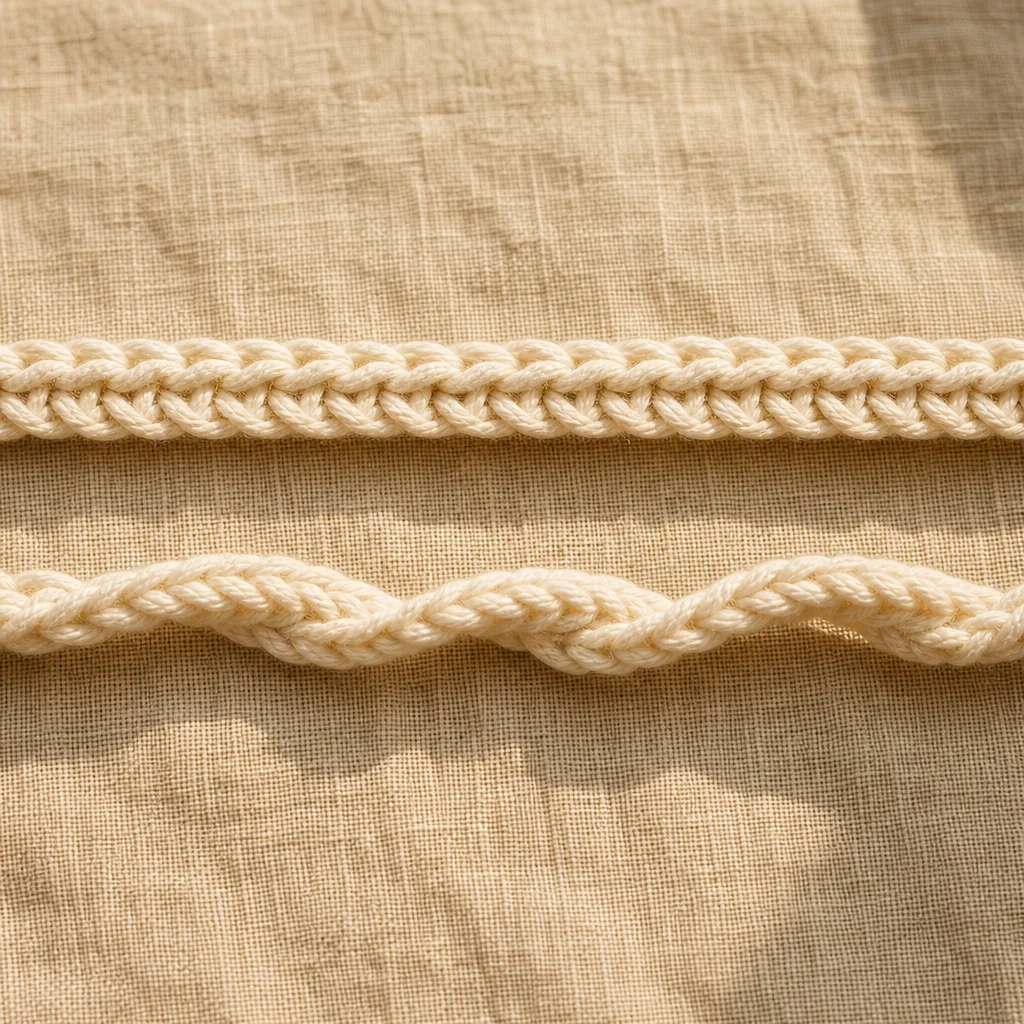
A twisted foundation chain occurs when one or more links of your starting chain rotate along the length before you begin working your first row of stitches. Instead of lying flat with all the V-shapes aligned and facing upward, the chain forms a subtle spiral or figure-eight shape. This twist gets locked in permanently once you crochet into it, causing your fabric to warp, curl, or form a Möbius-strip effect that cannot be blocked or steamed out.
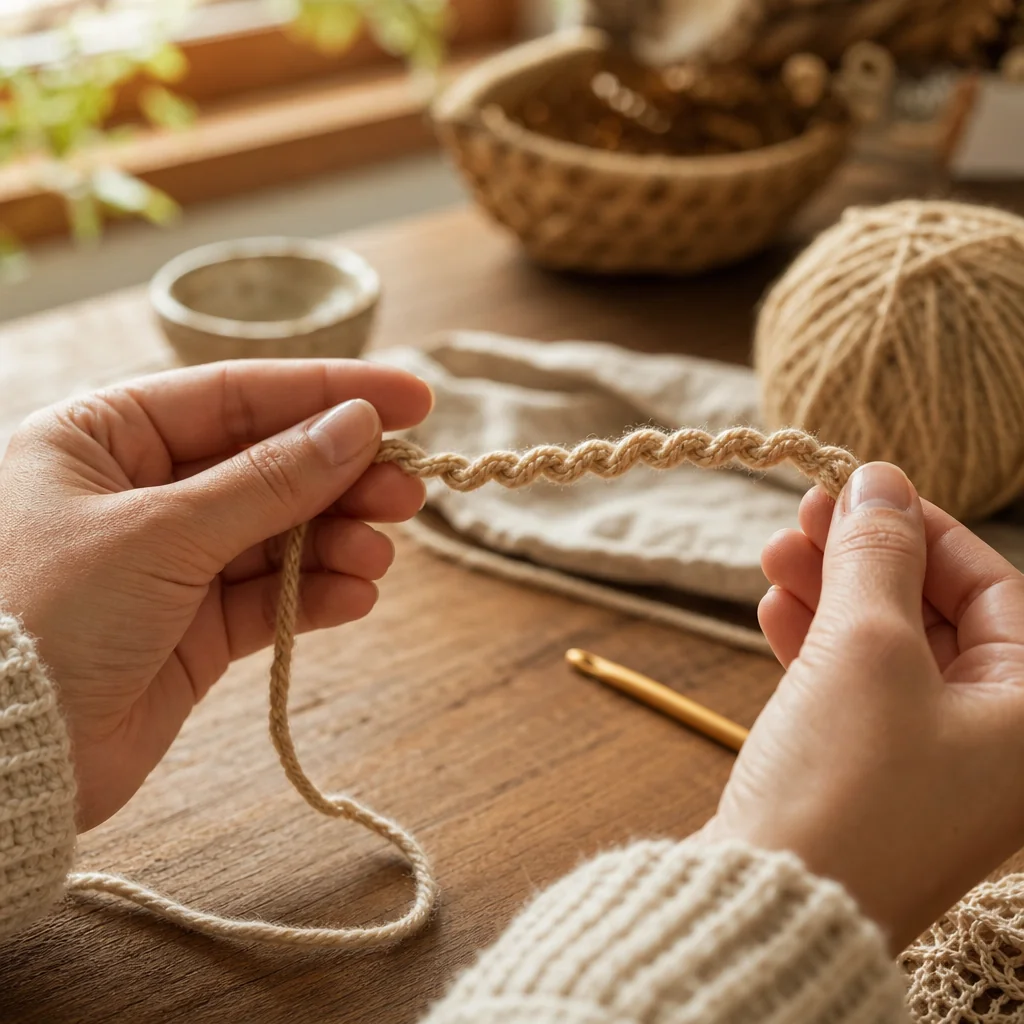
The problem is especially common in two scenarios: when working long chains (such as blanket or scarf foundations) and when joining a chain into a ring for hats, amigurumi, or other projects worked in the round.
The Cause: Why Does It Happen?
Natural chain behaviour
Foundation chains are inherently floppy and lightweight. They have no structural stiffness, which means even a slight tug or repositioning can introduce a half-twist you don't notice. The longer the chain, the more opportunity for rotation.
Working position
If you hold your chain in the air rather than resting it on a flat surface, gravity and tension from your working yarn can rotate individual links. Similarly, setting your work down and picking it back up can accidentally flip a section.
Joining in the round
When you slip stitch the last chain to the first to form a ring, you must visually confirm that no twist exists in the loop. A single half-twist here creates a permanent spiral in your tube or circle.
Tension inconsistencies
Uneven tension while chaining can cause some links to sit at slightly different angles, making it harder to spot a developing twist.
How to Identify a Twist
The flat-surface test
Lay your completed foundation chain on a flat, light-coloured surface such as a table or cutting mat. Gently straighten it without pulling. Look at the chain from one end to the other:
- No twist: All V-shapes face upward uniformly. The back bumps all face downward. The chain lies completely flat.
- Half twist: At some point along the chain, the Vs flip to face downward, then possibly flip back. The chain may form a subtle figure-eight.
- Full twist: The chain forms a visible spiral, like a phone cord.
The pinch-and-slide test
Hold one end of the chain between your thumb and index finger with the Vs facing up. Slide your fingers gently along the length. If you feel the chain wanting to rotate under your fingers, there's a twist hiding in there.
Checking a joined round
After slip stitching into a ring but before working Round 1, hold the ring up and look through the centre. All the V-shapes should face the same direction around the entire circle. If you see a twist, the chain is not flat.
The Fix: Step-by-Step Solutions
Scenario 1: You caught the twist before working Row 1
This is the best-case scenario. Simply lay the chain flat, locate the twist, and gently rotate the twisted section back into alignment. No stitches need to be undone.
- Place the chain on a flat surface.
- Pin or weight one end with a stitch marker or small object.
- Starting from the pinned end, smooth the chain flat link by link until you find where the twist begins.
- Gently rotate that section so all Vs face upward again.
- Confirm with the flat-surface test before proceeding.
Scenario 2: You caught the twist before joining a round
Same approach as above, but take extra care:
- Lay the chain in a circle on your table.
- Ensure all Vs face the centre (or all face outward, depending on your pattern's orientation).
- Only when the ring lies perfectly flat should you slip stitch to join.
- Place a stitch marker at the join to mark your round start.
Scenario 3: You've already worked one or two rows
If you notice the twist within the first couple of rows, frogging (unravelling) is quick and painless:
- Remove your hook from the working loop.
- Gently pull the working yarn to unravel each stitch back to the foundation chain.
- Once only the chain remains, fix the twist using Scenario 1 or 2 above.
- Re-insert your hook and begin Row 1 again.
Scenario 4: You've worked several rows or rounds
Unfortunately, a twist cannot be fixed in place once multiple rows lock it in. The fabric itself has been constructed in a spiral. The only reliable fix is to frog completely back to the chain and restart. While this is frustrating, it saves hours of work on a project that will never lie flat.
Some crocheters try to cut the chain and re-seam, but this introduces weak points and visible joins. For most projects, a clean restart produces far better results.
Prevention: Habits That Eliminate Twists
Keep the chain on a surface
As you create your foundation chain, let it rest on your lap, a table, or a crochet mat. Periodically smooth it out flat. This single habit prevents the majority of twists.
Use stitch markers as anchors
Place a locking stitch marker through the first chain you make and another every 20-25 chains on long foundations. These markers act as orientation references, making twists visible immediately.
Count before you commit
Always count your chain stitches and visually inspect the full length before working Row 1 or joining in the round. Make this a non-negotiable checkpoint.
Work slowly on long chains
The temptation to rush through a 150-chain blanket foundation is real, but slowing down and checking every 30-40 stitches saves time in the long run.
Consider alternative foundations
If you find yourself constantly fighting twisted chains, explore foundation stitches like the foundation single crochet (FSC) or foundation double crochet (FDC). These methods build the chain and the first row simultaneously, eliminating the separate chain step entirely. They're slightly more advanced but worth learning.
The rubber band trick for joined rounds
When working in the round with a long chain, thread the chain through a drinking straw or lay it around a circular object (like a jar lid) to hold it flat while you join. This gives you a visual reference for alignment.
Common Mistakes When Fixing Twists
- Forcing the twist out by blocking: Wet blocking or steam cannot remove a structural twist. The fabric will spring back when dry.
- Over-tightening the chain: Some beginners crochet their chain extremely tightly thinking it will prevent twisting. This actually makes twists harder to see and harder to correct.
- Ignoring a small twist: Even a half-twist in a joined round creates a noticeable defect. Fix it every time, no matter how minor it seems.
When to Use Foundation Stitches Instead
If your pattern allows it, foundation single crochet (FSC), foundation half double crochet (FHDC), and foundation double crochet (FDC) are excellent twist-proof alternatives. Because you create the chain and the first row in a single pass, there's no loose chain to twist. These stitches also produce a stretchier edge, which is a bonus for garments and accessories.
Practice Makes It Automatic
Checking for twists becomes second nature after just a few projects. Eventually, your fingers will feel when something isn't right before your eyes even confirm it. Be patient with yourself during the learning curve. Every experienced crocheter has frogged a twisted chain more than once. The important thing is that you know exactly how to fix it now.