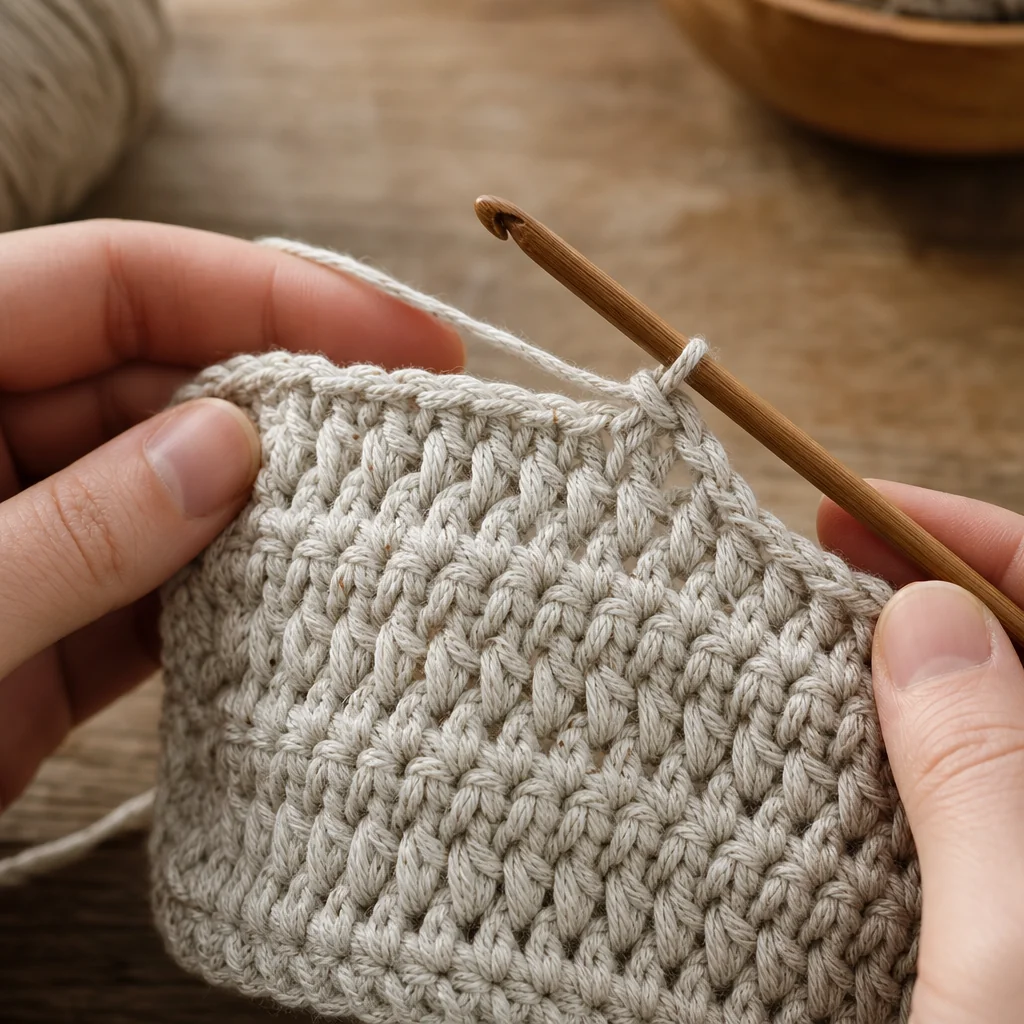
How to Fix Holes and Gaps Between Stitches
by Crochets Studio — Sophie has been crocheting for over fifteen years and loves helping makers troubleshoot those frustrating tension issues that can make or break a project. She's based in Montreal and teaches beginner workshops at local yarn shops.
Those frustrating little gaps between your crochet stitches aren't a sign you're doing something wrong—they're a natural result of how tall stitches are constructed. The good news is that with better tension control and consistent hook placement, you can minimize or eliminate them entirely. This guide walks you through exactly why gaps happen and how to fix them at every stage of your work.
Why Gaps Appear Between Stitches
Gaps and holes between crochet stitches are one of the most common frustrations for beginners and intermediate crocheters alike. You've counted your stitches carefully, followed the pattern precisely, and yet your fabric looks loose or uneven. The culprit is almost never your stitch count—it's how you're forming each individual stitch.
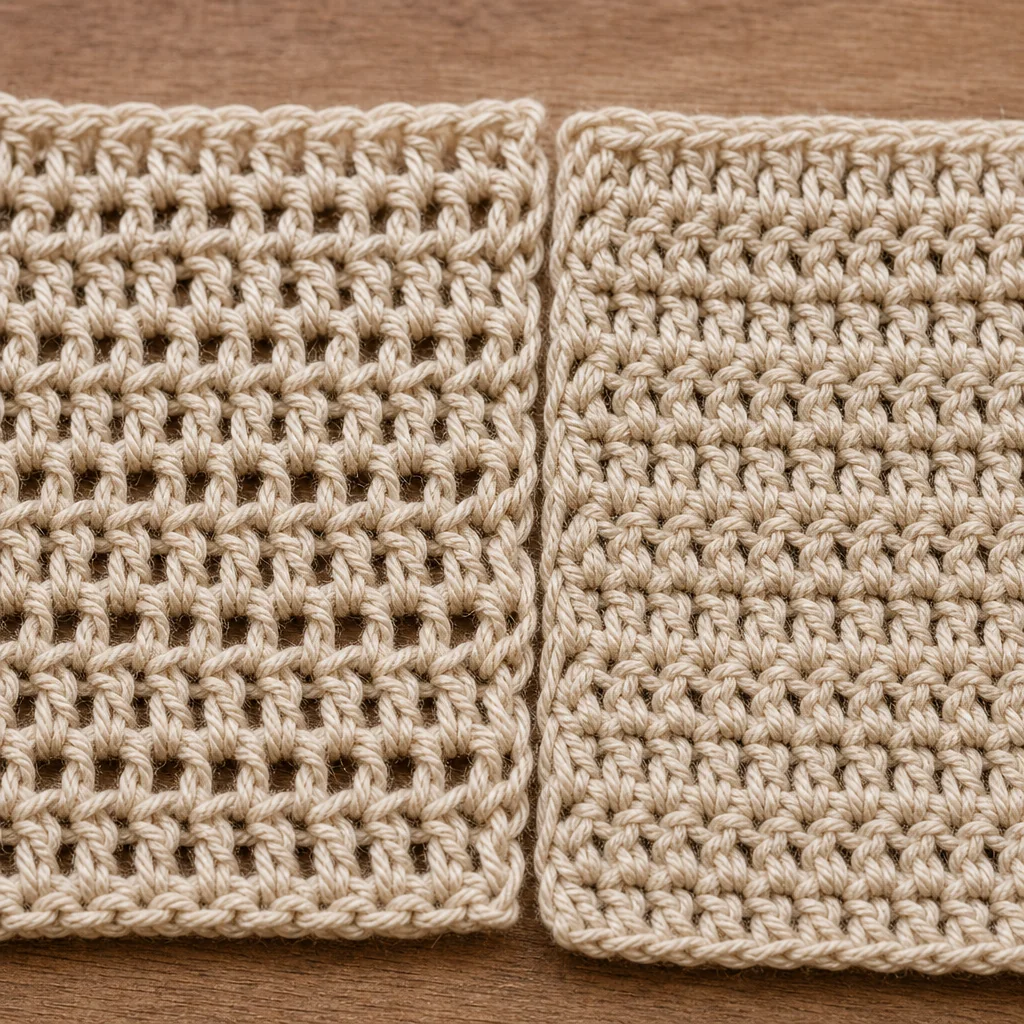
Understanding why gaps happen is the first step to fixing them. Let's break down the main causes.
Loose Tension on the Final Yarn Over
Every crochet stitch ends with pulling yarn through loops on your hook. If you pull that final loop too loosely, it creates slack in the working yarn. That slack translates directly into a visible gap next to the stitch you just completed. This is especially noticeable with taller stitches like double crochet or treble crochet, where each stitch has multiple yarn overs.
The key word here is "snug," not "tight." You want the final loop to sit comfortably on your hook without excess slack, but pulling too tightly will distort the stitch and make your fabric rigid.
Inconsistent Hook Placement
Where you insert your hook matters more than you might think. If you're inserting your hook too far into the previous stitch—past both loops and into the body of the stitch—you're effectively creating extra space. Similarly, if you're only catching one loop when you should be working under both, the fabric structure changes and gaps appear.
Consistent hook placement means inserting your hook in the same place every time, typically under both the front and back loops of the stitch unless your pattern specifies otherwise.
The Natural Architecture of Tall Stitches
Here's something important to understand: double crochet, half double crochet, and treble crochet stitches are supposed to have more open space between them than single crochet. This isn't a flaw—it's how these stitches are designed.
The vertical posts of tall stitches create a more open, airy fabric. If you're working a double crochet project and comparing it to a single crochet swatch, the double crochet will always look more open. That's intentional. The question is whether the gaps look even and intentional, or irregular and messy.
Turning Chain Issues
The turning chain at the beginning of each row acts as a substitute for the first stitch. If your turning chain is too tall, it creates a gap at the edge. If it's too short, it pulls the edge tight and can cause the first real stitch to lean.
Different crocheters have different natural tensions, so you might need to adjust the standard turning chain height. Some people use 2 chains instead of 3 for double crochet, while others need 4.
Yarn Weight and Hook Size Mismatch
If your hook is too large for your yarn weight, the stitches will naturally be more open and loose. While this creates a drapey fabric, it can also result in gaps that look unintentional. Check your gauge and consider going down a hook size if your fabric is looser than the pattern intended.
How to Fix Gaps: Practical Solutions
Now that you understand the causes, let's look at concrete fixes you can apply immediately.
Adjust Your Tension Mid-Stitch
Pay attention to that final pull-through. After you yarn over and pull through the last loops, pause for a split second and assess the loop sitting on your hook. If it looks slack or oversized compared to your other stitches, gently tug on your working yarn to snug it up before moving to the next stitch.
This doesn't mean yanking the yarn tight. Think of it as "settling" the stitch into place. The loop should sit comfortably on your hook shaft without sliding around loosely.
Master Consistent Hook Insertion
For standard stitches, insert your hook from front to back under both the front loop and back loop of the stitch. Your hook should pass cleanly under both strands without catching the body of the stitch below.
If you're having trouble visualizing where to insert your hook, work in good lighting and tilt your work toward you slightly. You should be able to see both loops clearly forming a "V" shape at the top of each stitch.
Use Front Loop or Back Loop Techniques Strategically
Working into only the front loop or only the back loop changes the fabric density and can help reduce gaps in specific situations. Front loop only stitches create a ridge and pull the fabric tighter. Back loop only stitches also create texture and can close up spaces between rows.
Try working a test swatch where you alternate between working under both loops and working in back loops only. You'll notice the back loop rows sit tighter and more compact.
Adjust Your Turning Chain Height
If you consistently have gaps at the edge of your rows, experiment with your turning chain count. For double crochet, the standard is 3 chains, but if you have loose tension, try 2 chains instead. If you have tight tension, you might need 4 chains.
Make a small swatch with different turning chain heights and compare the edges. The correct height will create an edge that blends smoothly with the rest of the row without a visible gap or pucker.
Go Down a Hook Size
If gaps persist across your entire project despite tension adjustments, your hook might be too large. Try going down half a size (from 5.0mm to 4.5mm, for example) and work a test swatch.
A smaller hook forces the stitches to sit closer together, reducing the natural space between them. Just be sure to check your gauge afterward—changing hook size will also change your finished dimensions.
Block Your Finished Project
Blocking is the process of wetting or steaming your finished crochet piece and shaping it as it dries. This evens out tension irregularities and helps distinguish intentional design elements from mistakes.
If your gaps are part of the natural drape of tall stitches, blocking will make them look even and deliberate. If your gaps are from inconsistent tension, blocking will minimize (though not eliminate) the irregularity.
To block, wet your project with cool water, gently squeeze out excess moisture, lay it flat on a towel or blocking mat, and shape it to the correct dimensions. Pin edges if needed and let it dry completely.
When Gaps Are Actually Fine
Not all gaps need fixing. Part of learning crochet is understanding when openness is a feature, not a bug.
Lacy Patterns
If you're working a lacy shawl or doily pattern, gaps are the point. These patterns use chain spaces and tall stitches deliberately to create an open, delicate fabric. Blocking is essential here to open up the lace and show off the pattern.
Lightweight Summer Garments
A summer tank top or beach cover-up made with double crochet is supposed to be airy and breathable. The gaps between stitches allow airflow and create drape. Don't try to eliminate them—embrace them.
Intentional Fabric Drape
Some garment patterns specifically call for a larger hook size to create a fluid, drapey fabric. The resulting gaps are intentional and contribute to how the garment hangs and moves.
Practice Makes Consistent
Tension is a muscle memory skill. The more you crochet, the more your hands learn to maintain consistent tension automatically. If you're a newer crocheter, know that gaps are a phase you'll work through.
Make swatches with different stitch types and practice the moment of pulling through that final loop. Notice when your tension loosens (often at the end of a row or when you're distracted) and consciously snug it back up.
Over time, your natural tension will become more even, and gaps will shrink or disappear on their own. Until then, the techniques above will help you close them up and create cleaner, more polished projects.
Next step
Explore more crochet techniques