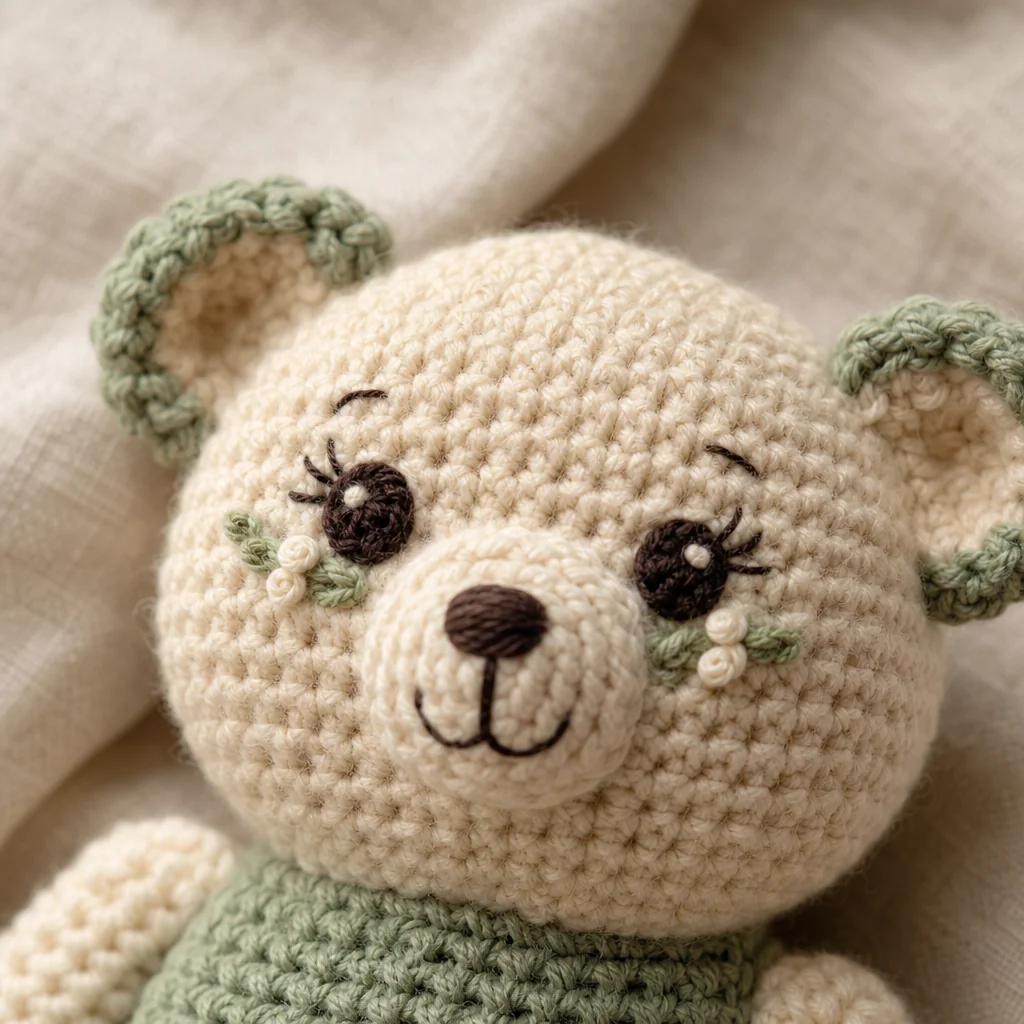
Safety Eyes vs. Embroidered Eyes: What's Safe for Baby Toys
by Crochets Studio — Written by a Crochets.ca contributor who has spent more evenings than she'll admit picking out plastic eyes and switching to embroidery floss for anything headed to a nursery.
For any amigurumi a baby or toddler under three will touch, mouth, or handle unsupervised, embroidered eyes are the safer pick over plastic safety eyes, no matter how well the washers are secured. Safety eyes are still fine for display pieces or gifts for older kids. Below is a full comparison plus a simple method for embroidering eyes that still look polished.
Why Safety Eyes Are a Risk for Little Ones
Plastic safety eyes are popular for a reason: they snap in cleanly, they come in every size and colour, and they give amigurumi that crisp, professional look you see in pattern photos. The mechanism is a shank with little plastic teeth on the front and a washer that locks onto the back from inside the stuffing.
The problem is fabric and stuffing stretch and shift with repeated handling, washing, chewing, and tugging. A washer that was snug on day one can work loose after months of love from a toddler who mouths everything. If that eye pops free, it's a small, hard, round object, exactly the shape and size that poses a choking hazard for a child under three. Glue and extra washers help, but they don't eliminate the risk, they only reduce it.
This is why most safety guidelines for handmade toys, including those referenced by toy safety standards like ASTM F963, treat small detachable parts as a hazard category on their own, separate from general toy safety. If a toy is going into a crib, a diaper bag, or a toddler's hands without supervision, that risk isn't worth taking.
Safety Eyes vs. Embroidered Eyes: Side-by-Side
Safety Eyes
- Look: Glossy, uniform, very close to store-bought toys
- Speed: Fast to attach, just snap and lock
- Risk: Can detach with enough force or wear, choking hazard for under-three
- Best for: Display amigurumi, shelf decor, gifts for kids over three, adult collectors
- Extra step for durability: Add a dab of fabric glue behind the washer for extra hold, but never rely on glue alone as a safety measure
Embroidered Eyes
- Look: Softer, slightly more handmade, but still expressive and charming with practice
- Speed: Slower, needs a steady hand and a few extra minutes per eye
- Risk: None, there's no hard or detachable piece, just yarn stitched into yarn
- Best for: Any toy meant for a baby or toddler under three, teething toys, toys that go in the wash, toys used unsupervised
- Bonus: Full control over expression, you can adjust size, tilt, and spacing until the face feels right
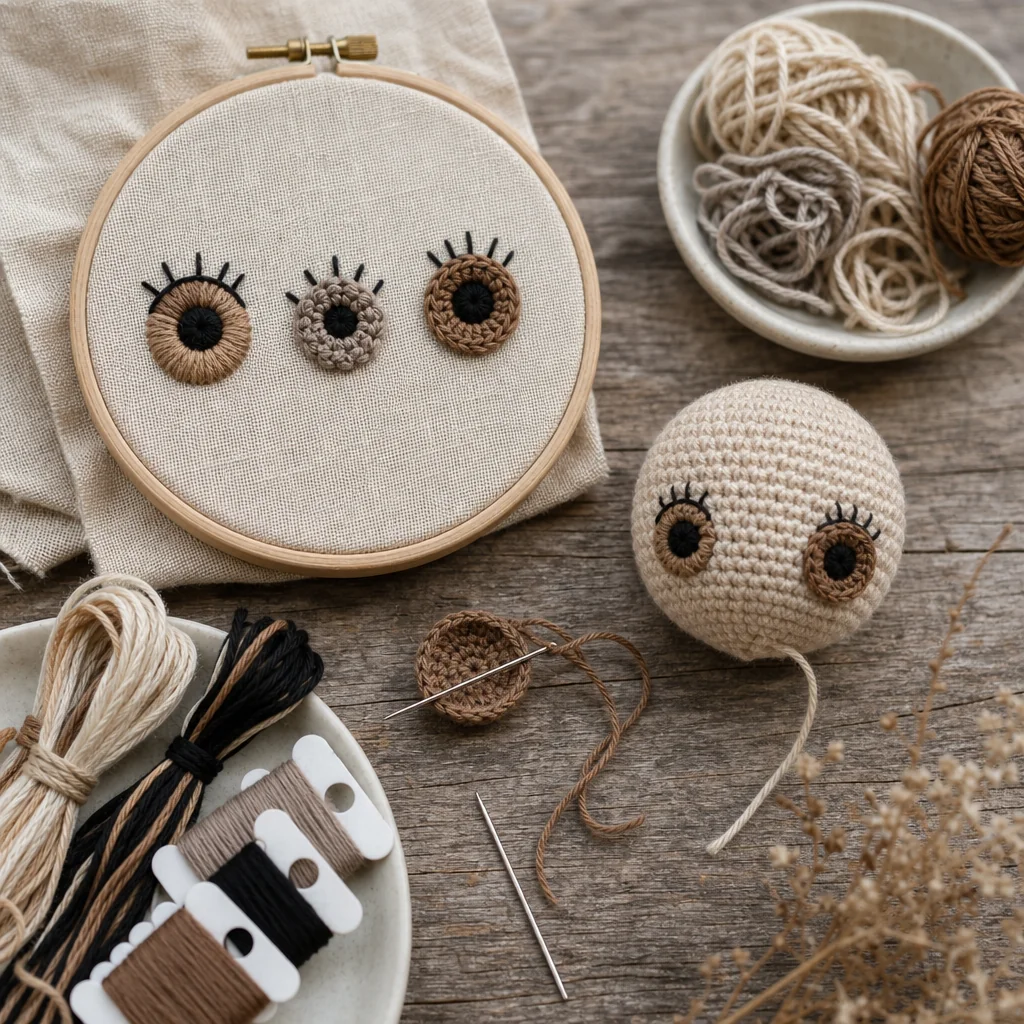
How to Embroider Safe Amigurumi Eyes
Embroidering eyes sounds intimidating if you've only ever snapped in plastic ones, but it's a simple skill and it gets easier after the first toy.
Materials
- A tapestry needle (blunt tip, large eye)
- Contrasting yarn or embroidery thread in black or dark brown
- Stitch markers or straight pins, for testing placement
- Small sharp scissors
- The stuffed amigurumi head, stuffed firmly before you begin
Steps
- Finish stuffing the head first. Eyes placed on a soft or half-stuffed head will look off once the piece is fully filled, so stuff firmly before marking anything.
- Test placement with pins or markers. Hold the pins in place and step back to check symmetry, spacing, and how far apart the eyes sit relative to the rows of the head. Small shifts make a big difference to the final expression.
- Thread your needle with a length of yarn or embroidery thread, leaving a short tail.
- Anchor the yarn inside the head. Insert the needle somewhere it will be hidden, like the back of the head, and bring it out at the first eye point, tugging the knot through so it disappears into the stuffing.
- Stitch the eye shape. For a simple round eye, work several short straight stitches in a small circle, layering them like a tiny satin stitch until the shape is solid and even. A French knot works well too if you want a slightly raised, rounder look.
- Move to the second eye without cutting the yarn. Run the needle through the stuffing from the first eye to the second, so there's no visible thread on the outside.
- Repeat the stitch shape for the second eye, matching size and density to the first.
- Secure and hide the tail. Take the needle back through the head to a hidden spot, tie off if needed, and trim close so the tail disappears into the stuffing.
A bit of practice with scrap yarn on a spare amigurumi ball before committing to the real project helps a lot, especially for getting both eyes the same size.
When Safety Eyes Are Okay to Use
Safety eyes aren't inherently bad, they're just a mismatch for certain audiences. They're a good choice when:
- The toy is a display piece that won't be handled by children
- It's a gift for a child confidently past the mouthing stage, generally three and up, and a caregiver has confirmed that's appropriate
- The finished piece will live on a shelf, in a craft fair booth, or as part of a photo prop setup
If you do use safety eyes in any of these cases, always use the correct size washer for the shank, press until you hear or feel it lock, and add a small dot of fabric glue on the back for extra security against wear over time.
A Simple Rule of Thumb
If a toy will be used, mouthed, or handled unsupervised by a child under three, skip anything with small, hard, removable parts entirely. That includes safety eyes, but also plastic noses, buttons used as joints or decoration, and beads. Embroidered features, felt appliqué stitched securely with tight whip stitches, or safety-tested soft materials designed for infants are the better substitutes.
When you're not sure who will end up holding the toy, or how old they'll be by the time it's handed down, embroider. It takes a little longer per project, but it removes the risk altogether, and it's a skill that gets faster and more confident with every amigurumi you make.
Ready to Practice?
Embroidered eyes are just satin stitch and French knots applied to a 3D surface, both worth practicing until they feel natural. Browse baby-safe amigurumi patterns built around embroidered features so your next make is both adorable and safe from the first stitch.
Next step
Browse baby-safe amigurumi patterns