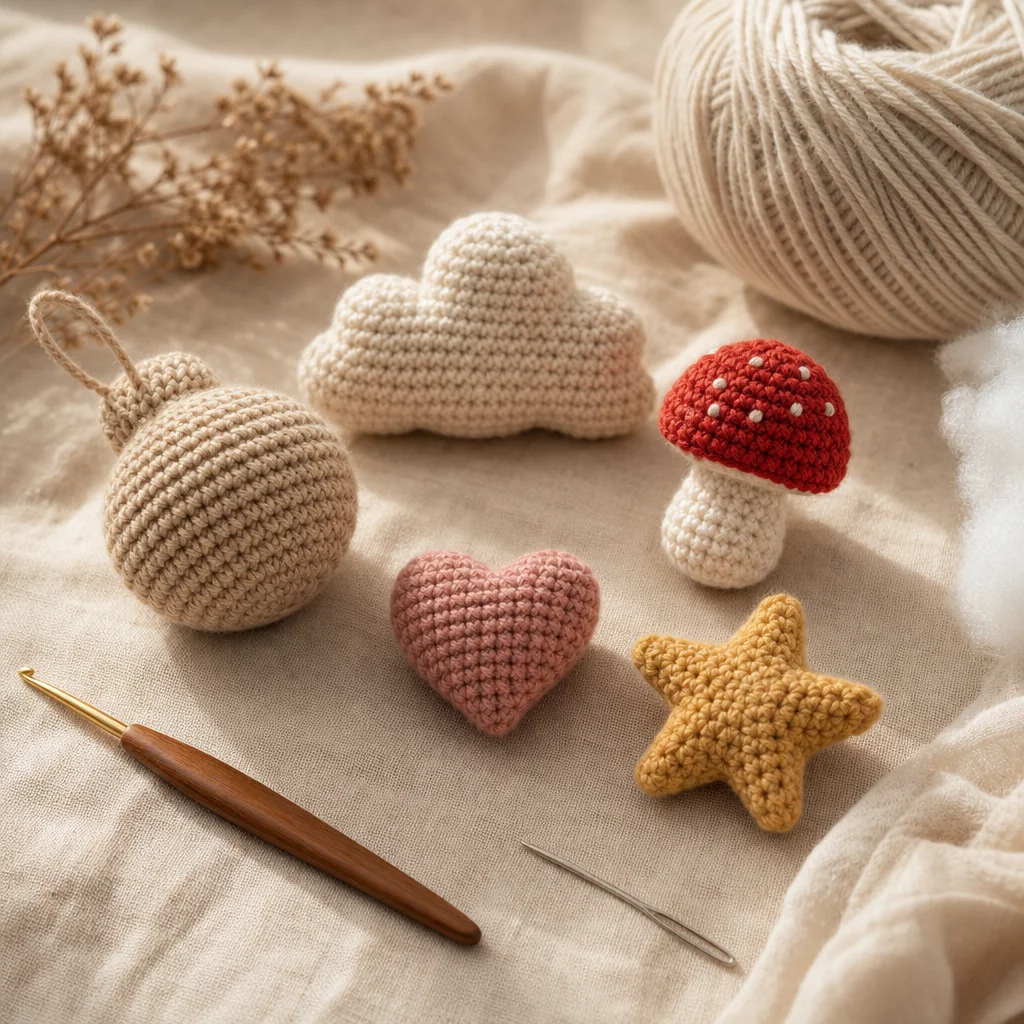
15 Easy Amigurumi Patterns for Your First Month of Crocheting
by Crochets Studio — Written by a Crochets.ca contributor who has a basket of half-finished amigurumi on every flat surface in her apartment and no regrets about it.
If you know the magic circle, single crochet, and how to increase and decrease, you already have everything you need for these 15 amigurumi projects. Each one is small enough to finish in a sitting or two, which means more repetition, more confidence, and more finished toys by the end of the month.
Why Amigurumi Is the Best Way to Learn Crochet
Most beginners quit early because they pick a project that's too big. A sweater takes weeks to reveal your mistakes, but an amigurumi ball takes ten minutes. That fast feedback loop is exactly why amigurumi is the best training ground for new crocheters: you make a shape, see the result immediately, and adjust before your next attempt.
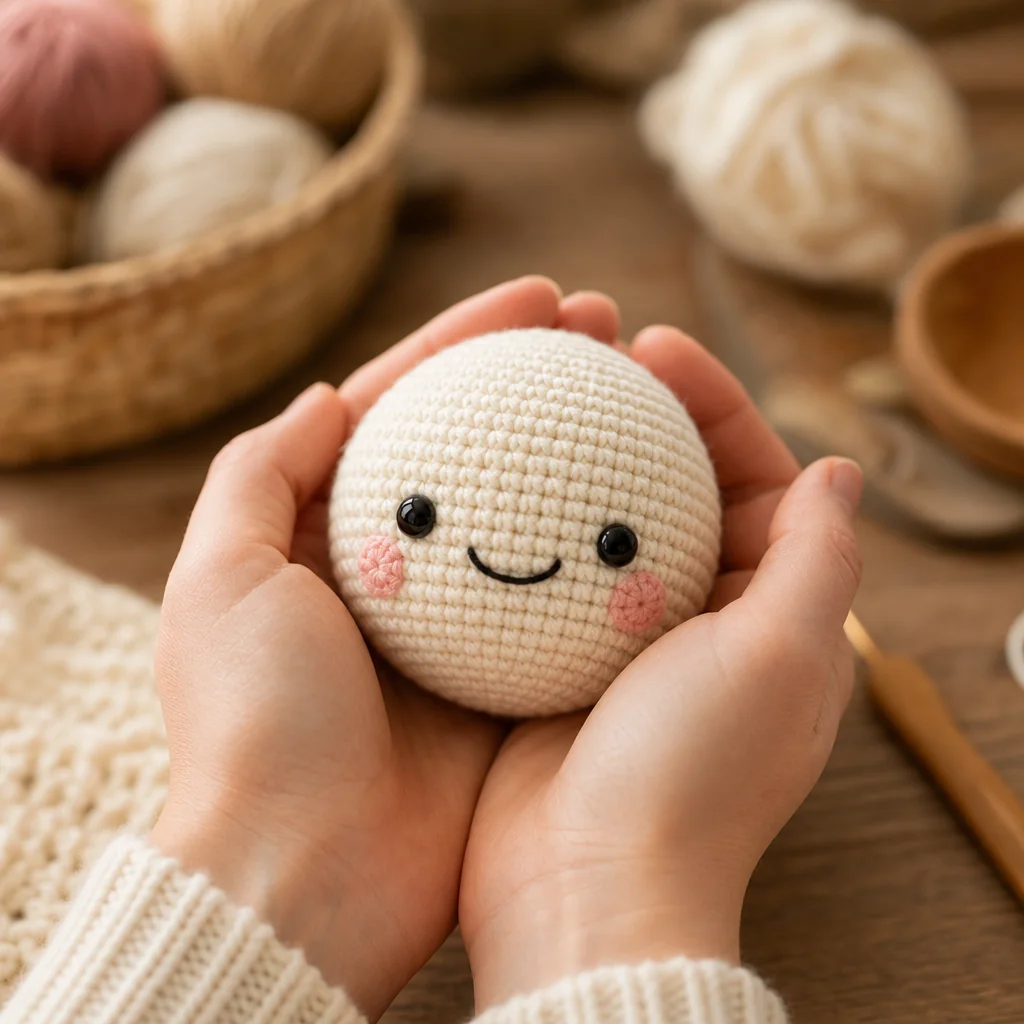
If you've already learned the magic circle, single crochet, and basic increases and decreases, you don't need any new stitches for the projects below. You just need to repeat those same four skills on slightly different shapes until your hands stop thinking about each stitch and start doing it automatically.
What to Look For in Your First Patterns
Stitch Requirements
For your first month, screen out anything with bobbles, popcorn stitches, or color changes mid-round. Stick to patterns that use:
- Single crochet only, worked in continuous spiral rounds
- A magic circle start (not a chain-and-join start)
- Increases and decreases as the only shaping tools
Shape Requirements
Simple geometry is your friend right now. Look for:
- Six to eight rounds per body part, no more
- Round, oval, or cone shapes rather than anything with limbs or joints
- One piece of stuffing, one seam, done
Materials You'll Need
- Worsted weight (4) cotton or acrylic yarn in 2-3 colors
- A 3.5mm or 4mm crochet hook (check your yarn label for the recommended size, then go one size down for tighter, gap-free stitches)
- Polyester fiberfill stuffing
- A yarn needle for closing seams and weaving in ends
- Stitch markers or a small paperclip to track the start of each round
- Small safety eyes or black scrap yarn for faces (optional)
How to Crochet a Basic Amigurumi Shape
Every project on this list follows the same core sequence. Once you can do this from memory, you can make all fifteen.
- Make a magic circle and work 6 single crochet stitches into it. Pull the tail to close the ring.
- Increase every stitch in round 2 (12 stitches total). This doubles your stitch count and starts the rounded base.
- Increase every second stitch in round 3 (18 stitches total), spacing the increases evenly.
- Work even rounds (no increases or decreases) for the widest part of the shape, usually 2-4 rounds depending on the size you want.
- Stuff the shape about two-thirds full before you start decreasing. It's much harder to add stuffing once the opening gets small.
- Decrease every second stitch for one round, then decrease every stitch for the final round or two until the opening is small.
- Close the seam by cutting the yarn, leaving a 15cm tail, and weaving it through the remaining stitches. Pull tight and knot on the inside.
- Weave in all loose ends with your yarn needle before adding a face or any details.
That's the entire mechanic behind a ball, an egg, a mushroom cap, and most of the projects below. The differences are just where you stop increasing and how many even rounds you work.
15 Beginner-Friendly Amigurumi Projects to Try
Round and Oval Bodies
- A round ball ornament
- A simple egg shape
- A round strawberry
- A round owl
- A mini pumpkin
- A round fish
Heads and Faces
- A basic round-headed bear
- A cloud with a smiling face
- A basic bunny with no joints
- A simple bee with wing appliqués
Small Shapes and Details
- A tiny mushroom with a stem and cap
- A cactus in a pot
- A small heart keychain
- A tiny snail
- A simple star
Each of these uses the same eight-step sequence above, just stopped at a different round count or stacked with a second, smaller piece (like a mushroom cap on a stem, or a bear's head on a body).
Pacing Your First Month
Resist the urge to rush through all fifteen in a weekend. Aim for one small project every 4-5 days instead. The goal isn't a finished collection, it's consistent tension. When you crochet the same basic shape five or six times, your hands learn how tight to pull each loop without you consciously thinking about it, and that consistency is what separates lumpy amigurumi from smooth, professional-looking ones.
If you finish a project and it looks uneven, don't scrap it. Set it on a shelf, start the next one, and compare them side by side later. You'll see the improvement faster than you'd expect.
Troubleshooting Common First-Timer Issues
Problem: My shape looks like a bowl instead of a ball. Cause: Not enough increase rounds, or increases stopped too early. Fix: Follow the increase schedule exactly for the first 3 rounds before switching to even rounds. Curling inward means you need at least one more increase round.
Problem: There are visible holes between stitches. Cause: Your hook is too large for your yarn weight, or your tension is loose. Fix: Drop to a smaller hook size and crochet a bit tighter than feels natural. Amigurumi is worked tighter than garments specifically to hide the stuffing.
Problem: The seam looks lumpy or the opening won't close flat. Cause: Too much yarn tail left in the last round, or stuffing pushed too close to the opening. Fix: Decrease down to 4-6 stitches before closing, and push stuffing back slightly before you weave the tail through the final loops.
Your Next Step
Once you've worked through a few of these shapes, browse the full amigurumi collection to find your next project with the right skill level and yarn already matched for you.