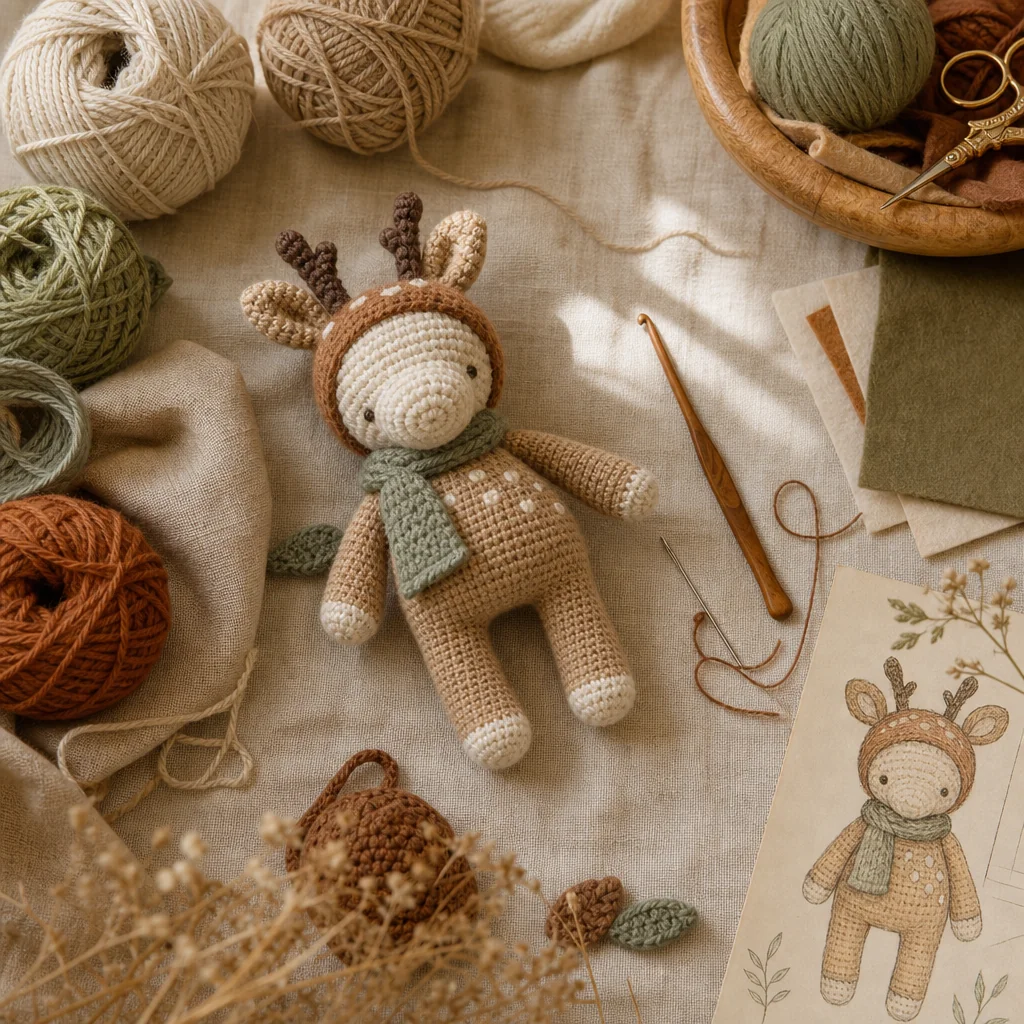
How to Design Your Own Amigurumi Character
by Crochets Studio — Written by a longtime amigurumi maker at Crochets.ca who still keeps a drawer full of lopsided prototype heads as proof that practice pays off.
Designing your own amigurumi character is simpler than it looks: sketch a rough idea, break it into spheres, ovals, and cylinders, then build a stuffed prototype round by round. This guide walks you through every step, from choosing yarn and hook size to writing down your finished pattern.
Why Design Your Own Amigurumi Character
Most amigurumi crocheters start by following someone else's pattern, and that's a great way to learn. But once you're comfortable with magic rings, increases, and decreases, designing your own character opens up a whole new level of fun. You're no longer just executing instructions, you're inventing a little creature from scratch, and that little creature can be anything you want: a mascot for your shop, a gift shaped like your kid's favorite animal, or a character that only exists in your head until you make it real with yarn.
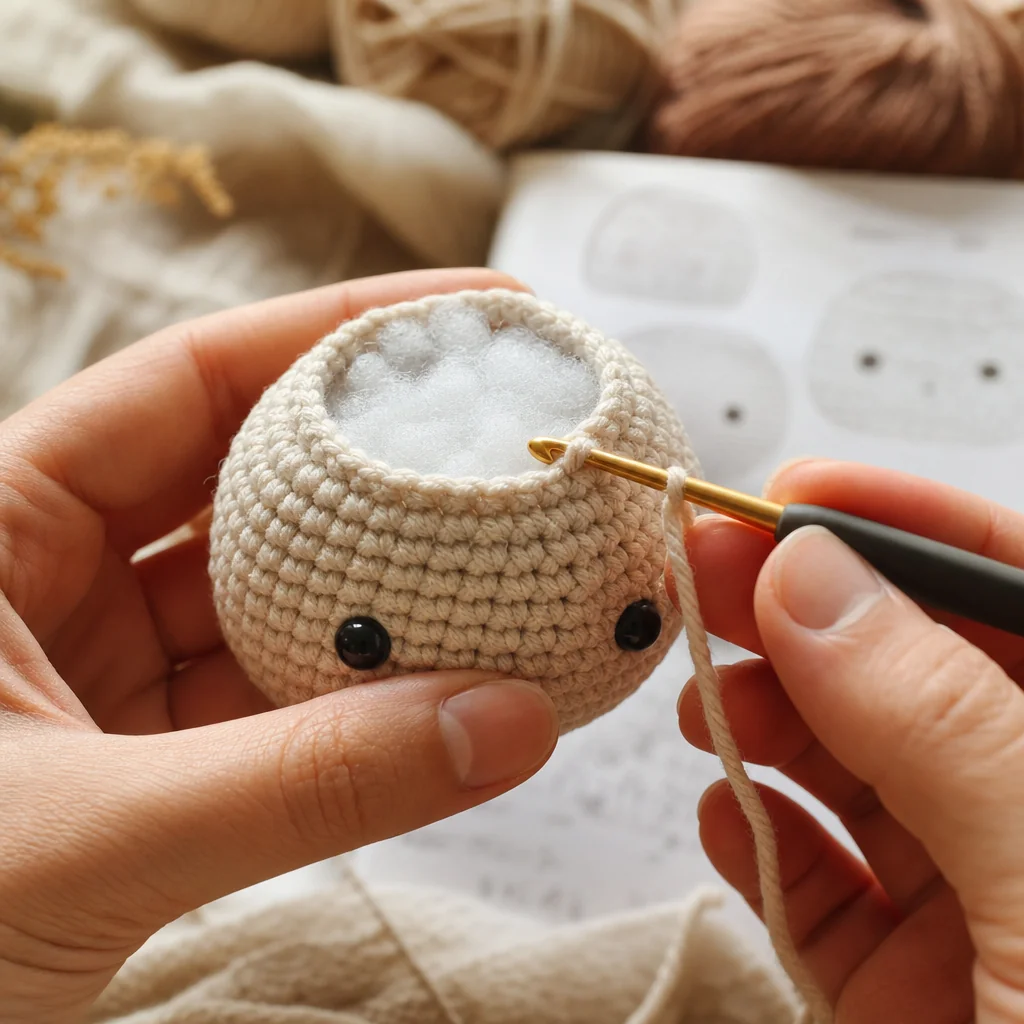
The process is more approachable than it sounds. You don't need drawing skills or design training. You need a rough idea, a handful of basic shapes, and the patience to try, adjust, and try again.
What You'll Need
Materials List
- Worsted or DK weight yarn in your main colors (100% cotton or a cotton-acrylic blend holds its shape well and doesn't split easily)
- A 3.5mm or 4mm crochet hook, sized to keep your stitches tight
- Polyester fiberfill stuffing
- Locking stitch markers, to track the start of each round
- A yarn needle for assembly and weaving in ends
- Small sharp scissors
- Safety eyes or embroidery floss for the face
- Felt scraps and fabric glue, optional, for extra details like cheeks or noses
- A notebook or a note-taking app to record your stitch counts as you go
Step-by-Step: From Sketch to Stitched Character
-
Sketch your idea on paper. It doesn't need to be polished. A simple line drawing showing the head, body, and limb proportions is enough to guide your decisions later.
-
Break the sketch into basic shapes. Look at your drawing and identify which parts are round, oval, or tube-shaped. Most amigurumi bodies are built from spheres (heads), ovals (bodies), cylinders (arms and legs), and small cones or triangles (ears, horns, or beaks).
-
Match each shape to a known technique. If you've made a round amigurumi head before, you already know how to crochet a sphere. If you've made a simple stuffed animal body, you already know an oval. You're not starting from zero, you're recombining skills you already have.
-
Choose your yarn weight and hook size. DK or worsted weight yarn with a 3.5mm or 4mm hook is a solid starting point for beginners. Crochet a bit tighter than you would for a garment, since loose stitches let the stuffing peek through.
-
Crochet a test sphere first. Before committing to a full body, make one small piece, usually the head, to check your gauge and see how the proportions feel in your hands versus on paper.
-
Build the head, then the body, then the limbs. Work each piece separately in continuous rounds, starting with a magic ring and using increases and decreases to shape the curve you want. Stuff as you close each piece, adding a little at a time so the shape stays even.
-
Take notes after every round. Write down your stitch count for each round as you go, not after you finish. This running log becomes the actual written pattern for your character, and you'll thank yourself later when you want to make a second one.
-
Assemble the pieces before finishing the face. Pin or loosely stitch the head, limbs, and any extras onto the body first. Step back and look at the proportions before you commit to permanent stitching.
-
Add the face and personality details last. Embroider the mouth, attach safety eyes, or glue on felt details once you're happy with the overall shape.
Understanding Basic Amigurumi Shapes
Spheres, Ovals, and Cylinders
A sphere increases steadily for the first several rounds, works even in the middle, then decreases symmetrically to close. An oval follows a similar logic but stretches the even middle section longer for a more elongated body. A cylinder skips the shaping almost entirely, it's just even rounds stacked on top of each other, which is exactly what most arms and legs need.
Ears, Horns, and Other Add-Ons
Small add-ons like ears, horns, or a beak are usually just short cones: a few rounds of increases followed by a few even rounds, then closed off. Because they're small, they're a low-risk place to experiment with shaping before you commit to changes on a bigger piece.
Troubleshooting Your First Prototype
Problem: the head looks lopsided. Cause: increases weren't spaced evenly around the round. Fix: use stitch markers every few stitches as placement guides, not just at the start of the round, so your increases land in the same spots each time.
Problem: stuffing shows through the stitches. Cause: the fabric is too loose, either from a hook that's too big or tension that's too relaxed. Fix: drop down a hook size, or consciously tighten each stitch slightly as you pull it through.
Problem: the proportions look off once assembled, even though each piece seemed fine alone. Cause: pieces were finished and stuffed before checking how they'd look together. Fix: pin pieces together before stuffing fully, so you can still adjust the size of a piece if something looks too big or too small.
Giving Your Character Personality
Once the base shape is solid, personality comes from the small stuff. A slightly asymmetrical embroidered mouth reads as more expressive than a perfectly straight one. Different yarn textures, a fuzzy tail next to a smooth body, add visual interest without extra shaping. Felt cheeks, tiny appliqué shapes, or a scrap of contrasting yarn tied as a scarf can turn a generic round shape into a character that feels specific and yours.
There Are No Mistakes, Only Prototypes
Your first attempt at designing an amigurumi character probably won't be your last version, and that's the point. Every prototype teaches you something about proportion, tension, or shaping that you couldn't have known just from sketching. Keep your notes, keep your test pieces, and let the character evolve over a few tries. That's how an idea on paper becomes a written pattern you can crochet again and again.