Raglan vs. Set-In Sleeves: A Complete Guide to Choosing Your Sweater Construction
by Crochets Studio — A lifelong crocheter and garment construction enthusiast, I've spent years perfecting both raglan and set-in sleeve techniques through countless sweaters, cardigans, and teaching workshops across Canada.
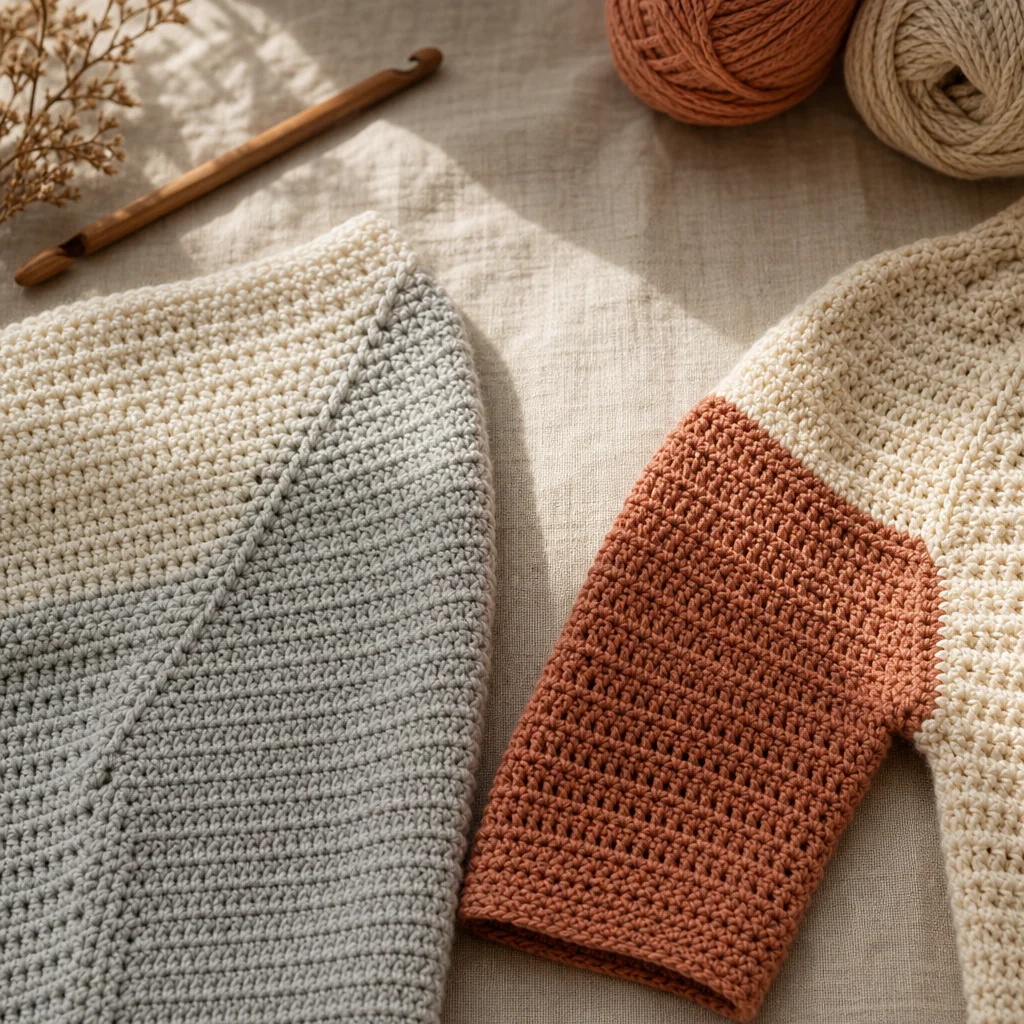
Choosing between raglan and set-in sleeve construction is one of the most important decisions you'll make when planning a crochet sweater or cardigan. Raglan sleeves work seamlessly from the top down with diagonal shaping that flows from body to sleeve, making them forgiving and beginner-friendly. Set-in sleeves are constructed separately and attached to create defined shoulders and a tailored silhouette that's worth the extra seaming effort.
Understanding Sleeve Construction Fundamentals
When you're ready to graduate from afghans and cowls to your first sweater, sleeve construction becomes the defining factor in how your garment looks, fits, and how much effort it requires. The two primary methods—raglan and set-in sleeves—aren't just technical variations. They fundamentally change the drape, structure, and wearability of your finished piece.
Both methods have been used in knitting and crochet for generations, each serving different aesthetic and practical purposes. Understanding their unique characteristics will help you choose patterns that align with your skill level, style preferences, and the amount of finishing work you're willing to tackle.
Raglan Sleeve Construction: Seamless and Forgiving
Raglan construction takes its name from Lord Raglan, a 19th-century British commander who needed specially designed garments after losing an arm in battle. The diagonal seam line that runs from the underarm to the neckline became iconic—and incredibly practical for crocheters.
How Raglan Construction Works
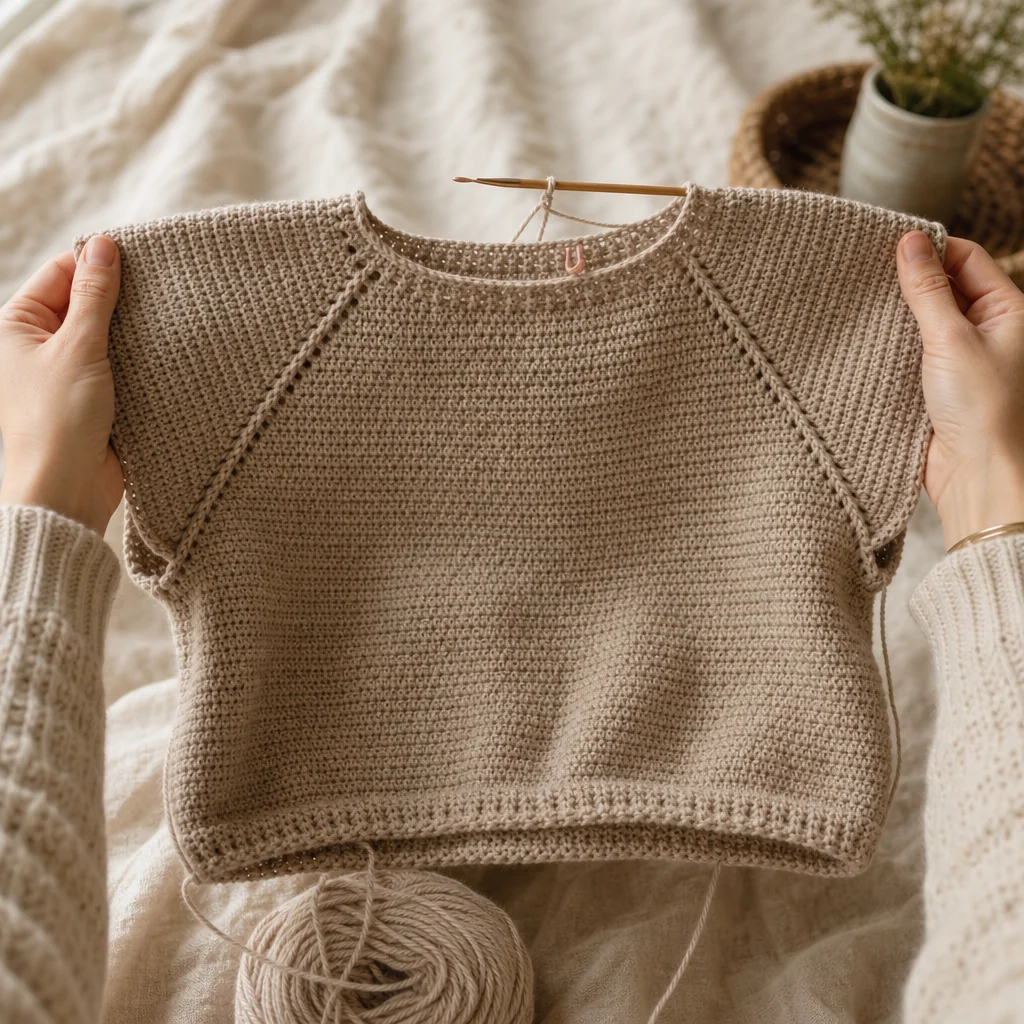
In crochet raglan designs, you typically start at the neckline with a small number of stitches, then increase along four raglan lines (two for the front, two for the back) as you work downward in continuous rounds. The sleeve stitches and body stitches grow together until you reach the underarm, where you separate them. The body continues down to the hem, while sleeves are worked separately to the cuff.
This top-down approach means you're constantly trying on your work-in-progress, adjusting length in real time, and customizing the fit without ripping out major sections. If your sleeves end up too long, you simply work fewer rounds. If the body needs extra length, you keep going.
The Practical Advantages of Raglan Sleeves
Minimal Seaming: With raglan construction, most of the garment is worked in one piece. You'll only need to seam the underarm area and possibly sew closed a small gap at the underarm join. For crocheters who find seaming tedious or intimidating, this is a massive advantage.
Beginner-Friendly Fit: The diagonal raglan line is naturally forgiving. It doesn't require precise armhole depth calculations or complex cap shaping. If your gauge is slightly off or your body measurements fall between sizes, raglan construction accommodates these variations gracefully.
Easy Customization: Want to add colorwork stripes that flow seamlessly from the body onto the sleeves? Raglan construction makes this effortless. The continuous rounds also mean no visible seam interrupting your stitch pattern.
Comfortable Mobility: The diagonal seam provides excellent range of motion in the shoulders, making raglan garments particularly comfortable for active wear or layering.
When to Choose Raglan Construction
Raglan sleeves shine in:
- Casual everyday sweaters where comfort and ease trump formal structure
- Children's garments that need to be pulled on quickly and allow for growth
- First-time sweater projects where you want to build confidence without complex shaping
- Colorwork designs where you want patterns to flow uninterrupted across the garment
- Cozy cardigans where a relaxed fit is part of the aesthetic
- Projects where you want minimal finishing and prefer working in continuous rounds
Set-In Sleeve Construction: Tailored and Structured
Set-in sleeves are the hallmark of traditional tailoring. If you've ever examined a dress shirt, blazer, or classic pullover sweater, you've seen set-in sleeve construction. The sleeve is worked separately and sewn into a shaped armhole opening, creating a defined shoulder line and a more fitted silhouette.
How Set-In Construction Works
With set-in sleeves, you typically work the back and front pieces flat, shaping the armholes by decreasing stitches to create the curved opening. The sleeves are worked separately from the cuff upward (or top-down), with a shaped cap that mirrors the armhole curve. Finally, you seam the pieces together, carefully easing the sleeve cap into the armhole.
This method requires more planning and precision. Your gauge must be accurate, your measurements need to be correct, and your seaming skills will be put to the test. The payoff? A polished, professional-looking garment with defined structure.
The Advantages of Set-In Sleeves
Tailored Appearance: Set-in sleeves create a distinct shoulder line that sits at your natural shoulder point rather than sloping down the arm. This gives your garment a more formal, put-together look that works beautifully for office-appropriate sweaters or dressier occasions.
Better Fit Control: Because the body and sleeves are separate pieces, you have precise control over each element. You can adjust armhole depth, sleeve width, and body shaping independently to create a truly custom fit.
Traditional Silhouette: If you're recreating vintage patterns or aiming for classic styling, set-in sleeves deliver that timeless structure that raglan construction simply can't replicate.
Design Versatility: Set-in sleeves allow for more complex body shaping like waist definition, princess seams, and fitted bodices. The separate pieces give you architectural possibilities that integrated raglan construction doesn't support.
When to Choose Set-In Construction
Set-in sleeves are ideal for:
- Dressier sweaters and cardigans where you want a polished, professional finish
- Fitted garments that follow your body's contours with tailored shaping
- Vintage-inspired designs that call for authentic construction methods
- Garments with complex body shaping like empire waists or fitted bodices
- Projects where you want defined shoulders that sit at your natural shoulder point
- Advancing your skills with more challenging construction techniques
Comparing Construction Methods Side by Side
Ease of Construction
Raglan: Worked primarily in rounds with simple increases along marked raglan lines. Most of the garment is one continuous piece. Excellent for beginners.
Set-In: Requires working flat pieces, shaping armholes and sleeve caps with precise decreases, and careful seaming. Best suited for intermediate to advanced crocheters.
Fitting and Try-Ons
Raglan: You can try it on as you work, making real-time adjustments to length and width. Forgiving if your gauge drifts slightly.
Set-In: Requires accurate measurements upfront. You won't know the final fit until pieces are seamed together. Demands consistent gauge throughout.
Seaming Requirements
Raglan: Minimal seaming, usually just underarm joins and possibly sleeve seams if worked flat.
Set-In: Extensive seaming required—shoulder seams, side seams, sleeve seams, and setting in the sleeve caps. Good seaming skills are essential.
Final Appearance
Raglan: Casual, comfortable, and sporty with a relaxed fit. The diagonal seam line is a visible design element.
Set-In: Structured, tailored, and formal with defined shoulders. Creates a classic garment silhouette.
Yarn and Stitch Pattern Considerations
Raglan: Works beautifully with all yarn weights. Continuous rounds are perfect for colorwork and stitch patterns that benefit from uninterrupted rounds.
Set-In: Also works with all yarn weights, but the seaming shows more with bulky yarns. Flat construction works well with complex stitch patterns that are easier to work back and forth.
Making Your Decision: Which Construction Is Right for You?
Your choice between raglan and set-in sleeves should consider several factors:
Your Skill Level: If you're making your first sweater, raglan construction offers a gentler learning curve with more room for adjustment. If you're comfortable with flat construction and want to challenge yourself, set-in sleeves will expand your capabilities.
The Garment's Purpose: A cozy weekend cardigan? Raglan is perfect. A sweater for client meetings or dinner events? Set-in sleeves will give you that polished look.
Your Patience for Finishing: Be honest about whether you enjoy seaming or see it as a tedious chore. Raglan construction minimizes finishing work, while set-in sleeves require significant seaming time.
Body Type and Fit Preferences: Raglan sleeves create a continuous line that can visually broaden the shoulders and chest. Set-in sleeves define the shoulder point, which can be more flattering if you prefer structure and definition.
The Pattern or Design Vision: Some designs simply look better with one construction method over the other. Sporty hoodies and casual pullovers naturally suit raglan construction, while tailored cardigans and classic crew necks shine with set-in sleeves.
Tips for Success with Each Method
Raglan Success Strategies
- Mark your four raglan lines clearly with stitch markers you won't accidentally remove
- Try on frequently during construction to check fit and proportions
- Keep your increase rate consistent along all four raglan lines
- If working colorwork, plan your color changes to flow logically across the raglan lines
- When separating for body and sleeves, use waste yarn to hold sleeve stitches rather than leaving them on the hook
Set-In Sleeve Success Strategies
- Swatch extensively and measure your gauge carefully before beginning
- Block your pieces before seaming to ensure they match the intended dimensions
- Use the mattress stitch for side seams and shoulder seams for invisible joining
- When setting in the sleeve, pin it carefully, easing the cap to fit the armhole before you begin seaming
- Work with good lighting and take your time with the finishing—rushed seams will show
Moving Forward with Confidence
Both raglan and set-in sleeve construction have earned their place in the crochet garment repertoire. Rather than viewing one as superior, think of them as different tools for different jobs. Your first sweater might be a top-down raglan that builds your confidence. Your tenth might be a meticulously fitted set-in sleeve cardigan that showcases your refined skills.
The beauty of learning both methods is that you'll never feel limited by pattern choices. You'll understand why a designer chose a particular construction method, and you'll have the knowledge to modify patterns to suit your preferences. A pattern written for set-in sleeves could be adapted to raglan construction if that's what you prefer, once you understand the fundamental differences.
Start where you are, choose the method that aligns with your current goals, and enjoy the process of bringing wearable crochet art to life, one sleeve at a time.
Next step
Browse Sweater Patterns