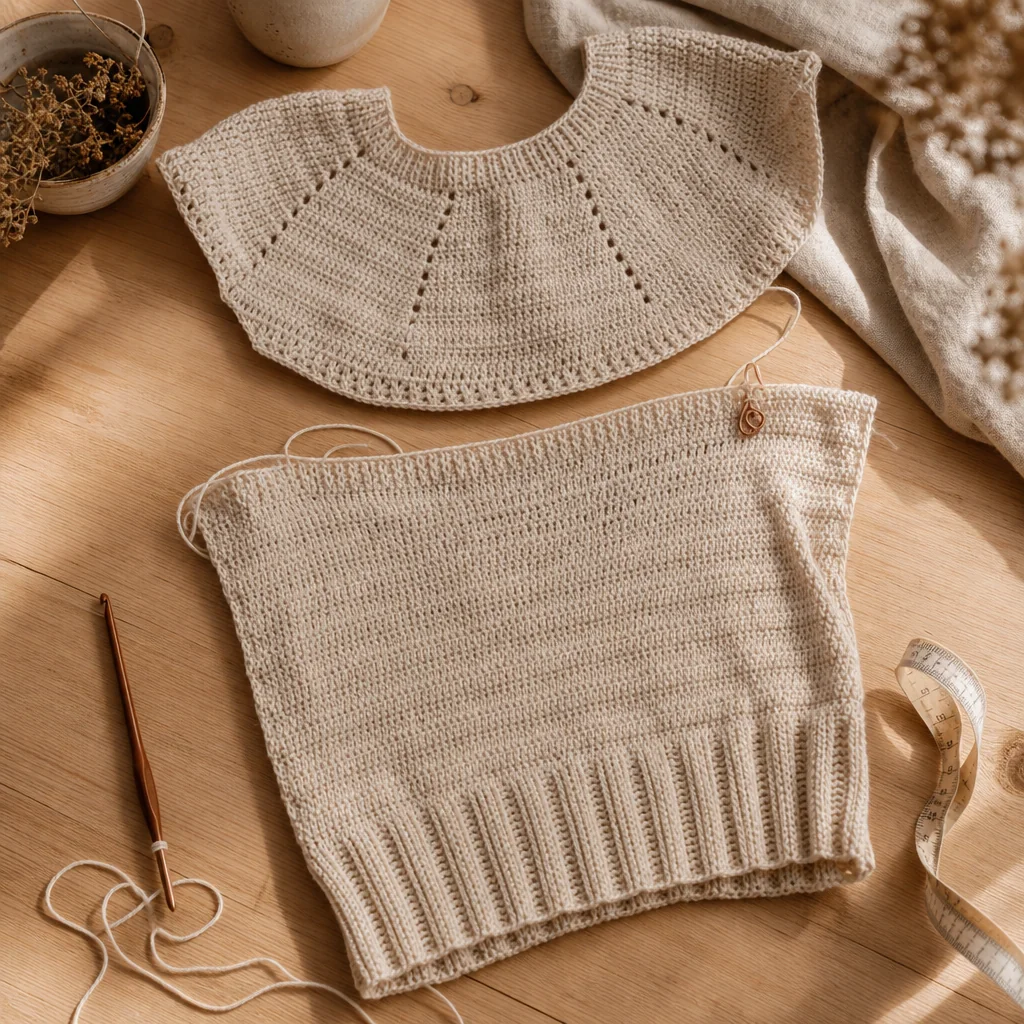
Top-Down vs. Bottom-Up Sweater Construction: Which Method Should You Choose?
by Crochets Studio — Sarah crafts cozy wearables from her studio in the Laurentians, where she teaches garment construction techniques to crocheters looking to expand beyond blankets and accessories.
Top-down construction works from the neckline down, offering seamless finishing and the ability to try on as you go. Bottom-up construction begins at the hem and works upward, providing traditional shaping control and structured drape. Understanding both methods helps you match technique to project goals and yarn availability.
What Makes Top-Down Construction Different?
Top-down sweater construction begins at the neckline and progresses downward toward the hem. This approach fundamentally changes how you build a garment, starting with the yoke and expanding outward as you work downward.
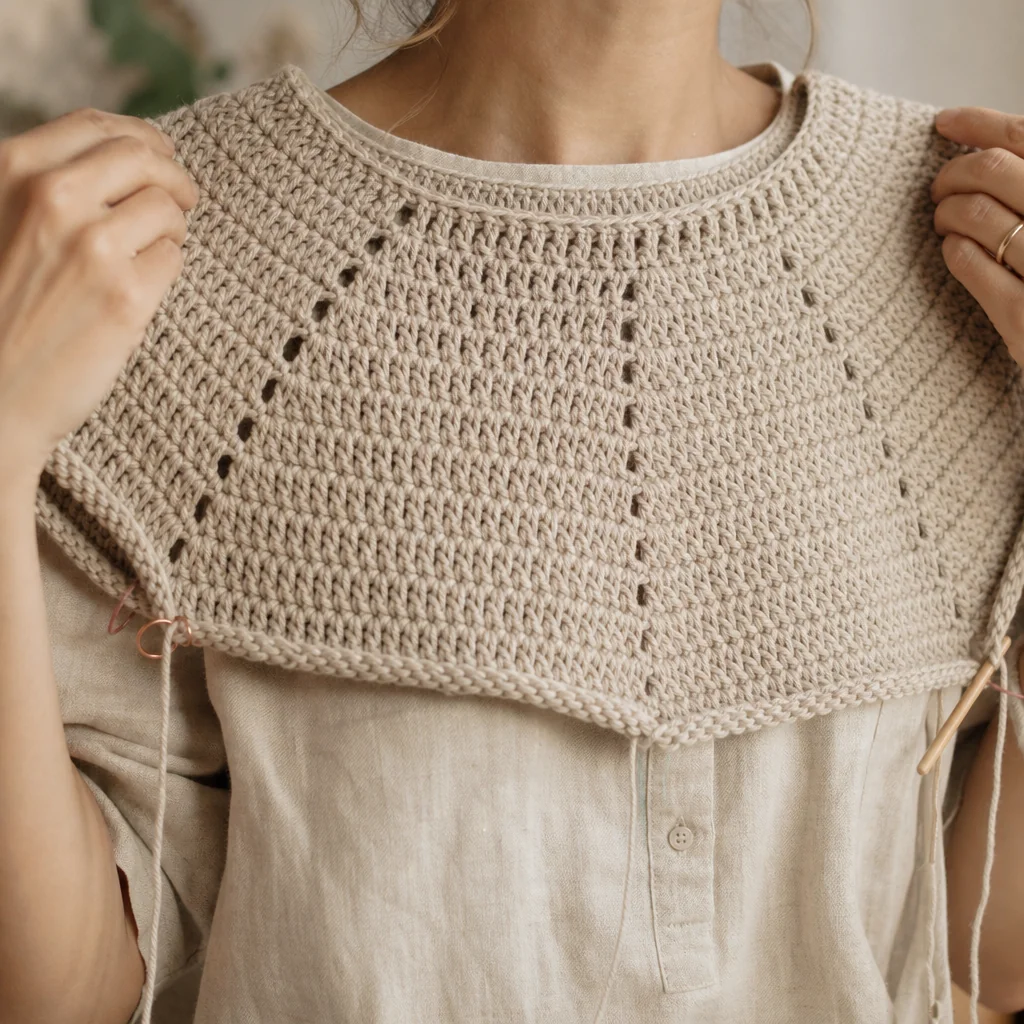
The most popular top-down method uses raglan increases, where you create four diagonal lines radiating from the neck. These increase lines shape the yoke naturally, creating the shoulder slope and armhole depth simultaneously. As you work, the yoke grows larger with each round until you reach the underarm, where you separate the sleeves from the body.
This construction method gained popularity because it eliminates most seaming. Once you separate for sleeves, you continue working the body in one continuous piece down to the hem. The sleeves work in the round from the armhole down to the cuff, creating a completely seamless garment.
Advantages of Working Top-Down
The flexibility of top-down construction stands out immediately. You can try on your sweater at any point during the process, checking fit at the shoulders, bust, and length without committing to finished dimensions. If the body feels too short, simply work more rounds. If you're running low on yarn, you can stop at a wearable length rather than running out mid-project.
Yarn management becomes significantly easier with this method. Since you work from smallest circumference to largest, you use less yarn in the early stages. This means you can make informed decisions about length and sleeve options based on your actual remaining yarn rather than hoping you estimated correctly.
The lack of seaming appeals to many crocheters who find finishing work tedious. With top-down construction, you weave in ends as you go and call the project complete when you finish the last stitch. No blocking flat pieces, no mattress stitching long seams, no attaching sleeves.
Pattern adjustments happen organically. Want a wider neckline? Work fewer initial rounds before starting increases. Need more room in the bust? Add extra increases in strategic locations. Prefer three-quarter sleeves? Simply work fewer rounds after the separation.
Challenges of the Top-Down Approach
The yoke construction requires understanding how increases affect the final shape. Too few increases create a tight, uncomfortable fit across the shoulders. Too many increases lead to a baggy, drooping yoke. Getting the math right for your specific gauge and body measurements takes practice.
The weight distribution feels unusual as you work. Early in the project, you're handling a small, light piece. By the time you reach the body, you're working with the full weight of the garment hanging from your hook. This weight can stretch stitches and affect your tension, particularly with heavy yarns.
Shaping at the waist becomes trickier with top-down construction. Traditional waist shaping works by decreasing from the bust to the waist, then increasing to the hips. When working top-down, you must plan these shaping rounds in reverse, which feels counterintuitive and requires careful calculation.
The neckline finishing happens at the beginning of the project when you have the least information about how the sweater will fit. You commit to a neckline style and size before seeing how the rest of the proportions work out.
Understanding Bottom-Up Construction
Bottom-up sweaters begin at the hem and work upward toward the shoulders. This traditional method has been the standard in knitting and crochet for generations, creating structured garments with clear shaping opportunities.
You typically work the front and back panels separately as flat pieces, allowing you to create different neckline depths and shaping for each. Sleeves work separately as well, usually starting at the cuff and increasing toward the shoulder. Once all pieces are complete, you seam them together to assemble the finished sweater.
Why Choose Bottom-Up Construction
The control over shaping excels with bottom-up construction. You can create precise waist shaping by working increases from hem to bust, decreases from bust to waist, and increases again from waist to hip. This traditional shaping creates a tailored, fitted silhouette that drapes beautifully.
Working flat pieces feels more familiar to many crocheters. You can see the full width of each section as you work, making it easier to check stitch counts and pattern repeats. The pieces lay flat naturally, giving you an accurate sense of the final dimensions before assembly.
The weight distribution works in your favor. As you crochet upward, gravity pulls the stitches downward, creating the same drape the finished garment will have. This natural hang helps you see exactly how the fabric will behave when worn.
Pattern modifications become straightforward. Want a longer body? Work more rows before starting armhole shaping. Need wider hips? Add extra stitches at the cast-on. Adjustments happen at logical points where you can measure and modify before committing to the next section.
Colorwork and complex stitch patterns often look cleaner with bottom-up construction. Working flat allows you to see the right side constantly, making it easier to follow charts and maintain pattern alignment across color changes.
Drawbacks of Bottom-Up Building
Seaming represents the most significant challenge. After completing all pieces, you face the task of mattress stitching or whip stitching panels together. Poor seaming technique creates visible lines, puckering, or weak joins that affect both appearance and durability.
Yarn estimation becomes critical with bottom-up construction. You must commit to working the full body and both sleeves before knowing if you have sufficient yarn. Running out three-quarters through the second sleeve means either buying more yarn (hoping for a dye lot match) or frogging back to adjust proportions.
Trying on the garment before completion proves difficult. You can pin pieces together temporarily, but you won't get an accurate sense of fit until after seaming. Discovering fit issues at the assembly stage means significant frogging and reworking.
The initial cast-on row determines your hem width permanently. If you miscalculate and cast on too few or too many stitches, you won't discover the error until much later, potentially requiring you to start over completely.
Making Your Construction Choice
Choose top-down construction when you want maximum flexibility and minimal finishing. This method suits projects where you're uncertain about final length, working with limited yarn, or want to avoid seaming entirely. The seamless nature makes it ideal for gifts where you can adjust sizing during progress.
Select bottom-up construction when you need precise shaping and structured fit. This method works best for tailored garments, complex colorwork, or when you prefer working flat pieces. The traditional approach gives you more control over silhouette and creates a polished, professional finish.
Your yarn choice influences construction method. Drapey, lightweight yarns work beautifully top-down, while heavier, structured yarns benefit from the support of bottom-up seaming. Consider how the yarn behaves and which construction method complements its properties.
Your experience level matters. Beginners often find bottom-up construction easier to visualize and execute, while intermediate crocheters appreciate the efficiency of top-down methods. Choose the approach that matches your comfort level with garment construction principles.
Ultimately, both methods create beautiful, wearable sweaters. Experimenting with each construction type expands your skills and helps you understand which approach suits different project goals. Try both methods to discover your personal preference and build versatility in your garment-making repertoire.
Next step
Explore Sweater Patterns