How to Crochet a Simple Beanie in One Evening
by Crochets Studio — Written by a Crochets.ca contributor who keeps a hook within reach of every couch in the house and swears every hat should take one evening, tops.
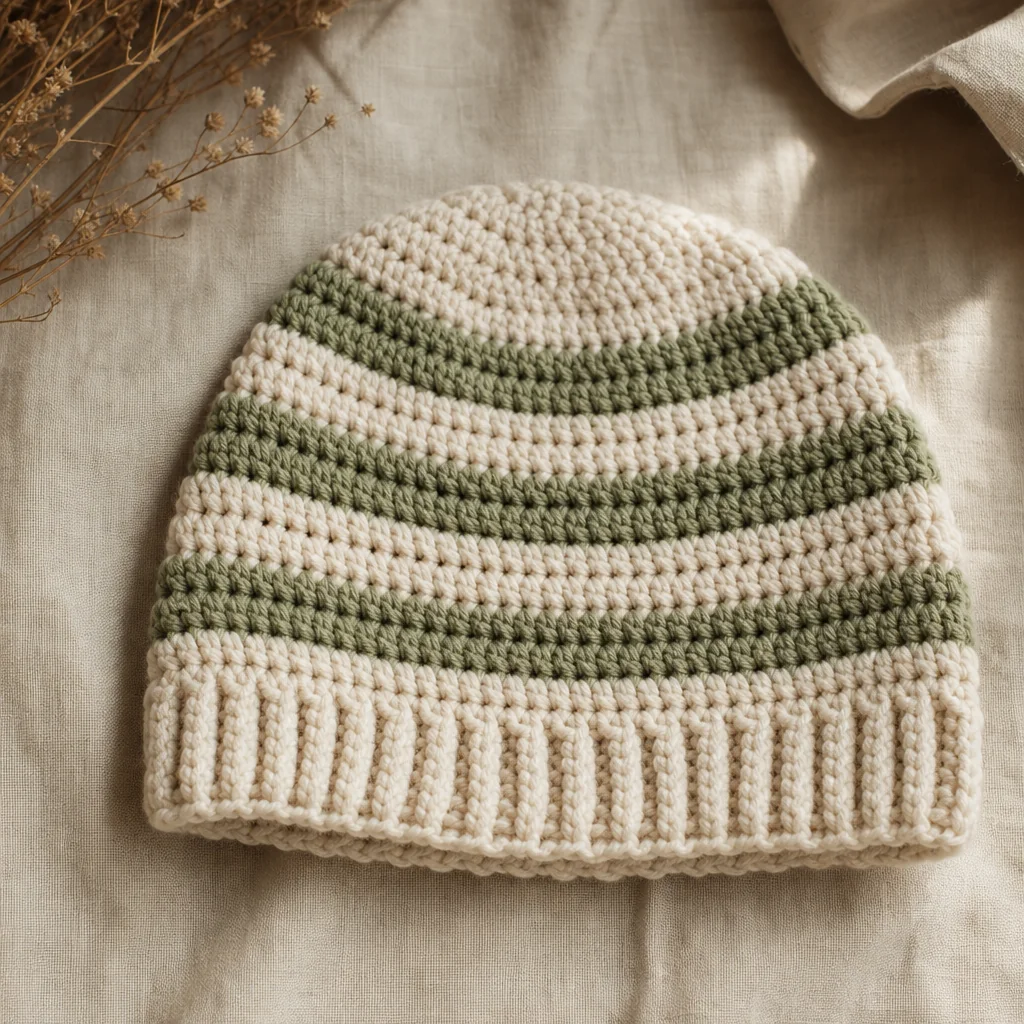
A simple worsted weight beanie worked entirely in half double crochet, from magic ring to ribbed brim, is one of the fastest wearable projects you can finish in a single sitting. This guide walks through the crown increases, the even-round body, and the back loop only brim that gives it a store-bought finish, plus quick fixes if your fit runs too loose or too snug.
What You'll Need
- 150–200 yards (140–185 m) worsted weight (#4) yarn — a soft acrylic or wool blend holds its shape and keeps ears warm
- 5.5mm (US I-9) crochet hook
- Yarn needle for weaving in ends
- Stitch marker, or a short scrap of contrasting yarn
- Scissors
A Note on Substituting Yarn
Worsted weight is fairly forgiving, but both hook size and fiber content shift your finished circumference. If you swap in a different yarn than what's listed here, crochet a quick swatch first, especially if this beanie is a gift and you won't get a chance to try it on the recipient before wrapping it.
Check Your Gauge
This pattern is written to fit an average adult head (about 21-22 inches / 53-56 cm around) at a gauge of roughly 3 hdc and 3 rows per inch with worsted weight yarn and a 5.5mm hook. If your tension runs looser or tighter, don't worry about matching stitch counts exactly. Instead, use the measurements given at each stage of the pattern as your real guide, and check the Gauge & Sizing tool if you want to fine-tune before you start.
The Pattern
Rounds 1-6: Building the Crown
- Make a magic ring and work 10 hdc into it. Pull the ring closed. (10 sts)
- Round 2: work 2 hdc in every stitch around. (20 sts)
- Rounds 3-6: increase evenly each round, staggering the increases so they don't stack in a single line, until you reach 60 stitches total.
- Lay the crown flat. It should measure about 5 inches (12.7 cm) across for an average adult size. If it's still smaller than that, work one more increase round before moving on. If it's already there, stop increasing now.
Round 7 Onward: The Body
- Continue in hdc with no more increases, working even rounds around all 60 stitches.
- Keep going until the piece measures 7 to 8 inches (18-20 cm) from the top of the crown. Try it on periodically if you can, or hold it up against a hat you already own that fits well.
The Final Two Inches: Ribbed Brim
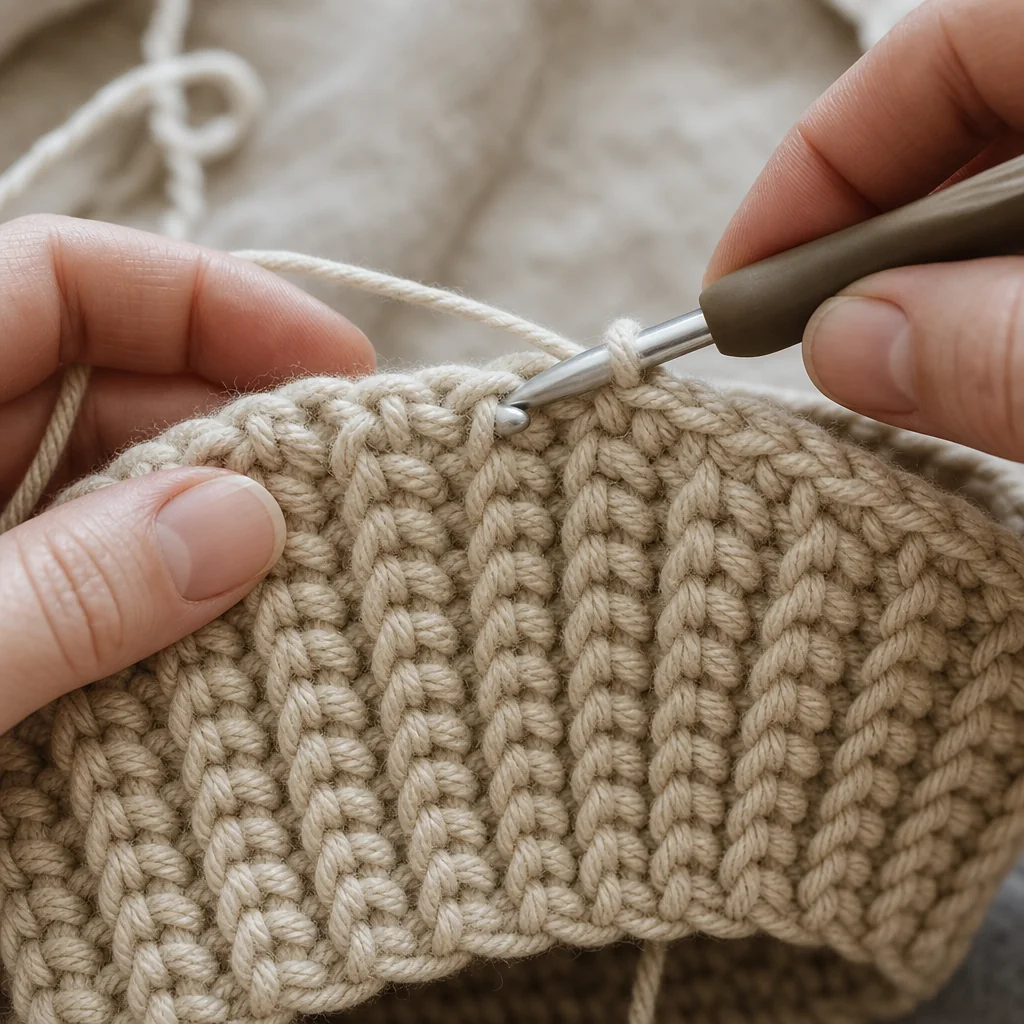
- Switch to hdc worked in the back loop only for the last 2 inches (5 cm) of the hat. This one change is what turns a plain tube into a beanie with a stretchy, ribbed-looking band.
- Fasten off, leaving a 6 inch (15 cm) tail for weaving in.
Finishing Touches
Thread your tail onto a yarn needle and weave in both ends through the wrong side of the fabric so nothing shows on the right side. Give the brim a firm stretch in both directions to help the back loop stitches relax into their ribbed texture, then lay the beanie flat for a few minutes before wearing or wrapping it as a gift.
Why This Pattern Comes Together So Fast
Half double crochet sits between single crochet and double crochet in height, which means it builds fabric quickly without leaving the loose, gappy look that taller stitches can produce. Worked in continuous rounds with no turning chains to track, there's very little counting to slow you down. Most crocheters finish the whole beanie, brim included, in three to four hours, which is exactly why this pattern is a reliable last-minute gift.
Troubleshooting Fit
The beanie is coming out too small or too large
Cause: Hook size, yarn weight, or your personal tension can all shift the finished circumference, even when you follow the stitch counts exactly.
Fix: Lay your crown flat after round 6 and measure it before continuing. If it's under 5 inches, add an increase round. If it's already past 5.5 inches, drop the last increase round and move straight to even rounds.
The crown is cupping inward or flaring out like a plate
Cause: Increases stopped too early (cupping) or continued too long (flaring) relative to your actual gauge.
Fix: Stitch count matters less than the flat measurement. Trust the 5 inch diameter check over the stitch total, and adjust your increase rounds up or down accordingly next time.
The ribbed brim looks tight or is hard to stretch over your head
Cause: Back loop only stitches naturally pull in slightly tighter than working through both loops.
Fix: Try going up half a hook size just for the brim section, or stretch the finished brim firmly by hand and let it rest overnight before wearing.
Sizing for Kids and Adults
- Toddler (1-3 years): Stop increases once the crown measures about 4 inches (10 cm) across, and work the body for 5-6 inches (13-15 cm) before the brim.
- Child (4-10 years): Crown to about 4.5 inches (11.5 cm), body for 6-6.5 inches (15-16.5 cm).
- Adult, as written: Crown to 5 inches (12.7 cm), body for 7-8 inches (18-20 cm).
- Adult, larger fit: Add one extra increase round for a 5.5 inch (14 cm) crown, and add half an inch to the body length.
Once you've made this beanie once, it's an easy pattern to keep in rotation for gifts, craft fairs, or restocking your own hat drawer before winter.
Ready for your next quick project? Browse more fast, giftable patterns in our pattern library and find your next evening make.
Next step
Browse more quick, giftable patterns