How to Get Invisible Color Changes in Amigurumi
by Crochets Studio — Written by a crochets.ca contributor who's frogged more amigurumi heads than she'd like to admit while chasing the perfect stitch line.
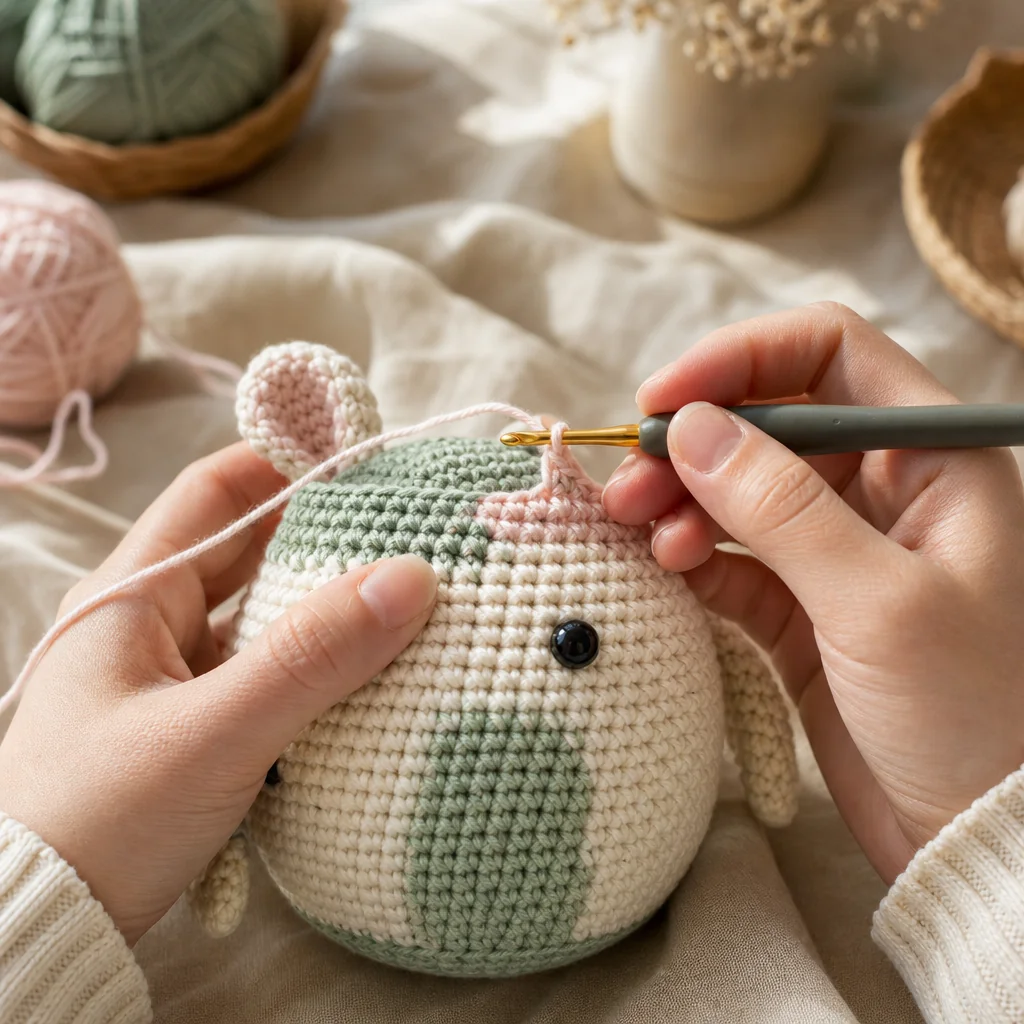
The invisible color change works by finishing the last stitch of the old color with the new color instead, so the swap happens inside the loop rather than on top of it. Do this at the start of a round and weave your tails in afterward, and the jog disappears completely.
The Problem With Spiral Color Changes
Most amigurumi is worked in a continuous spiral rather than joined rounds. That's great for avoiding a seam down the side of your work, but it creates a specific headache when you need to switch yarn colors. If you finish a stitch normally and then just start crocheting with a new color, the last stitch of the old color and the first stitch of the new one don't line up cleanly. You end up with a small stair-step, often called a "jog," right where the colors meet.
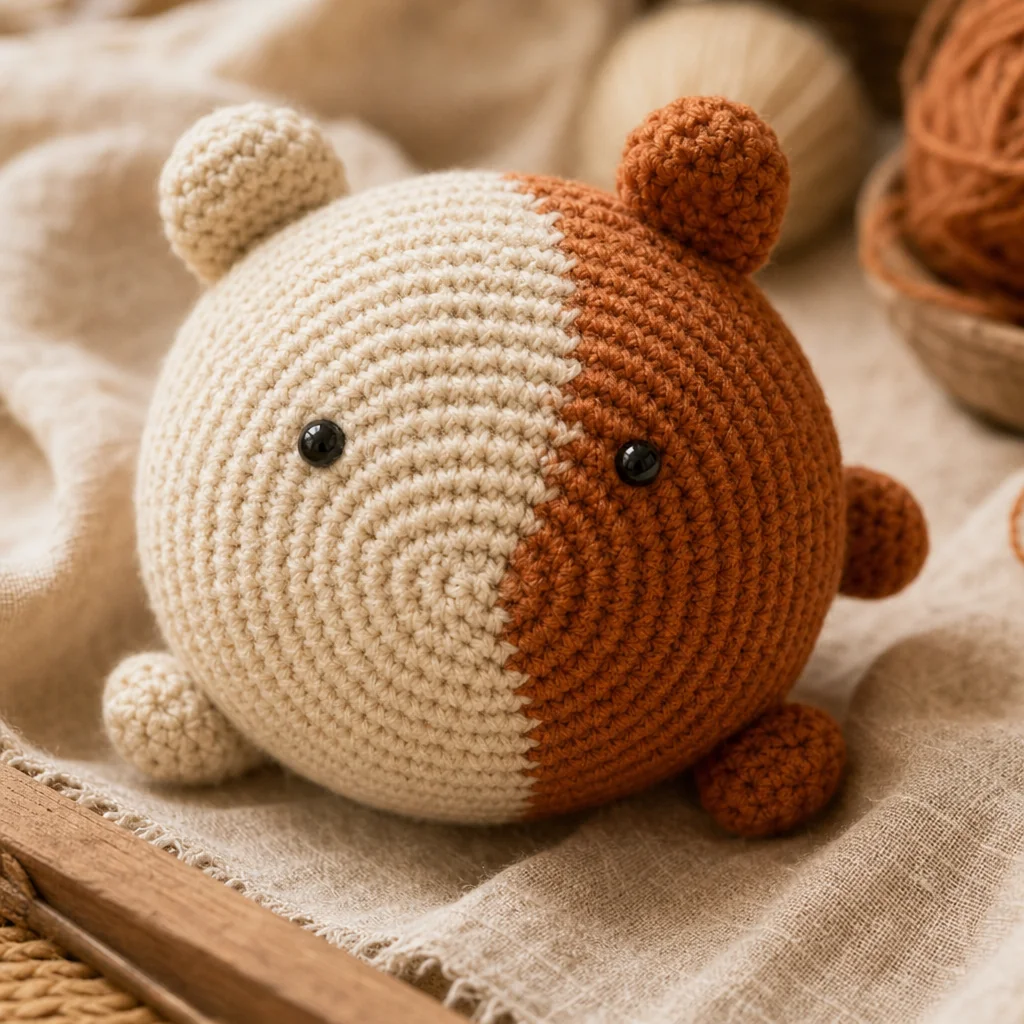
On a scarf or a blanket worked in joined rounds, this is barely noticeable. On a small amigurumi head or paw where every stitch is visible up close, that jog stands out immediately, especially on stripes, color-blocked sections, or amigurumi with contrasting shoes, ears, or bellies.
Why the Timing of the Swap Matters
The fix isn't a special stitch, it's a small adjustment to when you introduce the new color. Instead of completing the last stitch in the old color and then starting the next one in the new color, you finish that last stitch using the new color. That single change moves the transition inside the stitch instead of between two stitches, which is exactly what makes it disappear.
What You'll Need
- Yarn in your current color and your next color (amigurumi is usually worked in cotton or acrylic worsted weight)
- A crochet hook sized for your yarn (typically 2.5-4mm for amigurumi cotton)
- A stitch marker to track the start of your round
- A yarn needle for weaving in tails later
- Small scissors
- A scrap swatch if you want to practice before working on your actual project
The Invisible Color Change, Step by Step
- Work single crochet as normal in your current color until you reach the last stitch before you want the color to change.
- Insert your hook into the next stitch and pull up a loop, as you normally would for a single crochet. You'll have two loops on your hook.
- Instead of finishing that stitch with your working color, drop it and grab your new color. Yarn over with the new color and pull it through both loops on your hook.
- Continue single crocheting in the new color as usual. Your old color's tail is now sitting inside your work, ready to be carried up if you'll need it again soon, or cut if you're done with it.
- If you're switching colors mid-round rather than at the very start, keep your stitch marker in place so you don't lose track of where the round begins.
- Once your piece is finished, thread both tails onto a yarn needle and weave them in through several stitches on the wrong side (the inside) of your amigurumi.
Starting a New Round vs. Switching Mid-Round
Whenever your pattern allows it, make the color change right at the start of a new round rather than in the middle of one. This isn't required for the technique to work, but it makes counting stitches much easier, since you'll always know exactly where your new color begins. If your pattern calls for a color change partway through a round, like a single contrast stitch for an eye or a marking, the same pull-through method still applies, just be extra careful with your stitch marker so you don't lose your place in the spiral.
Common Mistakes and How to Fix Them
Problem: The jog is still visible even after using this technique. Cause: The color was likely swapped one stitch too late, meaning the last stitch was fully completed in the old color before switching. Fix: Double check that you're dropping the old color before the final yarn-over of that stitch, not after.
Problem: The carried strand shows through as a faint line of the old color. Cause: The dropped yarn is being pulled too tightly across the inside of the stitches, creating tension that peeks through to the front. Fix: Leave a little slack in the carried strand and check your work from the right side every few stitches while you're still getting the feel for it.
Problem: Tails keep coming undone after weaving in. Cause: Tails woven in a straight line can slip loose with handling and stuffing. Fix: Weave each tail through 4-5 stitches in one direction, then back through 2-3 in the opposite direction before trimming, so it's anchored rather than just tucked.
Extra Tips for a Cleaner Finish
- Leave tails at least 10-15cm long so you have enough to work with when weaving in later.
- If you're going to need the old color again in a few rounds, carry it loosely inside your work instead of cutting it, this saves you from weaving in extra ends.
- Practice the pull-through on a scrap swatch first if this is your first time trying it, a few extra minutes here will save you from unpicking stitches later.
- Take a photo of your amigurumi's right side after your first color change so you can compare it to later attempts and see your technique improve.
Bottom Line
The invisible color change is a small technique with an outsized effect on how finished your amigurumi looks. Once the timing of the pull-through becomes automatic, you'll be able to work stripes, color blocks, and small contrast details without ever thinking twice about jogs. If you want a place to practice the motion stitch by stitch before committing it to a project, work through it in our Stitch Studio.