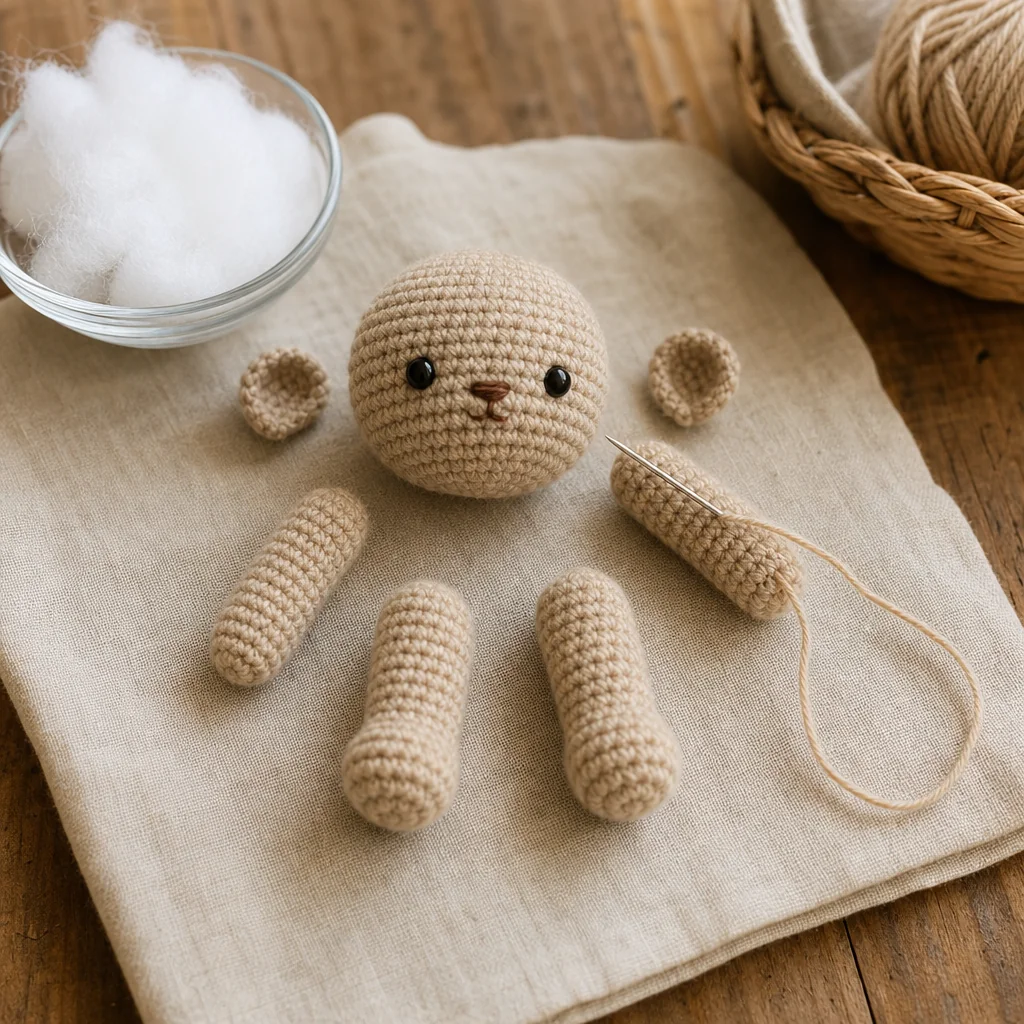
How to Sew Amigurumi Pieces Together Neatly
by Crochets Studio — Written by a Crochets.ca contributor who has assembled more wobbly amigurumi than she'd like to admit before finally figuring out why pinning matters.
The secret to a tidy amigurumi isn't fancier stitching, it's slowing down before you sew: pin every piece, check symmetry from all angles, then join with a whip stitch or mattress stitch using yarn that matches your project. Stuff each piece before closing it fully, since firmness is nearly impossible to adjust afterward.
Why Assembly Makes or Breaks Your Amigurumi
You can crochet a perfectly even head, two matching arms, and the cutest little ears, and still end up with a wonky amigurumi if the assembly is rushed. Sewing pieces together is the step where symmetry, posture, and personality actually come together. The good news is that neat assembly isn't about advanced skill, it's about slowing down for a few extra minutes and following a consistent process every time.
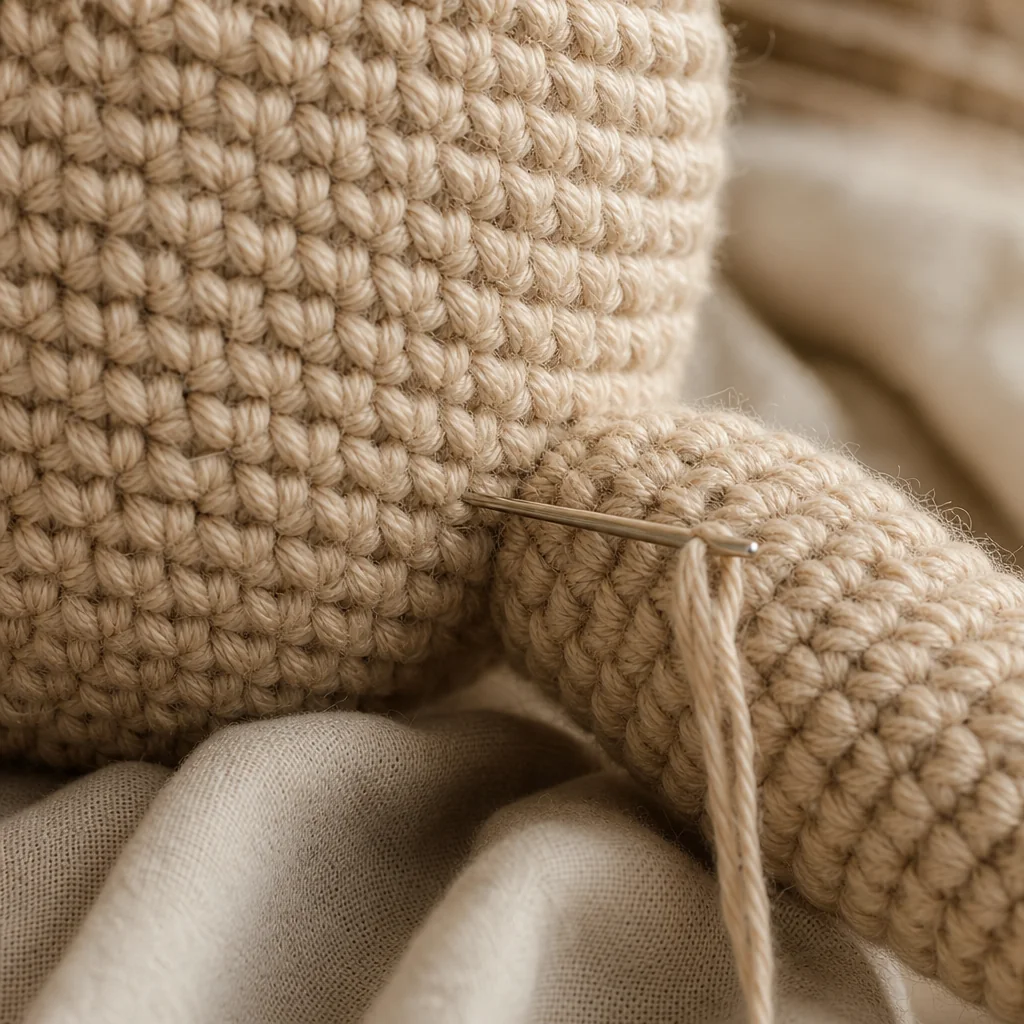
This guide walks through pinning, choosing the right stitch, matching your yarn, stuffing at the right moment, and finishing your ends so the seams practically disappear into the fabric.
What You'll Need
- The finished amigurumi pieces (head, body, limbs, ears, or any add-ons)
- A tapestry or yarn needle with a blunt tip
- The same yarn used in your project, or leftover strands from it
- Straight pins or locking stitch markers
- Polyester fiberfill or your stuffing of choice
- Small, sharp scissors
- A well-lit, flat surface where you can lay pieces out and compare them side by side
Step-by-Step: Sewing Amigurumi Pieces Together
1. Lay everything out before you pin anything
Before a single pin goes in, set all your pieces on a flat surface in roughly their final position. This lets you catch obvious problems, like one ear being noticeably bigger than the other, before you've committed to placement.
2. Pin, then step back and look
Use straight pins or locking stitch markers to hold arms, legs, ears, or a tail loosely in place. Resist the urge to sew right away. Instead, hold the piece up and rotate it, checking the front, both sides, and even the back. Symmetry issues are much easier to spot from a few feet away than up close.
Count rows or stitches from a reference point, like the center of the face, to each limb so both sides land in the same spot. Eyeballing alone is where most lopsided amigurumi start.
3. Choose your stitch based on the join
Two stitches handle almost every amigurumi seam:
Whip stitch works through the outer loops of matching stitches on each piece, and it's fast, secure, and forgiving. It's a great default for limbs, ears, and closing openings.
Mattress stitch (sometimes called ladder stitch) weaves the needle through corresponding stitches on each piece without pulling the yarn all the way through to the front. This keeps the working yarn hidden inside the seam, which is what gives you that nearly invisible finish, especially useful on visible seams like around the neck or face.
For most beginner and intermediate projects, whip stitch on hidden seams and mattress stitch on visible ones is a reliable combination.
4. Match your yarn to the project
Always sew with the same yarn you crocheted with, not a generic sewing thread. If your yarn is thick or plied, you can split it into two or three thinner strands for finer control without weakening the join. Matching yarn means your stitches blend into the surrounding texture instead of creating a visible line where the seam runs.
5. Stuff before you close, not after
Add stuffing to arms, legs, or the body while there's still an opening, working it into corners and tips with a chopstick or the blunt end of your needle. Check firmness by gently squeezing the piece, and adjust before your last few stitches. Once a seam is fully closed, redistributing or adding stuffing becomes fiddly and can distort the shape you already sewed.
6. Sew slowly and check as you go
Work your chosen stitch a few stitches at a time, snugging the yarn gently rather than yanking it tight. Overly tight tension puckers the fabric and can make a seam more visible, not less. Pause every few stitches to make sure the piece is still sitting where you pinned it, since pieces can shift as you sew.
7. Weave in ends with intention
Once your seam is closed, run the tail through several stitches on the inside of the piece, change direction once, and run it through a few more. This locks the tail in place from two angles so it won't work loose with handling. Trim close to the fabric, but not so close that the cut end can poke back through.
Common Mistakes and Quick Fixes
Problem: One limb sits higher than the other. Cause: Placement was measured by eye instead of by counting stitches or rows from a fixed point. Fix: Unpin, count rows from the center seam or a marked reference stitch to each limb, and re-pin so both measurements match exactly.
Problem: The seam is visible as a hard ridge. Cause: Stitches were pulled too tight, or a contrasting yarn was used. Fix: Redo the seam with gentler tension and yarn that matches the project, splitting it into thinner strands if needed.
Problem: A limb feels squishy or lopsided after closing. Cause: Stuffing was added or adjusted after the seam was fully sewn shut. Fix: Reopen a couple of stitches, adjust the fill with a blunt tool, and re-close with mattress stitch for the cleanest finish.
Practice Makes Neat Seams
Assembly rewards patience more than any other part of amigurumi making. Pin generously, check symmetry from every angle, stuff before you close, and finish your ends with care. Do this a few times and it stops feeling like a chore and starts feeling like the satisfying last step before your amigurumi comes to life.
Ready to practice your whip stitch and mattress stitch on a low-pressure swatch before your next project? Head over to our Stitch Studio to work through both techniques step by step.