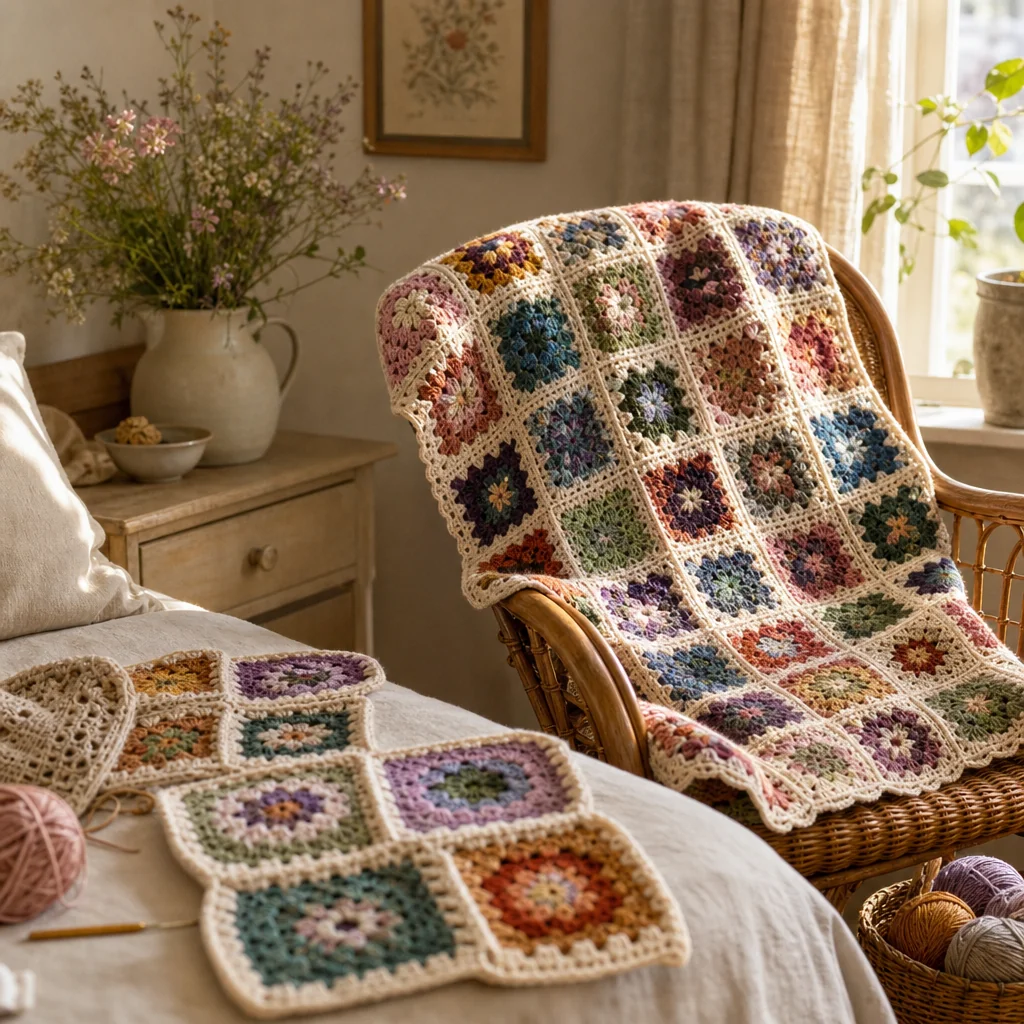
Granny Square Blanket Layout Ideas
by Crochets Studio — Written by a Crochets.ca contributor who has pieced together more scrap blankets than she can count, one granny square at a time.
Before you join a single granny square, take a minute to plan the layout, since grids, diagonals, and scrappy mixes each give a completely different finished look. This guide walks through five popular arrangements, plus a few tricks for balancing color before you commit to seams.
Turning Your Squares Into a Blanket
Stitching a pile of granny squares is only half the project. How you arrange them before joining decides whether your blanket reads as scrappy and playful or clean and cohesive, even if every square used the exact same pattern and stitch count.
Classic Grid Layout
Best for consistent palettes
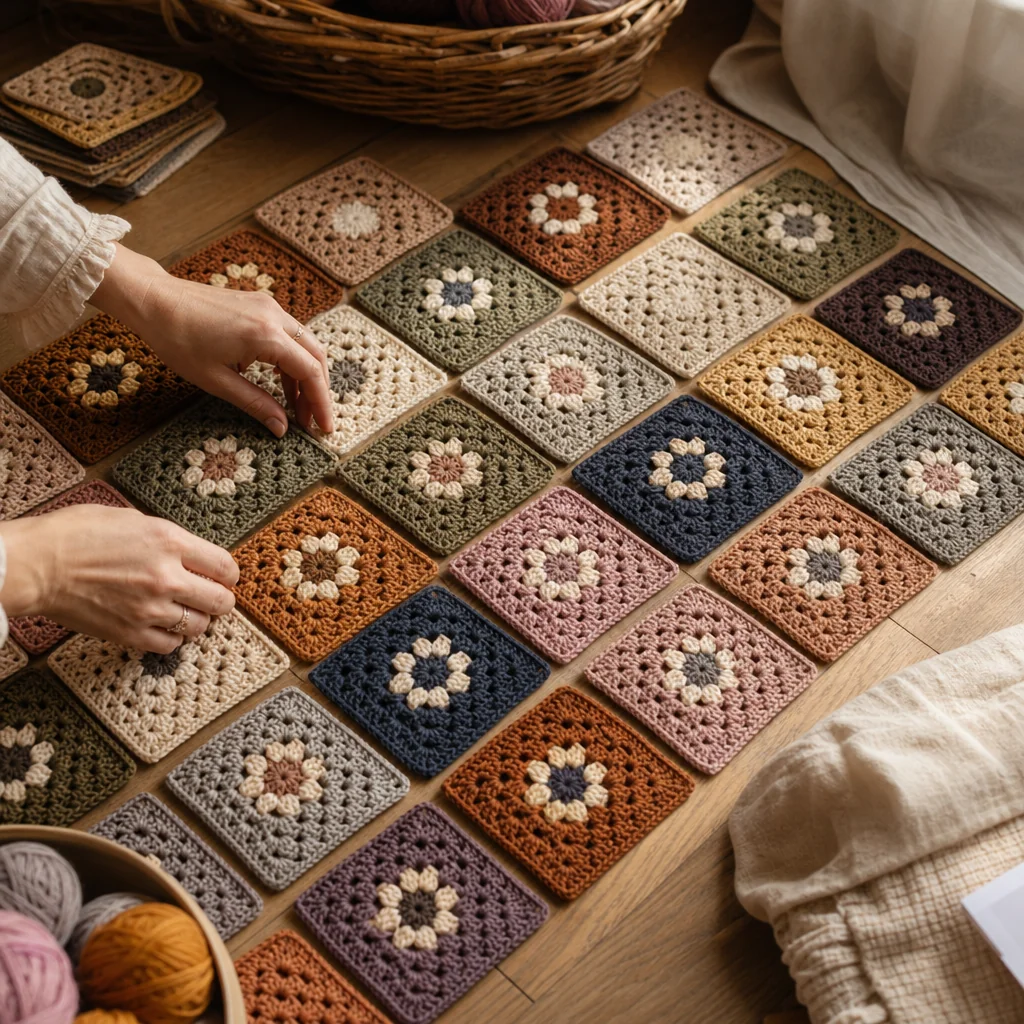
The grid is the layout most crocheters start with, and for good reason. Squares are joined edge to edge in straight rows and columns, so the finished piece has a tidy, quilt-like structure. This works especially well when your squares share the same colorway or a limited palette of two or three coordinating shades, since the repetition reads as intentional rather than busy.
To keep a grid looking sharp, count your squares before you commit to a size. A 6x8 layout for a throw or 8x10 for a full-size blanket gives you room to plan borders and fringe without cutting a square in half.
Watch your orientation
Granny squares often have a subtle directional pull depending on how the rounds were worked. Rotate a few test squares 90 degrees next to each other before joining an entire grid, so you can catch any mismatched texture early.
Diagonal Rainbow Layout
If you crocheted your squares with a gradient or color-changing approach, a diagonal layout puts that effort on display. Instead of matching colors by row, you arrange squares so a color band moves from one corner toward the opposite side, creating a sweep of color across the whole blanket.
This layout takes more planning than a grid. Lay out your full color sequence first, then slot squares into diagonal lines rather than rows. It helps to number your squares by shade before you start moving them around, especially if you're working with more than five colors.
Working with limited gradient colors
Don't have a full rainbow of yarn? A two- or three-color diagonal still reads clearly, especially if you keep the transition points consistent across every diagonal line.
Alternating Colorways (Checkerboard Effect)
For a graphic, modern look, make two versions of your granny square, one with a bold, saturated center and one in a softer, muted tone, then alternate them like a checkerboard. This layout has strong visual impact without needing more than two colorways, which makes it a good option if you want a modern-feeling blanket without buying a huge stash of yarn.
Keep the outer round of both versions in the same neutral color (cream, grey, or oatmeal work well) so the alternating pattern reads clearly instead of looking like two unrelated blankets stitched together.
Scrappy Random Mix
If your squares came from leftover yarn scraps, resist the urge to join them straight off the hook. Lay every square out on a bed or the floor first, arranged roughly into the final size of your blanket. Step back and look for clumps, spots where three or four similar colors landed next to each other, and swap pieces until color is distributed more evenly across the whole surface.
A simple trick for balance
Take a photo of your layout on your phone and view it in black and white or grayscale. This strips out color and lets you judge the layout purely on value (light versus dark), which makes uneven clumping much easier to spot.
Border Frame Finish
A mixed, gradient, or scrappy layout can look unfinished without something to contain it. Adding a single-color border, worked directly around the joined blanket or as a separate frame you crochet and attach, gives the eye a place to land and ties a busy palette together visually.
Solid neutrals (charcoal, cream, or a deep jewel tone) tend to work best as border colors because they don't compete with the squares themselves.
Comparing the Layouts at a Glance
- Classic grid: easiest to plan, best for two to three coordinating colors
- Diagonal rainbow: most planning required, best for gradient or color-changing squares
- Alternating colorways: moderate planning, best for a modern two-tone look
- Scrappy random mix: needs a full layout session, best for stash-busting projects
- Border frame: not a full layout on its own, but a strong finishing touch for any of the above
Laying Out Before You Join
Whatever arrangement you choose, resist joining squares as you finish them. Lay the entire set out on a bed, table, or floor first, in the final blanket dimensions, and live with that layout for a day if you can. Positions that felt right in the moment often look different once you see the whole piece at once, and it's far easier to swap two squares now than to unpick a finished seam later.
Ready to map out your own layout before you pick up your hook? Use Stitch Studio to plan your grid, test color combinations, and count exactly how many squares you'll need for your blanket size.
Next step
Plan Your Layout in Stitch Studio