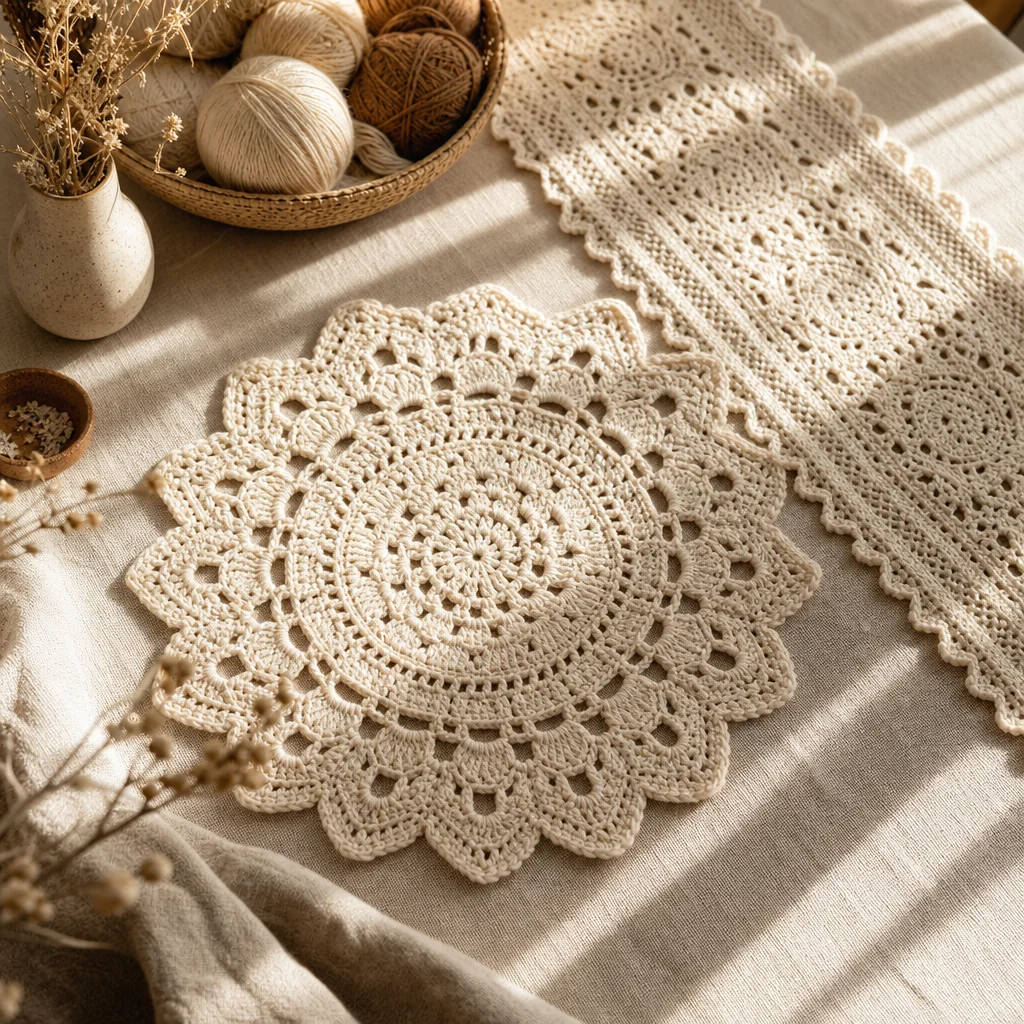
Crochet Table Runners and Placemats for Beginners
by Crochets Studio — Sarah creates modern crochet patterns from her studio in rural Ontario, where she teaches beginners the joy of making functional home décor. She believes the best first projects are the ones you'll actually use every day.
Table runners and placemats are perfect first home décor projects because they're flat, forgiving, and practical. You'll practice even tension and consistent stitches while creating something functional for your home. These projects translate directly into skills you'll use for larger pieces later.
Why Start with Table Linens
Table runners and placemats sit at the sweet spot for beginners. Unlike scarves that show every tension wobble, these pieces lie flat on a surface where minor inconsistencies disappear. Unlike amigurumi that requires shaping and invisible decreases, flat rectangles let you focus purely on stitch technique. And unlike blankets that take months, you'll finish a placemat in a weekend and see immediate results.
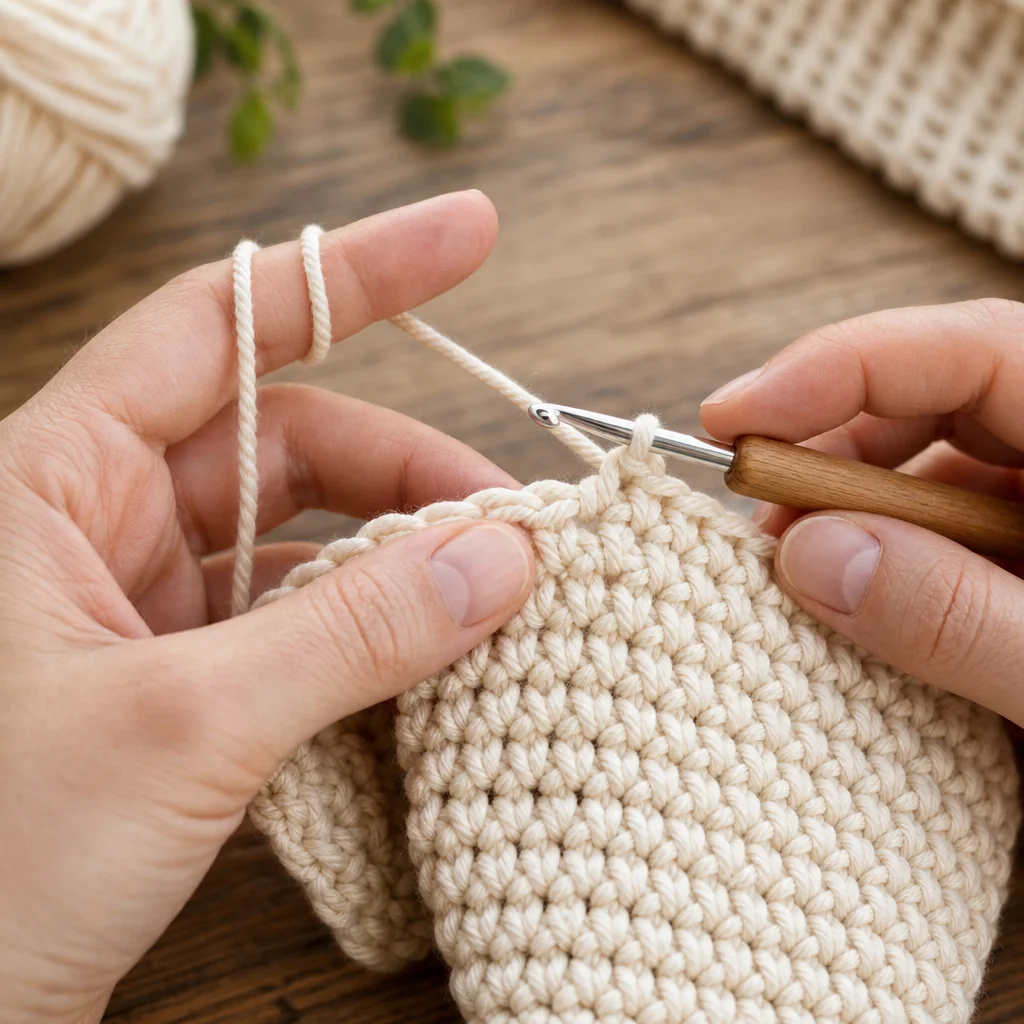
The rectangular shape means you're working the same stitch pattern row after row, building muscle memory without the cognitive load of following complex instructions. By row twenty, your hands know what to do, and you'll notice your tension evening out naturally. That repetition is exactly what beginners need.
These projects also give you something genuinely useful. A wonky practice swatch goes in a drawer. A handmade table runner becomes part of your daily life and a conversation starter when guests visit.
Choosing the Right Yarn
Cotton or cotton-blend yarn is non-negotiable for table linens. Acrylic might work for blankets, but anything touching food surfaces needs to withstand hot plates, spills, and frequent washing. Cotton handles all of this gracefully and actually softens with repeated laundering.
Worsted weight cotton is your best starting point. It's substantial enough to create a sturdy fabric that won't shift around on the table, but not so thick that it becomes stiff. Brands like Lily Sugar'n Cream, Bernat Handicrafter Cotton, or Paintbox Cotton DK are widely available and budget-friendly.
For placemats, stick with solid colors or subtle variegated yarns. High-contrast variegation can make it harder to see your stitches while you work. Save the bold color shifts for when you're more confident counting stitches by feel.
Plan on 200-250 yards for a standard placemat, and 400-600 yards for a 36-inch table runner, depending on your chosen stitch pattern. Dense stitches like single crochet eat more yarn than lacier patterns with chain spaces.
Hook Size and Gauge
A 4mm (G/6) to 5mm (H/8) hook pairs beautifully with worsted weight cotton. The exact size depends on your natural tension. If you tend to crochet tightly, size up to a 5mm. If your stitches are loose and loopy, try a 4mm.
Gauge matters less for table linens than for garments, but consistency within your project is crucial. Your placemat shouldn't start 12 inches wide and end at 10 inches because your tension tightened as you went. Work a practice swatch of at least 20 rows to let your tension settle before starting the actual piece.
The fabric should be firm but not stiff. When you hold your swatch up, you shouldn't see large gaps between stitches, but it shouldn't feel like cardboard either. Adjust your hook size until you hit that middle ground.
Beginner-Friendly Stitch Patterns
Solid Single Crochet
The simplest approach is single crochet worked in rows. Chain your foundation to the desired width (aim for 12 inches for a placemat or runner width), then work back and forth in single crochet. This creates a dense, durable fabric perfect for high-use items.
Turn your work with a chain-1 at the end of each row, and work your first stitch into the first stitch of the previous row (not into the turning chain). This keeps your edges straight.
Half Double Crochet Texture
Half double crochet gives you a slightly taller, less dense fabric with beautiful texture. The technique is nearly identical to single crochet, just with an extra yarn over. Turn with a chain-2 and skip the first stitch, working your first half double crochet into the second stitch.
This stitch works up faster than single crochet while still creating a substantial fabric that won't stretch out of shape.
Simple Lace Pattern
Once you're comfortable with basic stitches, try this beginner lace:
Row 1: Double crochet across.
Row 2: *Double crochet, chain 1, skip 1 stitch; repeat from * across.
Row 3: Double crochet in each double crochet and each chain space.
Repeat rows 2-3.
This creates an airy fabric with just enough open space to feel elegant while remaining easy enough for beginners to track.
Granny Square Strips
Make traditional granny squares and join them in a long strip for an instant runner with personality. Start with 4-round squares (about 4-5 inches each), then join them using single crochet or slip stitch seams. Three squares wide by however many long gives you both practice with granny squares and a finished runner.
Sizing Your Projects
Placemats
Standard placemats measure 12 inches wide by 18 inches long. This fits comfortably in front of a place setting without overwhelming the table. For a breakfast nook or smaller table, 12x16 inches works well.
To calculate your starting chain: make a gauge swatch, measure how many stitches per inch you're getting, then multiply by 12. Add a few extra stitches to account for edge finishing.
Table Runners
Runners typically measure 12-14 inches wide and run the length of your table with 6-12 inches of overhang on each end. A 36-inch runner suits a small kitchen table, while a 60-inch runner works for a dining table that seats six.
Measure your table before starting, or work the runner to a length that feels right and stop there. The beauty of working in rows is that you can try it on your table as you go.
Adjusting as You Go
After working 10-15 rows, measure your width. If it's growing or shrinking, your tension is shifting. Don't rip out—just make a conscious effort to match your current tension going forward. Minor width variations in the first few rows won't be noticeable on a table.
Finishing Techniques That Matter
Border Options
A simple single crochet border around all four edges keeps your work neat and prevents corners from curling. After completing your final row, don't fasten off. Chain 1, then work single crochet evenly along the side edge (roughly one single crochet for every row of single crochet, or two single crochets for every three rows of double crochet).
At each corner, work 3 single crochets into the same space to create a smooth turn. Continue around all four sides and join with a slip stitch to your starting stitch.
For a more decorative edge, work a second round with a shell stitch: *skip 2 stitches, work 5 double crochets in next stitch, skip 2 stitches, single crochet in next stitch; repeat from * around.
Weaving in Ends
Table linens get handled constantly, so ends must be secure. Weave each tail through at least 6-8 stitches, changing direction once or twice to lock it in place. For cotton, which can be slippery, consider weaving in ends as you finish each color change rather than leaving them all for the end.
Trim tails close to the fabric only after washing and blocking, when you can confirm they won't pull out.
Blocking for Professional Results
Cotton responds beautifully to blocking. Wet your finished piece thoroughly, squeeze out excess water in a towel, then pin it to a blocking board or foam mat. Use rust-proof pins every 2-3 inches along the edges, making sure corners are square and sides are straight.
Let it dry completely (12-24 hours). The result will be a crisp, professional-looking piece with flat edges and even stitches.
Common Mistakes and Fixes
Problem: Edges that slope inward or outward.
Cause: Inconsistent stitch counts—either missing stitches at row ends or accidentally adding extras.
Fix: Count your stitches every few rows. Mark your first and last stitch of each row with a stitch marker until counting becomes automatic.
Problem: Wavy or ruffled edges.
Cause: Turning chains that are too tall, creating extra length at the edges.
Fix: Make your turning chain one chain shorter, or don't count it as a stitch.
Problem: Fabric that curls.
Cause: Too much tension, or a stitch pattern that naturally biases.
Fix: Block the piece aggressively, or add a border of single crochet which naturally counteracts curling.
Building Your Skills
Start with a single placemat. Finish it completely—border, ends woven in, blocked. Then make three more. By your fourth placemat, you'll notice how much more automatic the movements have become.
Once you've completed a set of four placemats, a table runner will feel effortless. You'll have the confidence to maintain consistent tension over a longer project and the skills to troubleshoot any issues that arise.
These skills translate directly to larger projects. The tension control you develop here is the same tension control you'll need for a blanket. The edge management translates to garment finishing. The patience to work row after row builds the stamina for long-term projects.
Making Them Gift-Worthy
Handmade table linens make thoughtful housewarming, wedding, or holiday gifts. Choose colors that match the recipient's home décor, or go with neutral creams and whites that work anywhere.
Wash and block your finished pieces before gifting. Include a small care card noting they're machine washable in cool water and can be laid flat or tumble dried low. This removes any mystery about care and shows your work is durable enough for real use.
A set of four matching placemats presented in a simple ribbon takes minimal time compared to a blanket but feels substantial and considered.
Next Steps
Once you've mastered basic table runners and placemats, explore textured stitch patterns like moss stitch, linen stitch, or waffle stitch. Each creates distinct fabric texture while remaining beginner-accessible. The same rectangular format means you can experiment with technique without worrying about shaping or construction.
Next step
Browse Table Linen Patterns