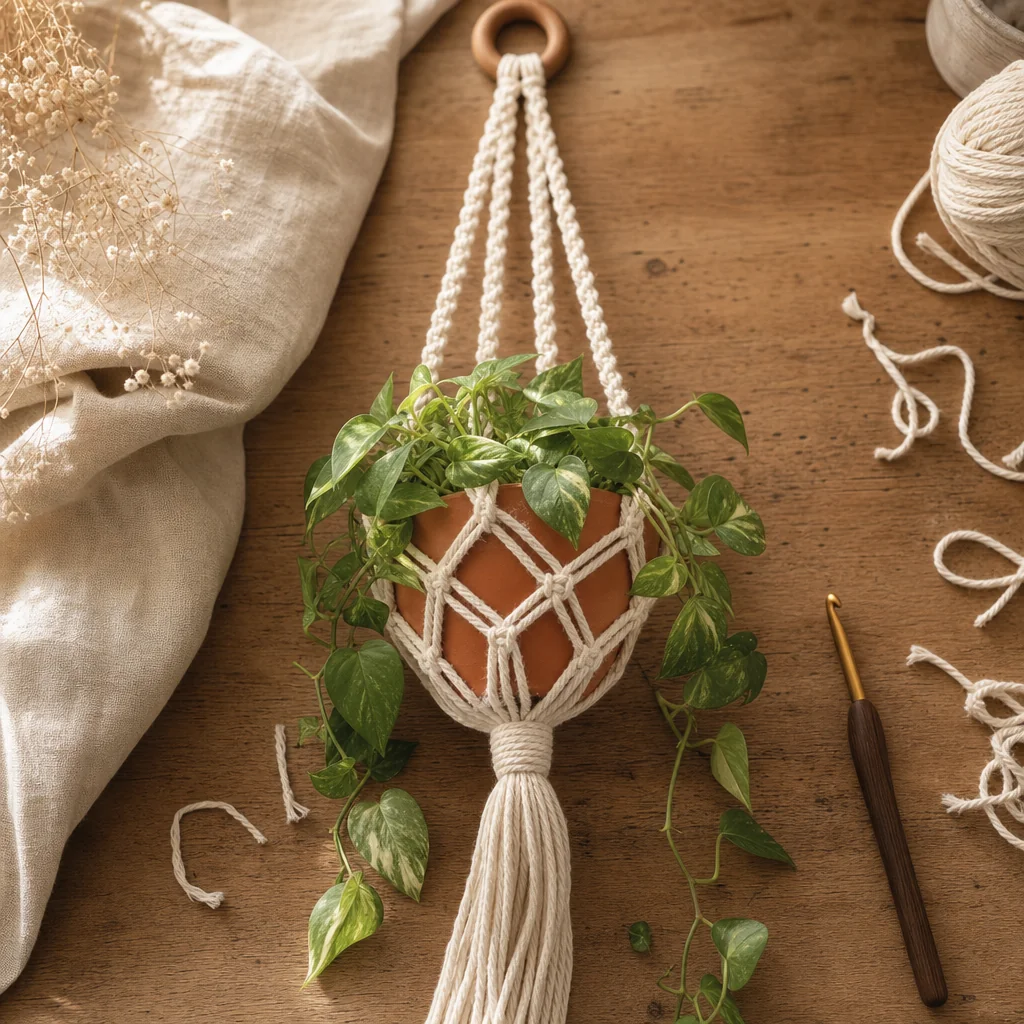
Crochet Plant Hangers: A Weekend Project Worth Making
by Crochets Studio — Written by a Crochets.ca contributor who fills every windowsill she owns with a new hanging plant experiment.
You can crochet a sturdy, macramé-style plant hanger in a single weekend using nothing but single crochet and chain stitches. This guide walks through the materials, the four-strand base, and the diamond netting pattern that actually holds your pot in place, plus tips to keep your tension even and a few ways to make it your own.
Crochet plant hangers are having a moment, and it's easy to see why: they turn a few dollars of cotton cord into a piece of textile art that makes any pothos or spider plant look like it belongs on a magazine shelf. Unlike knot-based macramé, this version relies entirely on stitches you already know. If you can single crochet and chain, you can finish one in an afternoon and have it hanging by dinner.
Materials You'll Need
- 3-4 mm cotton cord or macramé rope, about 100 yards (91 m) per hanger
- A 6 mm crochet hook
- A metal or wooden ring, 2-3 inches (5-7.5 cm) in diameter
- Sharp scissors
- A tape measure or ruler
- Optional: wooden or ceramic beads, and the actual pot you plan to use, for test-fitting as you go
Choosing the Right Cord
Not every cord behaves the same way under a hook, and the wrong choice will fight you the whole project.
Cotton Cord
The standard choice for good reason. It has enough grip to hold a stitch without slipping, softens slightly with handling instead of pilling, and takes weight well once gathered at the base. Slightly pricier than acrylic, but worth it here.
Acrylic Yarn
Works in a pinch and comes in more colours, but it's stretchier under load. A heavy ceramic pot can gradually pull an acrylic hanger longer over months. Fine for lightweight plastic pots, less ideal for anything heavier.
Jute or Hemp
Gives a rougher, more rustic texture that pairs well with terracotta. It's tougher on your hands to crochet and less forgiving if your tension is inconsistent, so it suits confident beginners more than first-timers.
How to Crochet a Plant Hanger, Step by Step
Step 1: Anchor Your Strands to the Ring
Fold enough cord in half and attach it to the ring with a lark's head knot, or work a magic ring of single crochet directly onto the metal ring if you'd rather keep everything in stitches. Repeat until you have four evenly spaced anchor points. Four strands is the classic count because it creates a stable base and a symmetrical diamond pattern, but six strands gives a fuller, denser look if you want to go bigger.
Step 2: Chain Your Foundation Length
From each anchor point, chain a length equal to roughly a third of your total desired hanger length. This top section is purely functional, giving the plant room to hang below eye level, so keep your tension relaxed here rather than tight. Measure each chain against the others as you go. Even a half-inch difference will show once the hanger is loaded with a pot and hanging under its own weight.
Step 3: Build the Netted Diamond Pattern
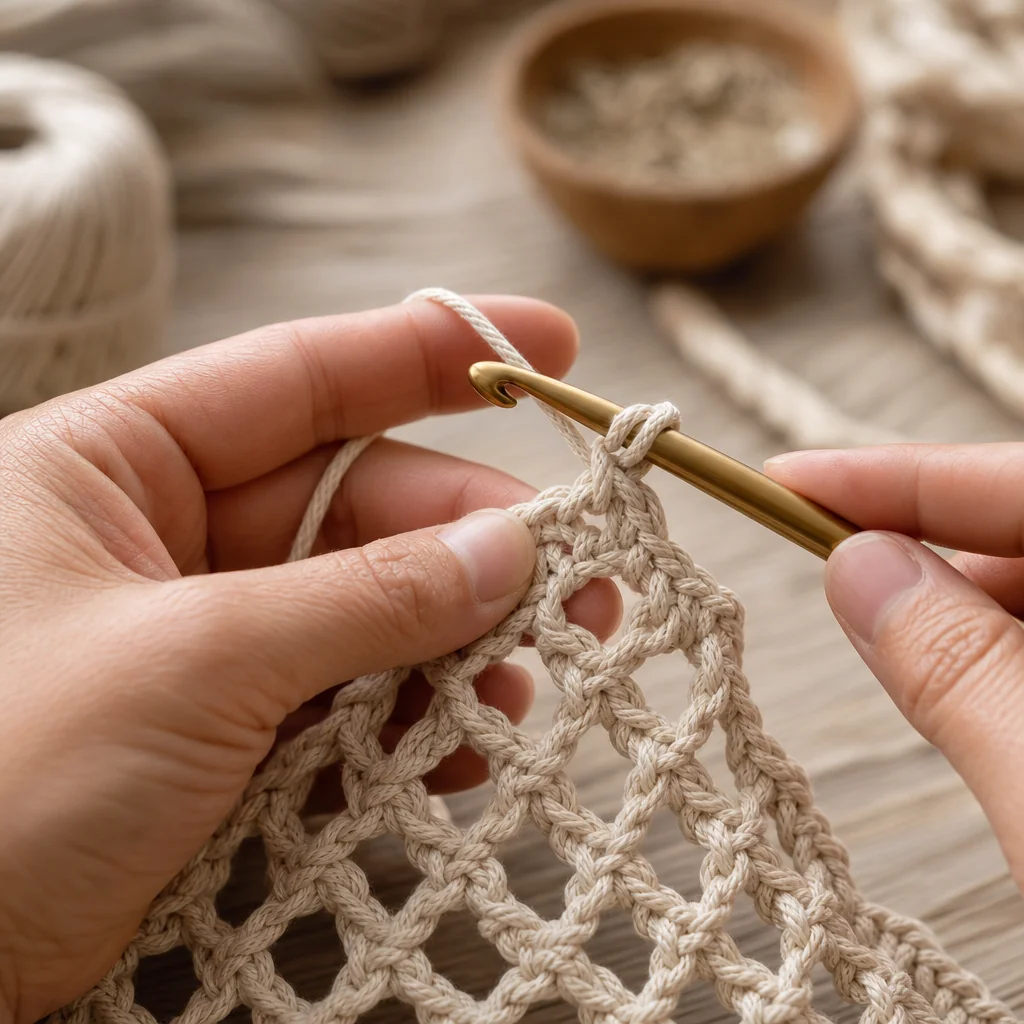
This is where the macramé look actually comes from. Working with two adjacent strands at a time, single crochet a few stitches down each strand, then join them with a chain space and a single crochet into that chain to form the top point of a diamond. Continue down, alternating strands and chain spaces, so each diamond opens and closes as you go. Repeat the same count of stitches and chains around all four strand pairs so your rounds stay level and the diamonds match.
Step 4: Gather the Base
Once your diamonds reach the length you want, bring all four strands together and single crochet them into one tight cluster for an inch or two. This gathered point is what actually cradles the bottom of your pot, so keep your stitches snug here even if your tension has been relaxed elsewhere. A loose base is the most common reason a finished hanger feels wobbly.
Step 5: Finish and Trim
Leave a tail of 4-6 inches below the gathered base, trim the ends evenly, and thread on a wooden bead if you like the look. Weave in any remaining ends securely, since this piece will hang under constant tension from a loaded planter, and a loose end here is more likely to work itself free over time.
Tips for Success
- Swatch your tension before committing. A too-tight gauge makes the whole hanger feel stiff, like rope rather than fabric. A quick practice swatch on scrap cord saves you from redoing the whole project.
- Measure every strand as you go, not just at the end. Small inconsistencies compound quickly over long chains and show up as a lopsided hang.
- Practice your join separately. Whether you're using a lark's head knot or a magic ring, test it on scrap cord first. It's much easier to redo a practice knot than to unpick cord that's already anchored to your ring.
- Test-fit your pot partway through. Slide it into the netting to check the diamond openings are snug enough to hold it without the pot sliding through.
Design Variations to Try
Once the basic four-strand hanger feels comfortable, there's plenty of room to make it your own:
- Colour blocking. Switch cord colour partway down each strand for a clean two-tone look.
- Bead accents. Thread wooden or ceramic beads onto the cord before you start chaining, then slide them into place as you work.
- Wider diamonds. Add an extra chain stitch in each joining space for a more open, airy net.
- Double-tier hangers. Work a second, longer set of strands below the first gathering point for a hanger with two pockets, ideal for a small herb collection.
Styling Your Finished Hanger
A plant hanger only looks as good as its placement. Hang it near a window with filtered light so the plant actually thrives, and leave enough clearance from the ceiling hook so the diamonds aren't compressed against the wall or window frame. Trailing plants like pothos, string of pearls, or spider plants suit the open netting best, since their leaves fill in the diamond gaps naturally over a few weeks and soften the geometric look into something a little wilder.