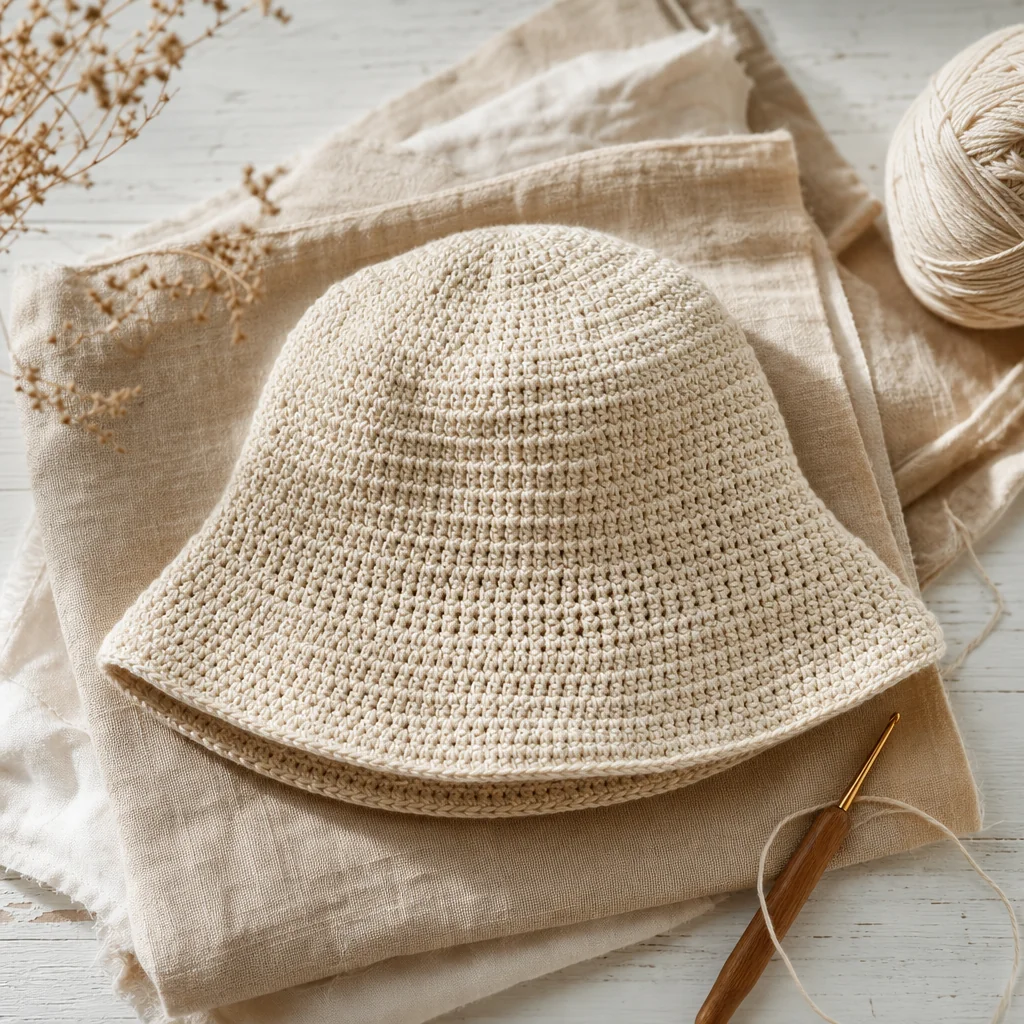
Crochet Bucket Hat: The Perfect First Garment Project for 2026
by Crochets Studio — A fiber artist and garment maker who believes your first wearable project should be something you actually want to wear. Based in Montreal, they teach accessible crochet techniques that build real confidence.
The crochet bucket hat has overtaken traditional beginner garments as the most popular first clothing project in 2026, and the reasons are compelling. Unlike sweaters that demand precise measurements or socks with tricky construction zones, bucket hats offer immediate success with minimal frustration. This tutorial will show you exactly how to make one while building foundational garment-making skills that transfer to every future project.
Why the Bucket Hat Became 2026's Breakout Beginner Project
The shift toward bucket hats as the definitive first garment happened gradually, then all at once. Crochet communities noticed that beginners who started with bucket hats were far more likely to continue making garments than those who jumped straight into sweaters or cardigans. The reason is simple: bucket hats deliver success without overwhelming you with technical challenges.
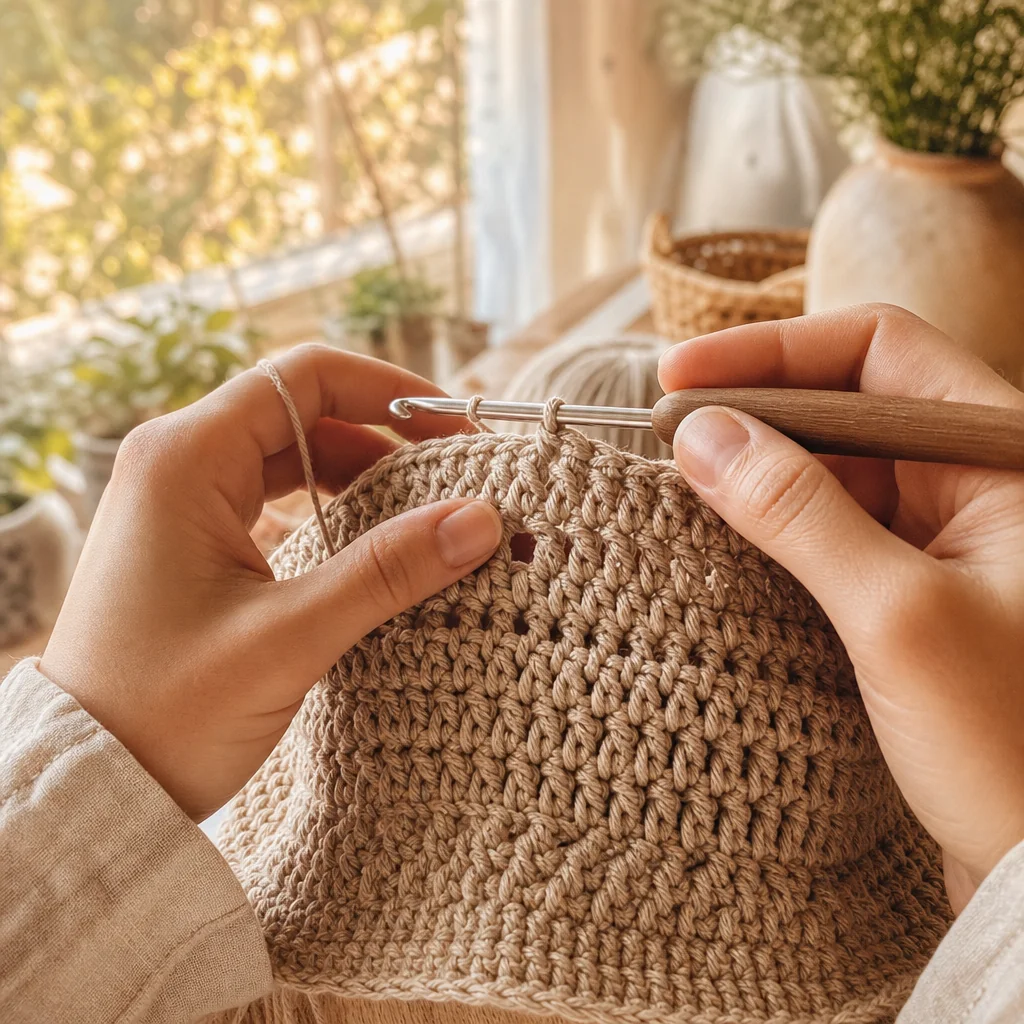
Traditional first garments like scarves teach you stitches but not shaping. Sweaters teach you shaping but punish sizing mistakes with unwearable results. Bucket hats land in the sweet spot—they introduce you to working in the round, increasing for shape, and creating three-dimensional fabric, all while being forgiving enough that small gauge variations won't ruin the fit.
What Makes Bucket Hats Ideal Learning Projects
Forgiving Fit and Universal Appeal
Unlike fitted garments where an inch off in gauge means starting over, bucket hats work across a range of head sizes. Most adults can wear a hat with a 21-23 inch circumference comfortably. The slouchy nature of the style means your first attempt will likely be wearable even if your tension is inconsistent.
Manageable Size and Time Investment
You'll complete a bucket hat in one or two dedicated sessions. This quick turnaround is crucial for beginners because it lets you practice techniques multiple times in a short period. Make one hat, identify what you'd improve, then make another with those adjustments fresh in your mind. This rapid iteration cycle builds skills faster than spending months on a single sweater.
Minimal Financial Risk
With only 200-300 yards of yarn required, you can experiment with quality materials without breaking the budget. This is your chance to work with that gorgeous mercerized cotton or linen blend you've been eyeing. The small yardage also makes it easy to use leftover yarn from other projects, reducing waste.
Foundation for All Garment Construction
The skills you develop making a bucket hat transfer directly to larger projects. Working from the crown down teaches you how increases create shape. Understanding how circumference relates to fit prepares you for sweater bodies and sleeves. Managing rounds without visible seams is essential for nearly every garment you'll make.
Materials and Tools You'll Need
Yarn Selection
Best choices:
- Worsted weight cotton or cotton-blend (200-250 yards)
- Aran weight cotton (175-225 yards)
- Cotton-linen blends for structured drape
Avoid:
- 100% acrylic (won't hold shape in warm weather)
- Wool or wool blends (too warm, may felt with wear)
- Anything splitty or fuzzy (makes stitch definition difficult to see)
Hook Size
Start with a 5.0mm (H/8) hook for worsted weight or 5.5mm (I/9) for aran weight. You want a fabric that's structured but not stiff—firm enough to hold the hat's shape but with enough drape that the brim can move.
Additional Supplies
- Stitch markers (at least 2)
- Tapestry needle for weaving in ends
- Measuring tape
- Scissors
Step-by-Step Construction Process
Starting the Crown
Begin with a magic ring or chain 4 and join to form a ring. The crown is worked in continuous rounds with increases to create a flat circle. For most bucket hats, you'll increase 8 or 12 stitches per round until you reach approximately 7-8 inches in diameter.
Round 1: 8 single crochet into the ring (or 12 for a faster start)
Round 2: 2 sc in each stitch around (16 or 24 stitches)
Round 3: *Sc 1, 2 sc in next stitch; repeat from * around
Continue this pattern, adding one more stitch between increases each round. Place a stitch marker at the beginning of each round to track your progress.
Checking Your Crown Size
Once your circle measures 7-8 inches across, stop increasing and try it on. The crown should sit comfortably on top of your head without pulling or creating excess fabric. If it's too small, add another increase round. If it's too large, you may need to start over with a tighter gauge or fewer starting stitches.
Building the Sides
Once your crown is the right size, work even (no increases or decreases) for approximately 2-3 inches. This creates the depth of the hat. The sides should reach past your ears and sit where you want the brim to begin.
This section is where you can experiment with texture stitches. Try alternating front post and back post stitches for ribbing, or work clusters for a nubby texture. Just maintain the same stitch count throughout.
Creating the Brim
The brim can be worked straight (same stitch count as the sides) for a subtle edge, or with gentle increases for a classic bucket hat flare. For a flared brim:
Brim Round 1: *Sc 4, 2 sc in next stitch; repeat from * around
Work 2-3 more rounds even, then add another increase round if you want more dramatic flare. The brim should extend 2-2.5 inches from where the sides end.
Finishing
Fasten off and weave in your ends securely. Block the hat by dampening it and shaping it over a bowl or balloon, then letting it dry completely. This sets the stitches and gives the fabric a more polished appearance.
Customization Ideas to Make It Your Own
Color and Pattern Options
Subtle stripes: Change colors every 2-4 rounds on the sides for clean horizontal lines
Color blocking: Work the crown in one color, sides in another, and brim in a third
Gradient effect: Use a gradient yarn or manually transition between shades
Texture Variations
Moss stitch: Alternate sc and ch-1 spaces for an all-over bumpy texture
Shell stitch brim: Work 5-dc shells around the final brim round for a scalloped edge
Ribbed band: Add a few rounds of back loop only stitches where the sides meet the brim
Embellishments
- Add a removable flower or patch
- Weave a ribbon through the final brim round
- Stitch a small pocket on the inside for hair ties or bobby pins
- Attach a coordinating chin strap for windy days
Troubleshooting Common Issues
Crown Curling or Ruffling
Problem: The crown isn't lying flat—it either curls up or ruffles.
Cause: Too few increases create curling; too many create ruffling.
Fix: For curling, add one extra increase round. For ruffling, skip an increase round or work one round with fewer increases than the pattern.
Sides Flaring Out
Problem: The sides don't sit straight—they angle outward.
Cause: You're accidentally increasing when you should be working even.
Fix: Count your stitches at the end of each round and use a stitch marker to clearly mark the beginning of rounds.
Brim Flopping Limply
Problem: The brim won't hold its shape.
Cause: Either your gauge is too loose or the yarn lacks body.
Fix: Drop down a hook size for the brim only, or line the brim with a round of half double crochet worked in the back loops to add structure.
Why This Project Builds Real Skills
Every element of bucket hat construction appears in larger garment projects. The magic ring start is identical to how you'll begin sleeve caps worked from the top down. The increasing rounds teach you how to create curved shapes—essential for raglan sweaters and circular yokes. Working even for the sides is the same technique you'll use for sweater bodies.
By the time you finish your first bucket hat, you've practiced gauge consistency, stitch counting, shaping, and finishing—all without the pressure of making something that must fit precisely. You've also created something you'll actually wear, which makes the learning process feel purposeful rather than just practice.
Moving Beyond Your First Hat
Once you've made one bucket hat, try variations that challenge you slightly more. Make one in a DK weight yarn with a smaller hook to practice working at a different gauge. Create a two-tone version that requires you to manage color changes cleanly. Design your own by adjusting the crown size or brim width based on what you learned from your first attempt.
Each variation reinforces the fundamentals while introducing new elements. By your third or fourth hat, you'll notice your tension is more consistent, your stitches more even, and your confidence significantly higher. That's when you're truly ready to tackle that first sweater—with skills earned through making something fun and functional.