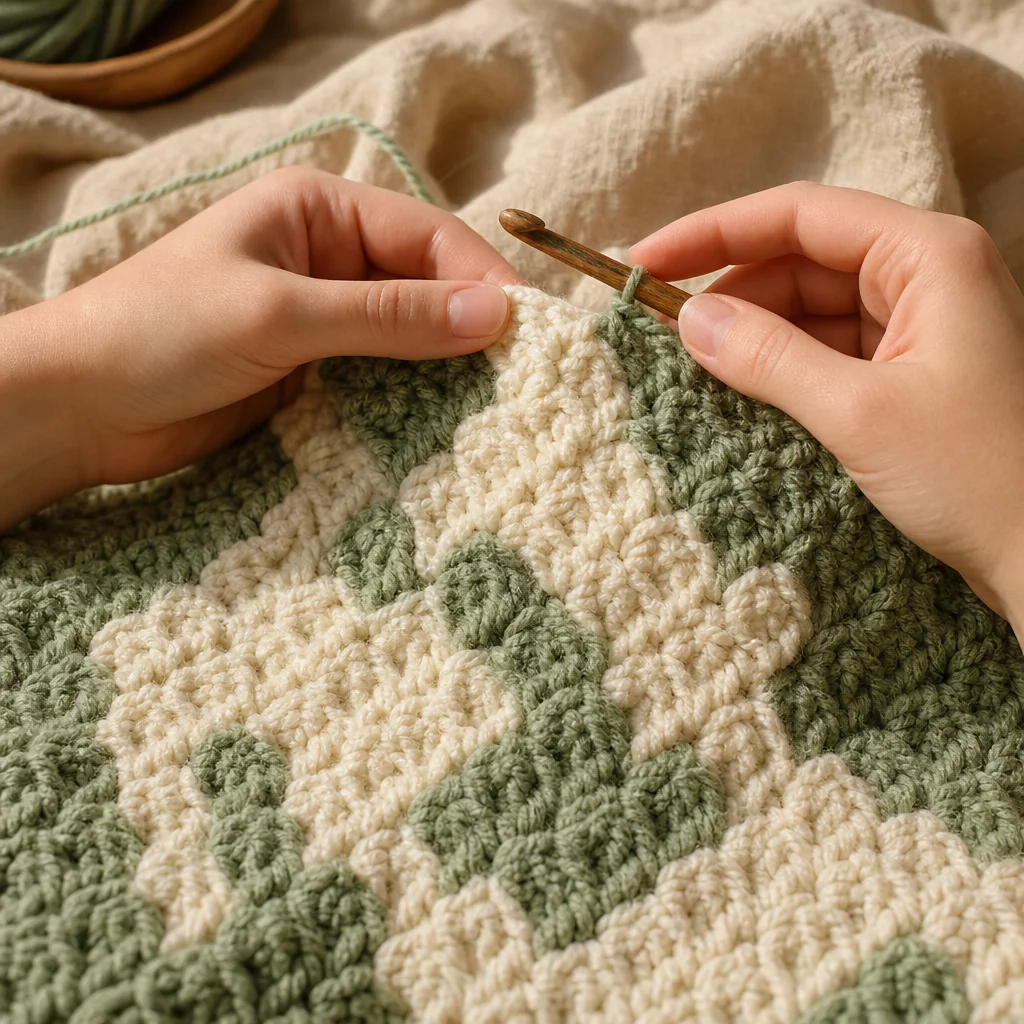
Corner-to-Corner (C2C) Blanket for Beginners
by Crochets Studio — Written by a Crochets.ca contributor who has ripped out more C2C corners than she'd like to admit, and finally learned to count her blocks before blocking her blankets.
Corner-to-corner (C2C) crochet grows a blanket diagonally, one square block at a time, starting from a single corner. The technique uses only chains and double crochets, which makes it approachable for beginners while still looking impressively graphic. This guide covers materials, the full increase-to-decrease process, and the mistakes most new C2C crocheters make.
What Is Corner-to-Corner Crochet?
Corner-to-corner, almost always shortened to C2C, is a crochet technique that builds fabric diagonally instead of side to side. You start with a tiny triangle in one corner and add one block at a time until you reach the width you want, then you mirror the process on the way back down to close the shape into a square or rectangle. Each block is a small unit made of three double crochets worked into a chain-2 space, and it's that repeated block structure that gives C2C its signature "pixel" or mosaic look.
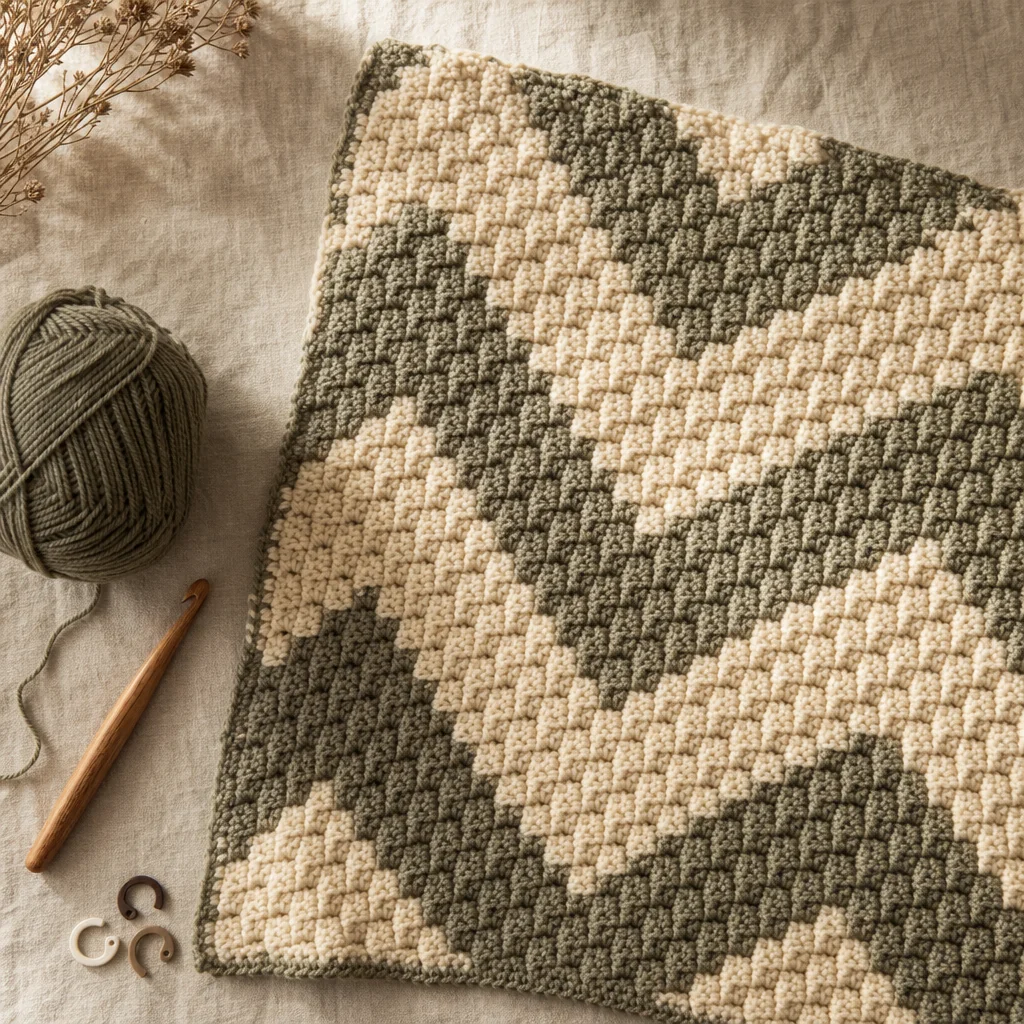
That pixel effect is exactly why C2C is so popular for graphghan blankets, where each block represents one square on a picture chart. But you don't need a graph to enjoy the technique. A solid-colour or simple striped C2C blanket is just as satisfying to make, and it's a great way to learn the rhythm of the stitch before you tackle a full colourwork design.
Why Beginners Like It
C2C only asks you to know two stitches: chain and double crochet. There's no complicated stitch pattern to memorize, and the repetition of "chain 2, turn, 3 double crochets" becomes automatic after just a few blocks. It's also very portable and forgiving. If your tension is a little uneven in row three, nobody will notice once the blanket is finished and blocked.
Materials You'll Need
Yarn
Worsted weight (category 4) yarn is the easiest starting point because the blocks show up clearly and the fabric grows quickly. If you're planning a colourwork graphghan, choose a smooth acrylic or acrylic-blend yarn in consistent dye lots so your colours read cleanly from block to block. For a solid-colour blanket, feel free to use whatever worsted weight yarn you love, cotton included.
Hook
A 5 mm (H/8) hook is the standard starting point for worsted weight yarn, but the right size always depends on your personal tension. If your blocks are coming out tight and stiff, size up half a millimetre. If they're loose and floppy, size down.
Notions
- Scissors
- A yarn needle for weaving in ends
- Stitch markers, especially useful for tracking your row count on a chart
- A printed or digital C2C chart, if you're doing colourwork
How to Crochet Your First C2C Blanket
Step 1: Start Your First Block
Chain 6, then work 1 double crochet into the fourth chain from your hook, and 1 double crochet into each of the next 2 chains. That's your very first block: a chain-2 space topped with 3 double crochets. Turn your work.
Step 2: Add the Second Block
Chain 6 again. Slip stitch into the chain-2 space of the block below to anchor your new chain, then work chain 2, followed by 3 double crochets into that same chain-2 space you just joined into. You now have two blocks sitting diagonally from each other.
Step 3: Build the Increase Section
Repeat the same process at the start of every row: chain 6, slip stitch into the previous row's end block, chain 2, then 3 double crochets. Each new row adds exactly one block, and your triangle of blocks grows steadily wider. Keep going until your piece measures roughly half the finished width you want, or until your chart tells you to stop increasing.
Step 4: Switch to the Decrease Section
Once you've reached your target width, you stop adding new blocks and start removing them instead. At the end of a decrease row, slip stitch across the last block and into the next chain-2 space along, then chain 2 and work 3 double crochets there. This effectively "eats" one block per row, shrinking the shape back down into a rectangle or square.
Step 5: Finish and Weave In Ends
Continue decreasing until only one block remains, fasten off, and weave in every end with your yarn needle. Give the finished blanket a light steam block if your fibre allows it. Blocking squares up the edges and makes any unevenness between rows disappear.
Beginner Tips for Perfect C2C
- Count the three double crochets in every block as you make it, this catches missed or extra stitches before they compound down the row
- Use a stitch marker to mark your current row number if you're following a chart, it's easy to lose your place
- Don't panic about your first few rows looking loose or crooked, C2C fabric evens out dramatically once you block it
- Work a small swatch first if you're following a specific chart, so you know how many blocks equal one inch
Common C2C Mistakes to Watch For
Problem: Your blanket is drifting into a parallelogram instead of a square. Cause: You're increasing at an angle that's too shallow or too steep, usually from an inconsistent chain-6 length between rows. Fix: Keep your starting chain exactly 6 stitches on every increase row, and check that your slip stitch is landing in the correct chain-2 space, not one row off.
Problem: Blocks in the middle of a colour change look muddled or misaligned. Cause: Colour changes in C2C happen at the start of a new block, and it's easy to switch a stitch too early or late. Fix: Always change colour on the last pull-through of the final double crochet in the previous block, then carry the new colour into the chain 2 that starts the next one.
Problem: The edges of your blanket look wavy rather than straight. Cause: Uneven tension on the chain-6 at the start of each row is the most common culprit. Fix: Slow down on that chain specifically, and consider using a slightly larger hook just for the starting chain if it's consistently tighter than the rest of your work.
Choosing Colours and Charts for Your Project
If this is your first C2C piece, start with one or two colours in simple diagonal stripes before moving to a full picture graph. Stripes teach you how colour changes work without requiring you to follow dozens of chart squares at once. Once you're comfortable, graphghan charts open up an enormous range of designs, from simple hearts to detailed portraits, all built from the same three-stitch block you already know.
C2C rewards patience more than speed. Each block is small, the counting is simple, and the finished fabric has a texture and drape that make it genuinely lovely for blankets, baby afghans, and pillow covers alike.