10 Mistakes Every Crochet Beginner Makes (and How to Fix Them)
by Crochets Studio — A lifelong maker with a love for slow, meditative crafts, I've been crocheting for over a decade and teaching beginners for five years. I believe every stitch is an opportunity to slow down and create something real with your hands.
Crochet beginners typically struggle with the same handful of issues: tension control, stitch counting, and pattern selection. The good news is that every single one of these mistakes is fixable with awareness and a bit of deliberate practice. By learning what to watch for and why these errors happen, you'll fast-track your skills and build confidence.
1. Tension That Shifts Row to Row
The Problem
Your stitches look loose and floppy one row, then tight and bunched up the next. This inconsistency makes finished projects look uneven and unpolished.
Why It Happens
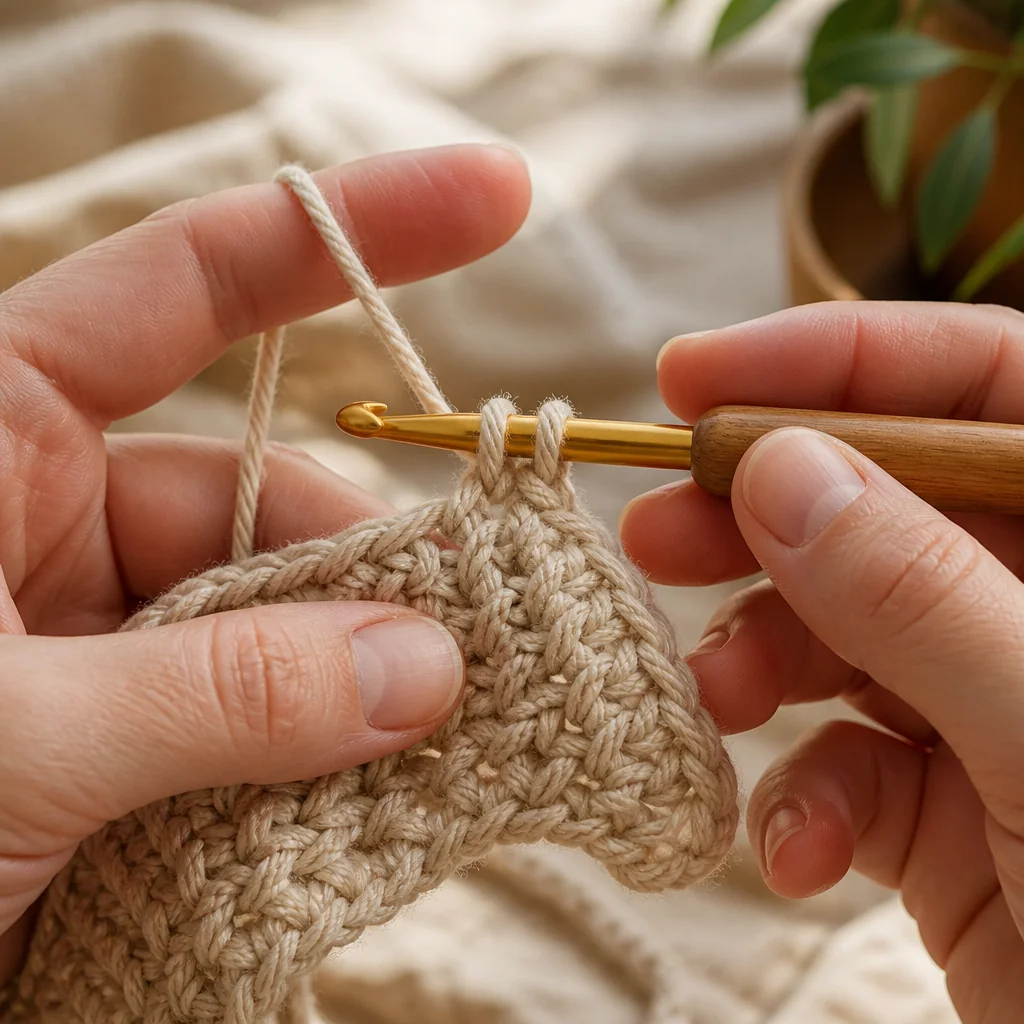
Tension is about how firmly you wrap yarn around your hook and how tightly you pull it through. When you're learning, your hands naturally tense up as you concentrate, then relax when you're on autopilot—and your stitches reflect that emotional state.
The Fix
First, take a breath. Seriously. Relaxing your shoulders and neck immediately relaxes your hands. Hold your yarn with a light grip—imagine you're holding a delicate butterfly. Practice stitching for just 10 minutes at a time, focusing only on keeping that tension smooth and even. Don't rush. Speed will come later.
2. Losing or Gaining Stitches
The Problem
You start with 30 stitches but somehow end up with 28 by the end of the row. Or you mysteriously have 32. Your edges look wonky, and shaping gets impossible.
Why It Happens
Most often, you're accidentally skipping stitches or working twice into the same loop. It's easy to do when you're watching TV or distracted. Other times, stitches slip off your hook mid-row because they weren't seated firmly enough.
The Fix
Count your stitches at the end of every single row until this becomes automatic (it will, eventually). Use a stitch counter—it takes the mental load off. Before you finish each row, make sure every stitch is actually seated on your hook. If you drop a stitch mid-row, pick it up immediately with your hook rather than letting it run down. For the first few projects, count twice: once before you finish the row, and once as you turn to start the next row.
3. Skipping Stitch Markers
The Problem
You can't remember where your row started or ended. You work into the wrong stitch at the edge. Decreases and increases don't line up properly.
Why It Happens
When you're new, stitch markers feel like overkill. They're not. They're actually one of your best tools.
The Fix
Place a stitch marker in the first stitch of every row. When you finish the row, you'll instantly know where to work next. Use a second marker in your increase or decrease stitches if the pattern requires them. A marker can be a safety pin, a piece of scrap yarn, or an actual stitch marker ring. Don't skip this step—it saves you from frogging (ripping out) entire rows.
4. Working Into the Wrong Part of the Stitch
The Problem
You're working under just one loop, creating a ribbed texture when you wanted stockinette. Or you're somehow working into the yarn itself instead of the actual stitch.
Why It Happens
Understanding loop anatomy takes practice. Single crochet stitches have two distinct loops at the top (front and back). Most patterns ask you to work under both loops (BLO means back loop only). Miss this detail, and your fabric looks completely different.
The Fix
Slow down and look at your work with fresh eyes. Always work under both loops unless your pattern specifically says otherwise (like "BLO decrease" or "for a ribbed texture, work in back loop only"). If you're struggling to see the loops, try switching to a lighter-colored yarn temporarily. Once your eyes adjust, you'll see the loops instantly.
5. Jumping Into Complex Patterns Too Fast
The Problem
You're excited, so you start an amigurumi doll or a fitted sweater as your second project. You get halfway through, frustrated by techniques you don't understand yet, and abandon it.
Why It Happens
It's natural to want to make something impressive immediately. But crochet is cumulative. Each small project teaches you something.
The Fix
Start with rectangles: scarves, dishcloths, blankets, table runners. These teach you consistency and let you practice a single stitch for hours. Once a rectangle feels boring, move to simple shaping like increases and decreases (think: a simple triangle or a basic hat). Only then tackle amigurumi or fitted garments. You'll learn three times faster this way, and you'll actually finish projects, which builds momentum.
6. Using the Wrong Hook Size
The Problem
Your finished project is way smaller than it should be, or it's so loose it looks like Swiss cheese. The drape is off. It doesn't fit.
Why It Happens
Hook size is specified in patterns for a reason. It directly affects the finished dimensions of your work. Too small a hook creates tight, dense fabric. Too large a hook creates open, floppy fabric. Both affect the final product in ways that can't be unseen.
The Fix
Always use the hook size your pattern recommends. If you don't have it, swap to the nearest available size—but be aware this may change your finished dimensions. For wearables, this matters a lot. For decorative items, less so. When in doubt, go slightly larger rather than smaller; oversized is more forgiving than too tight.
7. Skipping the Gauge Swatch
The Problem
You crochet a sweater in the recommended hook size, and it doesn't fit. It's either way too big or way too small. Now you've wasted yarn and hours.
Why It Happens
Beginners often skip gauge swatches because they seem like busywork. They're not. Gauge is the foundation of proper sizing.
The Fix
For any wearable project, crochet a 4-by-4-inch swatch in the recommended yarn and hook. Let it sit overnight (yarn relaxes). Measure it in the middle (away from edges, which are often wonky). If you're getting more stitches than the pattern specifies, your tension is tight—go up a hook size. If you're getting fewer stitches, your tension is loose—go down a hook size. This 15-minute step saves your entire project.
8. Pulling the Foundation Chain Too Tight
The Problem
Your first row is a nightmare. You can barely fit your hook into those chain stitches. Your edges look puckered and uneven.
Why It Happens
When you chain, it's easy to tighten up as you focus. Those tight chains are hard to work into, which then throws off your tension and stitch count for the whole project.
The Fix
Make your foundation chain deliberately loose. After you chain, your hook should slide through each stitch easily with no resistance. If you have to fight your hook in, the chain is too tight. Practice chaining on its own for a few minutes, focusing on keeping consistent, relaxed tension. Loose chains = happy first row = a solid foundation for the whole project.
9. Giving Up After Your First Mistake
The Problem
You drop a stitch three rows back and freeze. You don't know how to fix it. You consider throwing the whole project away.
Why It Happens
Beginners often feel like mistakes are catastrophic. They're actually just part of the process. Every experienced crocheter has frogged (ripped back) entire projects and lived to tell about it.
The Fix
Mistakes are information. A dropped stitch teaches you how to pick one up. A row of weird tension teaches you what tight vs. loose actually feels like. If you can't fix it in place, frog back to where the mistake happened, fix it, and keep going. It takes 10 minutes, not forever. The skill you gain is worth far more than the yarn you "wasted."
10. Avoiding Video Tutorials
The Problem
You're reading a pattern instruction: "single crochet decrease." You have no idea what this means. The written description is confusing.
Why It Happens
Written instructions are great for reference, but they're abstract. Your hands need to see the motion.
The Fix
Watch video tutorials alongside your pattern. Search for "how to crochet single crochet decrease" on YouTube. Five-minute videos will show you exactly what your hands should do. Written instructions make way more sense once you've seen the technique in motion. Combine videos + written patterns + practice, and you've got the holy trinity of learning crochet.
The Bigger Picture
Every single mistake on this list is a sign you're actually practicing. The fact that you're aware of these errors means you're already halfway to fixing them. Crochet isn't about being perfect—it's about showing up consistently and trusting the process. Your hands need repetition to build muscle memory. Your eyes need time to see tension and stitch placement clearly. Your brain needs patience.
Give yourself grace. Every expert crocheter you admire has made every single one of these mistakes. The difference between them and someone who quit is simply that they kept going.
You've absolutely got this. Keep your tension loose, count your stitches, mark your rows, and don't skip the fundamentals. In a few weeks of steady practice, these won't feel like mistakes anymore—they'll feel like instinct.
Next step
Explore the Stitch Studio