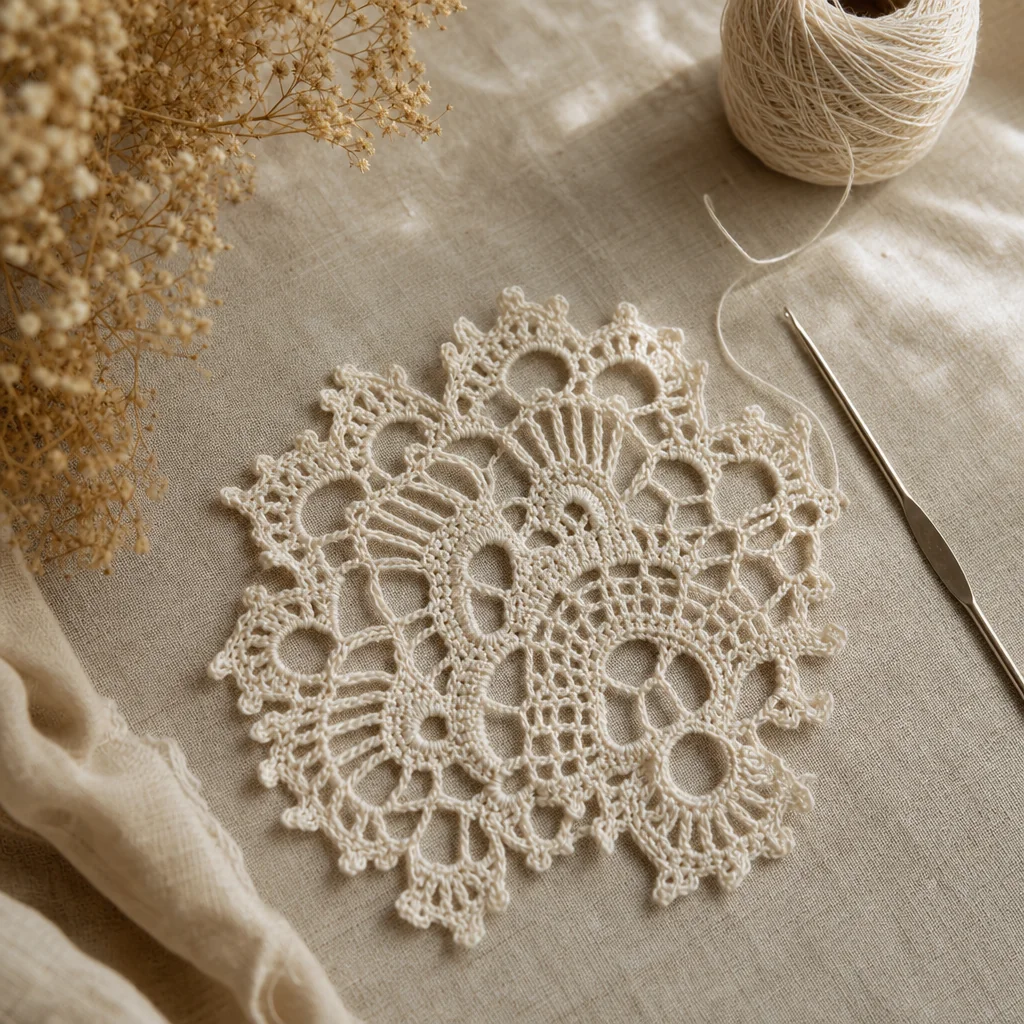
Bruges Lace Explained: Crocheting with Tape
by Crochets Studio — A lifelong fibre arts enthusiast based in Eastern Ontario, our contributor learned lace crochet from her grandmother's Belgian pattern booklets and has been chasing finer thread gauges ever since.
Bruges lace crochet produces elegant, scrolling lace by shaping a narrow crocheted tape into curves and joining the loops as you go. Rather than working flat rows across a wide piece, you build one slender ribbon of double crochet stitches with chain-loop edges, then guide that ribbon into flowers, scrolls, and geometric fills. This guide breaks down the technique, the materials you need, and the strategies that make the learning curve manageable.
What Is Bruges Lace Crochet?
Bruges lace — sometimes called Bruges tape lace — is a crochet method rooted in Belgian lace-making traditions. Traditional bobbin lace from the Bruges region uses dozens of weighted threads manipulated on a pillow to form flowing ribbon-like strips. Crocheters adapted that concept into a hook-and-thread technique: you crochet a narrow tape, typically five to seven double crochet stitches wide, flanked by chain loops or picots on each edge. You then bend that tape into curves, scrolls, and petal shapes, joining it to itself with slip stitches or chain bridges as you work.
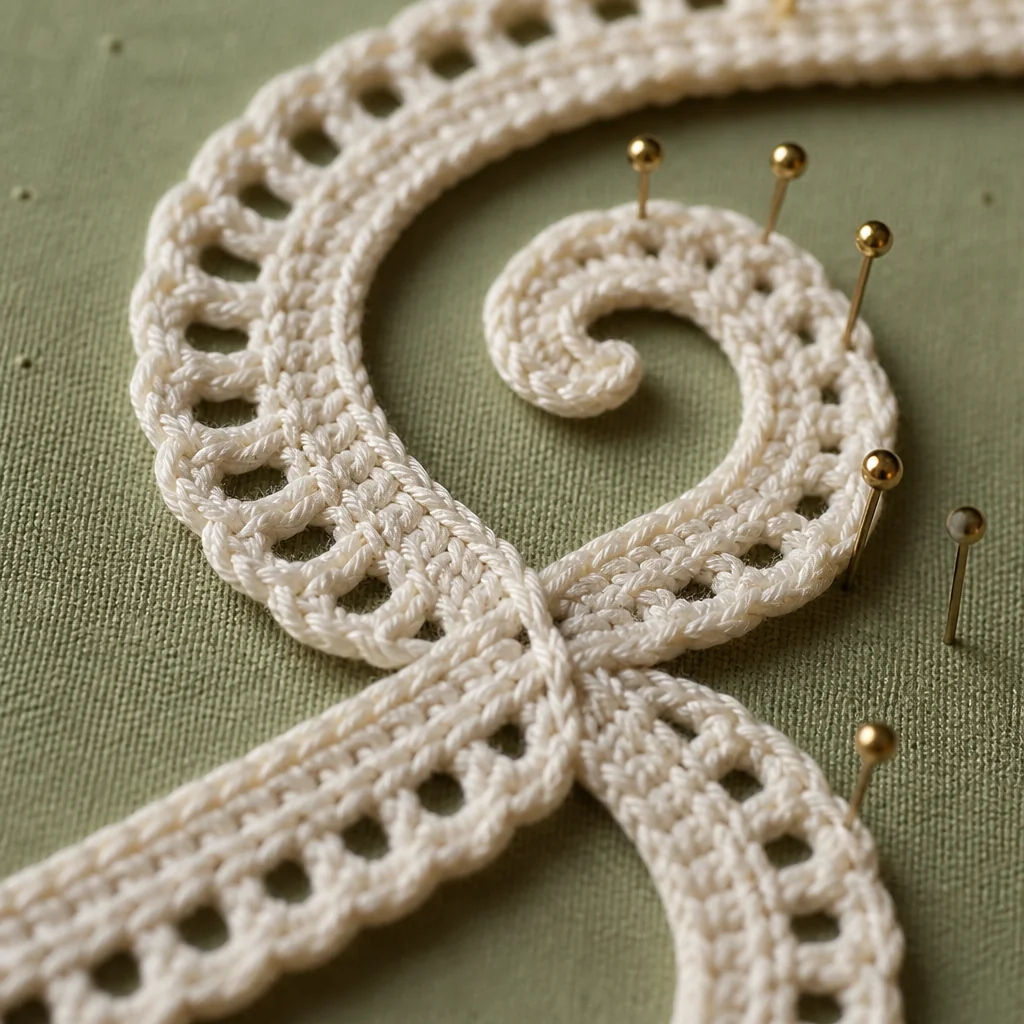
The result looks remarkably close to bobbin lace but requires only a single hook and a ball of thread. Because the joining happens row by row while the tape is still on the hook, you never need to sew pieces together afterward — the motif grows organically under your hands.
Why This Technique Stands Out
Mimics Heirloom Bobbin Lace
Bruges lace captures the flowing, ribbon-like quality of antique Flemish lace. Finished pieces carry a sense of heritage and refinement that flat crochet fabric cannot replicate.
One Continuous Piece
Unlike Irish crochet, where individual motifs are made separately and assembled on a net, Bruges lace is worked continuously. The tape never breaks; it simply winds and joins. That continuous construction means fewer ends to weave in and a more unified structure.
Versatile Applications
Bruges lace works beautifully as doilies, table runners, collar edgings, curtain panels, and even entire bodice overlays on formal wear. Any project that benefits from an open, airy lace can incorporate a Bruges panel.
Materials You Will Need
- Thread: Size 10 or 20 cotton crochet thread (mercerized gives the best sheen). White and ecru are traditional; coloured thread works for modern takes.
- Hook: Steel hook in the 1.50 mm to 2.00 mm range for size 10 thread; 1.25 mm to 1.50 mm for size 20.
- Pins and blocking board: Essential for holding curves in place while you work and for final blocking.
- Stitch markers: Small locking markers help track joining points.
- Sharp scissors and tapestry needle: For finishing.
Anatomy of the Bruges Tape
Understanding the tape structure is the key to the entire technique.
The Core Row
A typical tape row consists of:
- Chain 3 (counts as turning double crochet).
- Double crochet into each stitch across — usually 4 to 6 dc.
- Chain 3, turn.
The chain-3 loops at each edge become the attachment points later. Some patterns replace the plain chain-3 with a picot (chain 5, slip stitch back into the first chain) for a decorative edge.
The Curve Mechanism
To curve the tape, you work several rows on one side without joining, allowing that edge to fan outward naturally. Meanwhile, the inside edge joins to a previous section of tape or to a chain bridge, pulling the tape into an arc. The ratio of free rows to joined rows determines how tight the curve is.
The Join
At designated rows, instead of making a free chain loop on one side, you slip stitch into a chain loop on a neighbouring section of tape. This locks the two ribbon segments together and creates the open lattice between them.
Step-by-Step: Working a Basic Bruges Tape
- Foundation: Chain 8. Double crochet in the 4th chain from hook and in each remaining chain. You now have 5 dc plus the turning chain acting as the 6th.
- Row 2: Chain 5 (edge loop), turn. Skip nothing; dc in each of the 5 dc, dc in top of turning chain. Chain 5, turn.
- Rows 3–10: Repeat Row 2. You are building a straight strip to practise tension.
- Begin a curve: On the next row, make the chain-5 loop on the outer edge as normal, but on the inner edge, slip stitch into the chain-5 loop of two rows below on the same inner side. This pulls the strip into a U-turn.
- Continue curving: Work 4–6 more rows, joining the inner-edge loops to successive earlier loops until the tape has turned 180 degrees.
- Return to straight: Once the curve is complete, resume free chain-5 loops on both sides for a straight section.
- Join to previous tape section: When the straight section runs parallel to an earlier section, join the adjacent edges with slip stitches into matching loops.
Repeat curves and joins according to your pattern chart until the motif is complete.
Common Pitfalls and How to Avoid Them
Tension Problems
Problem: Curves buckle or refuse to lie flat.
Cause: Uneven tension — too tight on curves or too loose on straight segments.
Fix: Relax your grip slightly when entering a curve. Pin the curve to a blocking board as you go so you can see whether it fans evenly. Practice a few sample curves before committing to a full project.
Miscounted Joins
Problem: The tape joins to the wrong loop, causing the motif to twist.
Cause: Losing track of which loop comes next, especially on tight curves where loops cluster together.
Fix: Place a removable stitch marker in the next target loop before you work the joining row. Remove it only as you slip stitch into it.
Stiff Finished Fabric
Problem: The lace feels cardboard-like instead of drapey.
Cause: Thread too thick for the hook, or overly tight gauge.
Fix: Go up one hook size and re-swatch. Bruges lace should feel flexible enough to gently shape with your fingers after blocking.
Blocking and Finishing
Bruges lace must be blocked to look its best. Pin the finished piece to a foam board, gently stretching each loop open and straightening each curve. Mist with water or a light starch spray, then allow to dry completely. The starch adds body without stiffness, helping the lace hold its open structure during use.
Project Ideas for Your First Bruges Piece
Simple Coaster
Work a single scrolling S-curve joined in the centre to form a round disc roughly 10 cm across. This teaches the curve-and-join rhythm without committing to hours of thread work.
Bookmark
A straight tape with a single decorative loop at one end makes a quick, elegant gift and practises maintaining even rows.
Small Doily
Once you are comfortable with curves, try a three-petal flower motif surrounded by a single round of connected arches. This introduces multi-directional joining and symmetry.
Tips for Long-Term Success
- Read the chart, not just the text. Bruges patterns rely heavily on charts that show where the tape travels. Follow the arrows.
- Use high-contrast thread for practice. White thread on a white background strains your eyes. A medium colour like sage or dusty rose shows the stitch structure more clearly while you learn.
- Accept slow progress. Bruges lace is meditative. A single doily might take 10–15 hours. The rhythm becomes deeply satisfying once you stop rushing.
- Keep your pattern flat on the table beside you. Clip the current section so you always know which direction the tape turns next.
Historical Context
Bruges has been a lace-making centre since the 16th century. The crochet adaptation emerged in the late 19th century as a more accessible way for home crafters to achieve the look of costly bobbin lace. Belgian convents and craft schools popularized the technique, and it spread through pattern booklets across Europe and North America. Today it remains a hallmark of advanced crochet artistry.
Ready to Wind Your First Tape?
Bruges lace asks for patience, precision, and a willingness to let the ribbon guide the design. Start small, pin as you go, and trust that the elegant lattice will emerge one curve at a time.